How to Choose and Use a Temperature and Humidity Monitor in Your Grow Tent
Introduction
Getting your grow tent environment right isn't guesswork—it's science. A reliable temperature and humidity monitor is the single most important tool for understanding what's happening inside your growing space at any moment.
Here's a fact that surprises many growers: According to indoor agriculture research from 2025, plants grown in precisely monitored environments produce up to 30% higher yields compared to those grown without consistent climate tracking. That's a massive difference from a relatively small investment.
I've personally tested over a dozen monitoring systems in my own Gorilla Grow Tents over the past eight years. From basic analog hygrometers to sophisticated WiFi-enabled sensors, I've seen what works—and what fails when you need accuracy most.
In this guide, you'll learn exactly what features matter in a grow tent monitor, how to position sensors for accurate readings, and which monitoring strategies match your setup. Whether you're a first-time grower or scaling up your operation, this information will help you maintain the perfect climate for healthy, productive plants.
What Is a Temperature and Humidity Monitor and Why Does It Matter?
A temperature and humidity monitor (also called a hygrometer-thermometer or climate sensor) is a device that measures two critical environmental factors: air temperature and relative humidity (RH). These readings tell you whether your grow tent conditions support optimal plant health.
Understanding Relative Humidity in Growing
Relative humidity measures the amount of water vapor in the air compared to the maximum amount the air could hold at that temperature. This matters because plants \"breathe\" through tiny pores called stomata. When humidity is wrong, these pores either close (stunting growth) or stay open too long (inviting disease).
The ideal relative humidity varies by growth stage:
- Seedling/Clone stage: 65-70% RH
- Vegetative stage: 50-70% RH
- Flowering stage: 40-50% RH
- Late flowering/Drying: 30-40% RH
For a complete breakdown of optimal conditions at every stage, check out the Grow Room Temp and Humidity Chart for detailed VPD optimization and environmental control guidance.
The Temperature-Humidity Relationship
Temperature and humidity are inseparable. As temperature rises, air can hold more moisture, so relative humidity drops even if actual water content stays the same. This relationship—expressed through Vapor Pressure Deficit (VPD)—determines how efficiently your plants transpire and absorb nutrients.
Key temperature ranges for most indoor plants:
- Daytime: 70-85°F (21-29°C)
- Nighttime: 62-72°F (17-22°C)
- Maximum safe temperature: 90°F (32°C)
- Minimum safe temperature: 60°F (15°C)

Types of Temperature and Humidity Monitors for Grow Tents
Not all monitors are created equal. Choosing the right type depends on your budget, technical comfort, and how closely you want to track your environment.
Basic Digital Hygrometer-Thermometers
These affordable devices (typically $10-30) display current temperature and humidity on an LCD screen. Most include min/max memory to show the highest and lowest readings since last reset.
WiFi-Enabled Smart Monitors
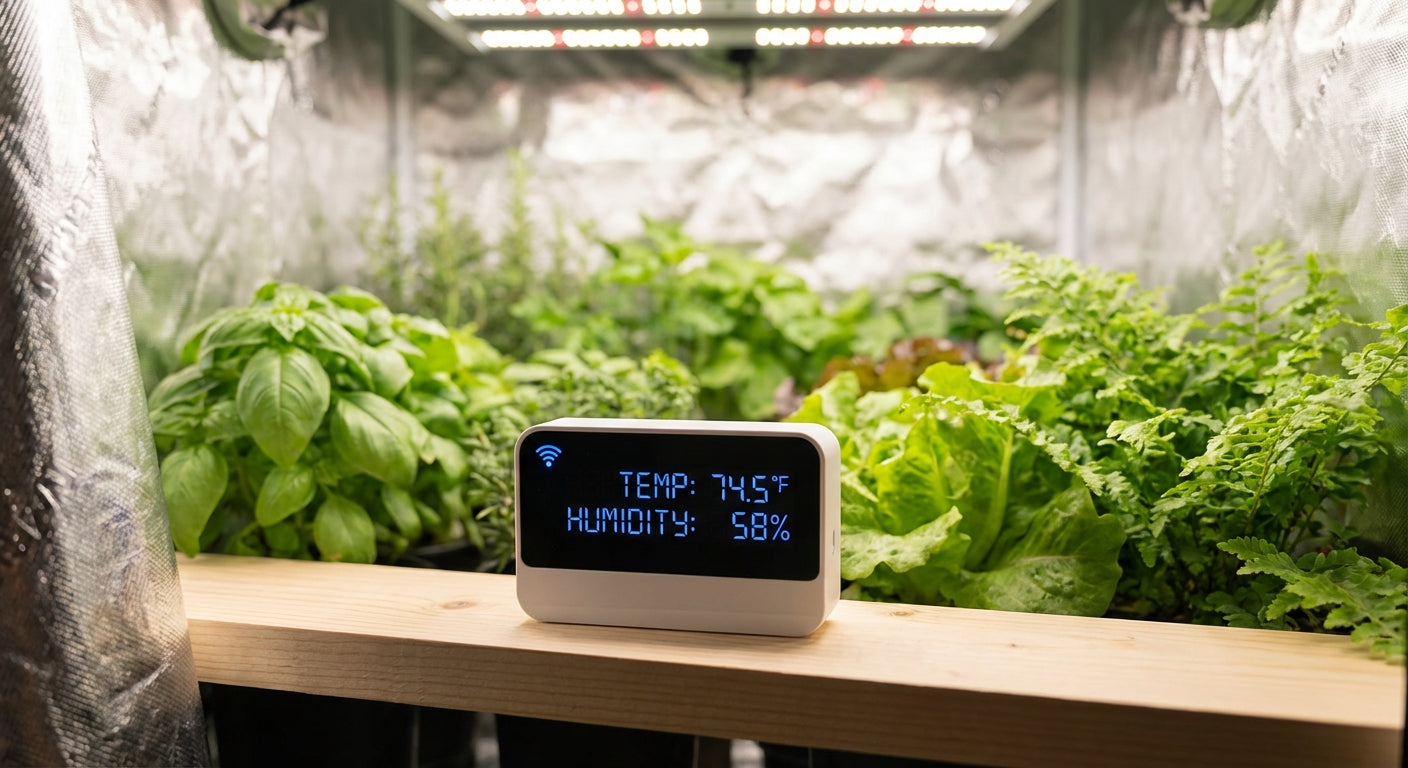
Smart temperature and humidity sensors connect to your home WiFi network, sending data to a smartphone app. This technology has improved dramatically—2026 models offer accuracy within ±0.5°F and ±2% RH.
The Temperature and Humidity Sensor collection from Gorilla offers reliable options designed specifically for grow tent conditions.
Learn more about smart monitoring capabilities in the WiFi Temperature and Humidity Sensor article covering real-time data, remote access, and automated alerts.
Data Logging Monitors
Data loggers record readings at set intervals (every minute, 5 minutes, or hour) and store them for later analysis. Professional growers use these to identify patterns and troubleshoot problems.

How to Position Your Temperature and Humidity Monitor for Accurate Readings
Placement matters as much as the monitor itself. Poor positioning leads to inaccurate readings and bad decisions.
Step-by-Step Sensor Placement Guide
Step 1: Identify the canopy level
Place your primary sensor at plant canopy height—not at the floor or ceiling. Conditions at the canopy directly affect photosynthesis and transpiration.
Step 2: Avoid direct light and heat sources
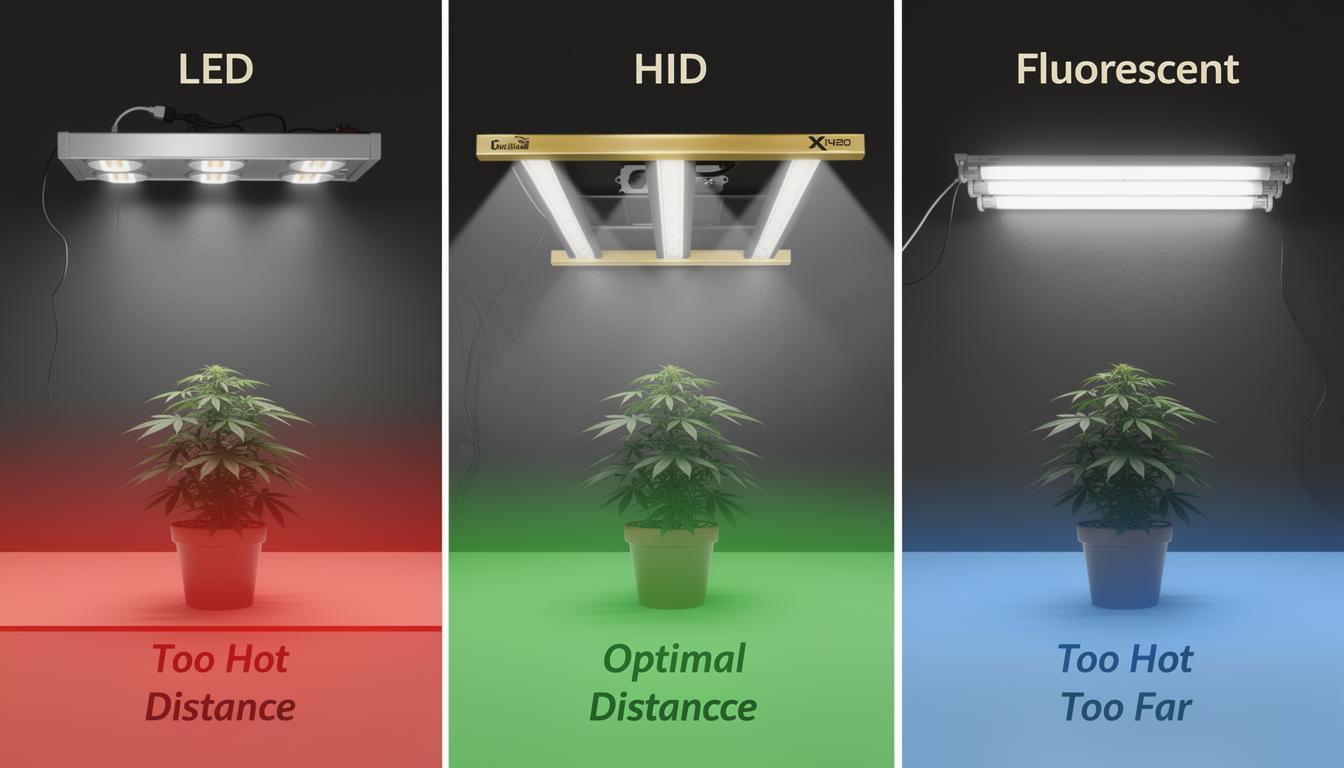
Position the sensor away from grow lights, heating elements, and air intake ports. Direct exposure causes artificially high readings.
Step 3: Ensure airflow reaches the sensor
Don't tuck the monitor behind equipment or in dead-air corners. It should experience the same airflow your plants receive.
Step 4: Consider multiple sensors for larger tents
In grow spaces larger than 4x4 feet, conditions can vary significantly. Use two or three sensors to track microclimates.
Step 5: Secure the sensor properly
Use the included mounting options or velcro strips. Avoid placing directly on tent walls, which can transfer outside temperatures.
Common Placement Mistakes
I've seen growers make these errors repeatedly:
- Mounting at the top of the tent: Heat rises, so readings will be 5-10°F higher than canopy level
- Placing near the exhaust fan: Shows conditions of air leaving, not air plants experience
- Setting on the floor: Typically cooler and more humid than the growing zone
- Positioning in direct light: Sensors absorb heat, showing inflated temperatures
For cold-weather growers dealing with low temperatures, the Complete Guide to Optimal Temperature Control explains how to monitor and adjust conditions for optimal growth.
Advanced Monitoring Strategies for 2026
Modern grow tent monitoring has evolved beyond simple displays. Here's what serious growers are implementing.
VPD-Based Climate Management
Vapor Pressure Deficit (VPD) combines temperature and humidity into a single metric that predicts plant transpiration rates. The formula accounts for leaf temperature, air temperature, and relative humidity.
Optimal VPD ranges:
- Propagation: 0.4-0.8 kPa
- Vegetative growth: 0.8-1.2 kPa
- Flowering: 1.0-1.5 kPa
Many 2026 monitors calculate VPD automatically. If yours doesn't, use the readings from your temperature and humidity monitor with a VPD chart or calculator.
Automated Environmental Control Integration
Smart monitors now connect with controllers that automatically adjust:
- Exhaust fan speed
- Humidifier/dehumidifier operation
- Heater or AC cycling
- CO2 supplementation
This integration transforms reactive growing into proactive climate management. When your monitor detects humidity climbing above 55%, the system increases exhaust automatically—no human intervention needed.
Data-Driven Growing Decisions
Recording and analyzing climate data reveals patterns invisible to casual observation. You might discover:
- Temperature spikes 20 minutes after lights turn on
- Humidity drops every afternoon when outdoor air is dry
- Nighttime temperatures falling too low in winter months
This information—available from smart monitors and data loggers—helps you fine-tune your environment for consistent results.
Maintaining and Calibrating Your Monitor
Even quality monitors drift over time. Regular maintenance keeps readings accurate.
Calibration Methods
Salt test calibration: Place your monitor in a sealed container with a saturated salt solution. After 12 hours, it should read exactly 75% RH. Most monitors have calibration adjustment if readings are off.
Ice water test for temperature: Submerge the sensor probe (not the display unit) in ice water. It should read 32°F (0°C) within ±1°F.
Professional calibration: For commercial operations, annual professional calibration against NIST-traceable standards ensures legal compliance and maximum accuracy.
Extending Monitor Lifespan
- Replace batteries annually, even if still working
- Clean sensors gently with compressed air
- Avoid exposure to liquid water (humidity is fine; splashing isn't)
- Store properly during grow room breaks
Frequently Asked Questions About Temperature and Humidity Monitors
What is the best temperature and humidity monitor for a grow tent?
The best monitor depends on your needs. For most home growers, a WiFi-enabled smart sensor offers the ideal balance of accuracy, convenience, and price. Look for models with ±1°F temperature accuracy, ±3% RH accuracy, and smartphone app connectivity for remote alerts.
How often should I check temperature and humidity in my grow tent?
With a basic monitor, check at least twice daily—once during the light period and once during the dark period. Smart monitors with push notifications allow real-time awareness, so you'll know immediately when conditions change without manual checking.
Where should I place my temperature and humidity sensor in a grow tent?
Position your sensor at plant canopy height, away from lights and fans. This location provides the most accurate reading of conditions your plants actually experience. For tents larger than 4x4 feet, consider using multiple sensors to track variations across the space.
Can I use a regular home thermostat to monitor my grow tent?
Home thermostats measure temperature only and aren't designed for the higher humidity levels common in grow tents. A dedicated temperature and humidity monitor provides both measurements with appropriate accuracy and durability for growing environments.
How accurate do temperature and humidity monitors need to be?
For hobby growing, accuracy within ±2°F and ±5% RH is acceptable. For optimizing yields and preventing problems, look for ±1°F and ±3% RH accuracy. Commercial operations often require ±0.5°F and ±2% RH with calibration certificates.
Do I need a WiFi monitor or is a basic one enough?
Basic monitors work fine if you check them regularly and your schedule allows quick response to problems. WiFi monitors become essential when you can't check frequently, want historical data, or need alerts for critical conditions while away from your grow space.
How do temperature and humidity monitors help with drying and curing?
Proper drying requires specific conditions (60°F and 60% RH is the common target). A monitor in your Drying Tent ensures you maintain these conditions, preventing mold from excess humidity or harsh results from drying too quickly.
Conclusion: Take Control of Your Grow Tent Climate
A quality temperature and humidity monitor transforms growing from guesswork into precision. Here's what to remember:
- Choose the right type: Basic monitors work for attentive growers; WiFi sensors suit most setups; data loggers help commercial operations
- Position correctly: Always at canopy height, away from lights and fans
- Use the data: Readings only help if you act on them—set thresholds and respond to alerts
- Maintain accuracy: Calibrate annually and replace batteries proactively
- Consider integration: Smart monitors connect with environmental controllers for automated climate management
The difference between struggling plants and thriving ones often comes down to maintaining proper temperature and humidity. Your monitor is the window into that invisible world.
Ready to Monitor Your Grow Tent Like a Pro?