


Best Fan Position to Cool a Grow Tent - Optimize Airflow
As an avid indoor gardener, I know the importance of maintaining the perfect climate within your grow tent. One crucial element in achieving this is ensuring proper airflow and cooling. In this comprehensive guide, we'll explore the best fan positioning strategies to keep your grow tent at the optimal temperature for healthy, thriving plants.
Understanding the Importance of Airflow
Proper airflow is essential for several reasons in a grow tent setup. First and foremost, it helps regulate the temperature, preventing your plants from becoming too hot or too cold. Adequate air circulation also promotes gas exchange, allowing your plants to efficiently take in carbon dioxide and release oxygen. Additionally, good airflow helps prevent the buildup of stagnant air, which can lead to the proliferation of mold, mildew, and other harmful pathogens.
The Role of Temperature in Plant Growth
Temperature is a critical factor in plant growth and development. Most indoor-grown plants thrive in a temperature range of 70-85°F (21-29°C) during the day and 60-70°F (15-21°C) at night. Maintaining this optimal temperature range is crucial for various plant processes, such as photosynthesis, nutrient uptake, and overall vigor.
When the temperature in your grow tent exceeds the ideal range, it can lead to a host of problems, including:
- Stunted growth
- Wilting or drooping leaves
- Increased susceptibility to pests and diseases
- Reduced yields
Conversely, if the temperature drops too low, your plants may experience:
- Slowed growth
- Discoloration or yellowing of leaves
- Increased risk of fungal infections
By strategically positioning your fans, you can ensure that the air in your grow tent is constantly circulating, helping to maintain the perfect temperature for your plants to thrive.
Selecting the Right Fans for Your Grow Tent
Before we dive into the best fan positioning strategies, it's important to choose the right fans for your grow tent setup. There are several factors to consider when selecting fans, including:
Size and Airflow Capacity
The size of your grow tent will determine the airflow capacity you need. As a general rule, you should aim for a fan that can complete a full air exchange in your grow tent every 1-3 minutes. This ensures that the air is constantly circulating and preventing hot spots or stagnant areas.
Fan Type
There are several types of fans to choose from, each with its own advantages:
- Oscillating fans: These fans move back and forth, providing a more even distribution of air throughout the grow tent.
- Inline fans: These fans are typically installed outside the grow tent and pull air through the tent, creating a more consistent airflow.
- Clip-on fans: These smaller fans can be strategically placed within the grow tent to target specific areas that need additional airflow.
Noise Level
Depending on the location of your grow tent, you may want to consider the noise level of the fans. Some fans are designed to operate more quietly, which can be important if your grow tent is located in a living space or office.
Optimal Fan Positioning Strategies
Now that you've selected the right fans for your grow tent, it's time to focus on the best positioning strategies to ensure optimal airflow and cooling. Here are some tips to consider:
Positioning Oscillating Fans
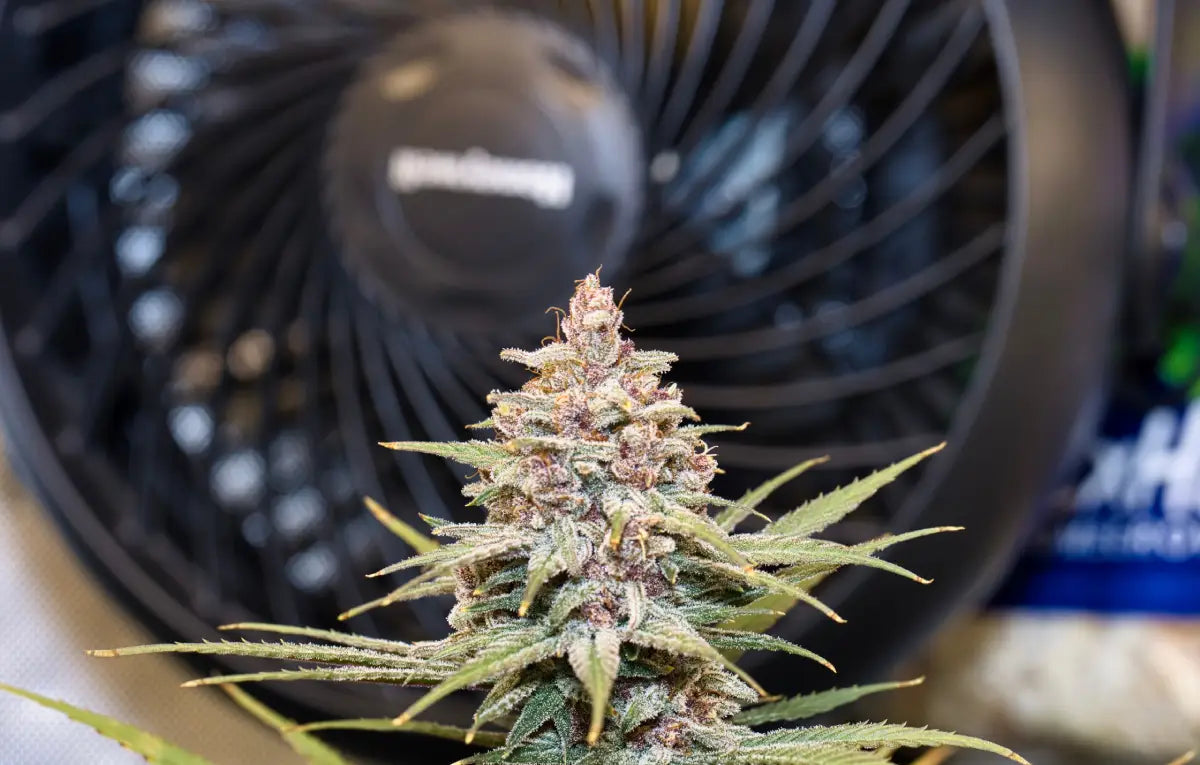
Oscillating fans are a great choice for providing even air circulation throughout your grow tent. Position them along the perimeter of the tent, angled slightly inward to create a gentle breeze that reaches all areas of the canopy.
Using Inline Fans
Inline fans are typically installed outside the grow tent and pull air through the tent. Position the intake end of the inline fan near the bottom of the tent, and the exhaust end near the top. This will create a consistent air flow, pulling cool air in from the bottom and expelling warm air out the top.
Strategically Placing Clip-on Fans
Clip-on fans can be used to target specific areas that may be prone to hot spots or stagnant air. Position them near the canopy, angled downward to ensure the air reaches the lower portions of the plants. You can also use clip-on fans to create a gentle breeze across the surface of the growing medium, which can help prevent the buildup of excess moisture.
Adjusting Fan Speeds
Depending on the stage of plant growth and environmental conditions, you may need to adjust the speed of your fans. During the vegetative stage, when plants are actively growing, you may want to run your fans at a higher speed to promote robust growth. As your plants transition to the flowering stage, you may want to reduce the fan speed slightly to avoid overly drying out the environment.
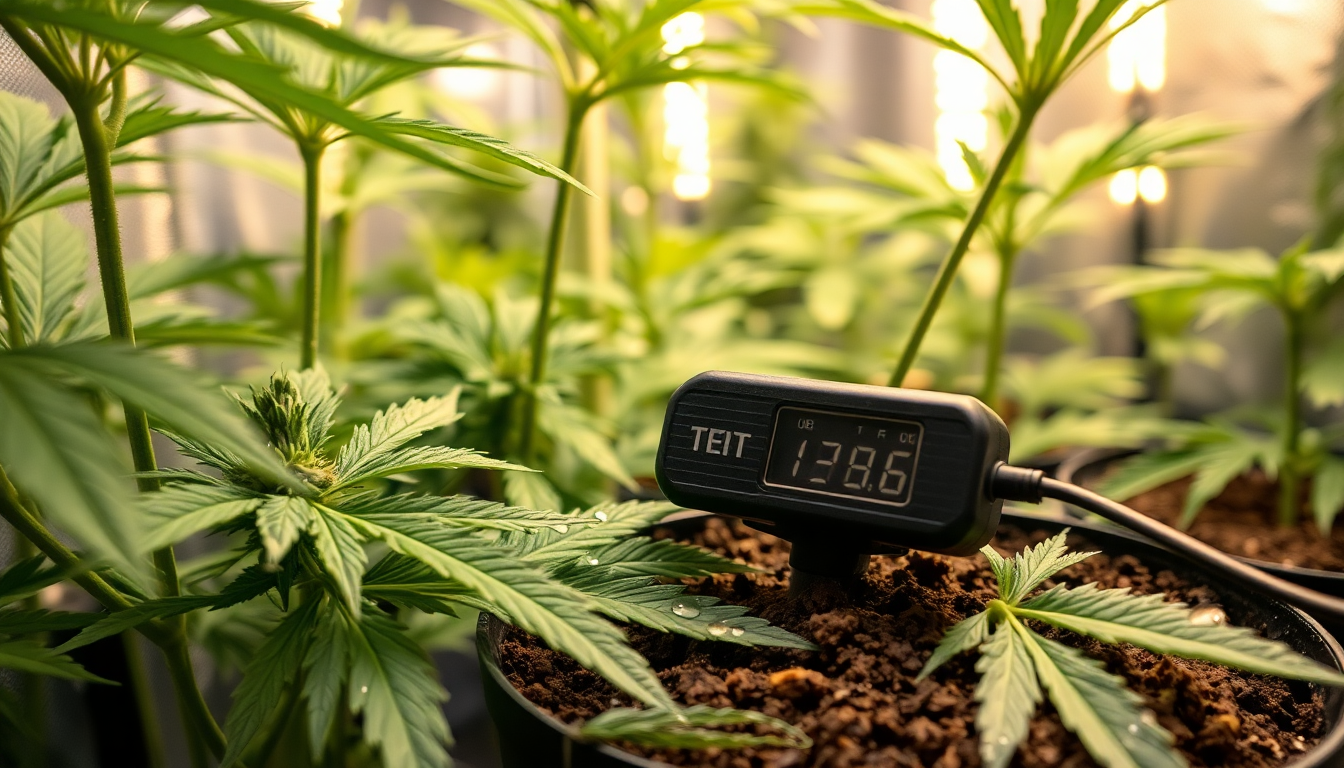
Monitoring Temperature and Humidity
Regularly monitoring the temperature and humidity levels within your grow tent is crucial for fine-tuning your fan positioning and speed. Use a reliable hygrometer and thermometer to track these metrics and make adjustments as needed to maintain the optimal growing conditions.
Conclusion
Proper airflow and cooling are essential for creating the perfect environment for your indoor plants to thrive. By strategically positioning your fans and monitoring the temperature and humidity levels in your grow tent, you can ensure that your plants receive the optimal air circulation they need to reach their full potential. Remember, the key to a successful indoor garden is paying close attention to the details and making adjustments as needed to create the perfect microclimate for your plants.