How to Start an Indoor Grow: Step-by-Step Guide for Beginners
How to Start an Indoor Grow: A Step-by-Step Guide for Beginners
Why Choose Indoor Growing?
Indoor growing allows you to control every aspect of your plant’s environment, from light and temperature to humidity and airflow. This level of control helps optimize plant growth, leading to faster growth cycles and higher yields. Whether you’re growing vegetables, herbs, or plant, starting an indoor grow is a great way to ensure year-round cultivation. This guide will walk you through the steps to get your indoor grow setup running smoothly.
1. Choose the Right Space for Your Indoor Grow
The first step in starting an indoor grow is selecting the right space. The size of your space will determine how many plants you can grow and what equipment you’ll need. Here are some factors to consider:
- Size: A small closet, grow tent, or an entire room can be used depending on the number of plants you want to grow. A 2’x2’ or 3’x3’ grow tent is ideal for beginners.
- Location: Choose a space that is private, has access to electricity, and is free from temperature fluctuations. Avoid areas near drafty windows or heating vents.
- Ventilation: Ensure the space can be properly ventilated, as indoor plants need fresh air to thrive and help control temperature and humidity.
2. Set Up Your Grow Tent or Growing Area
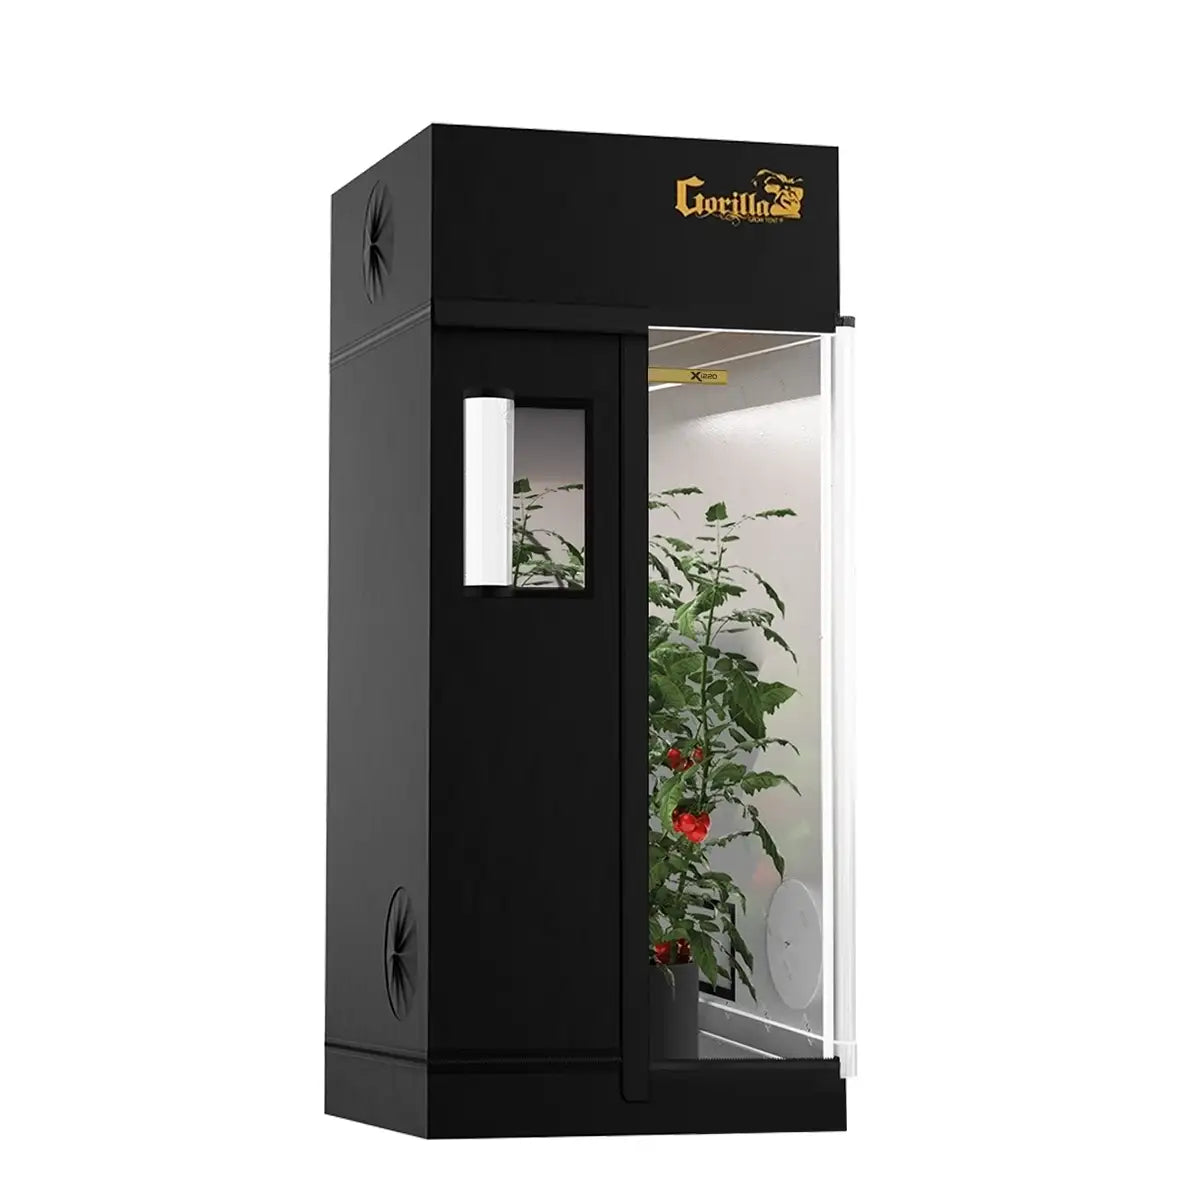
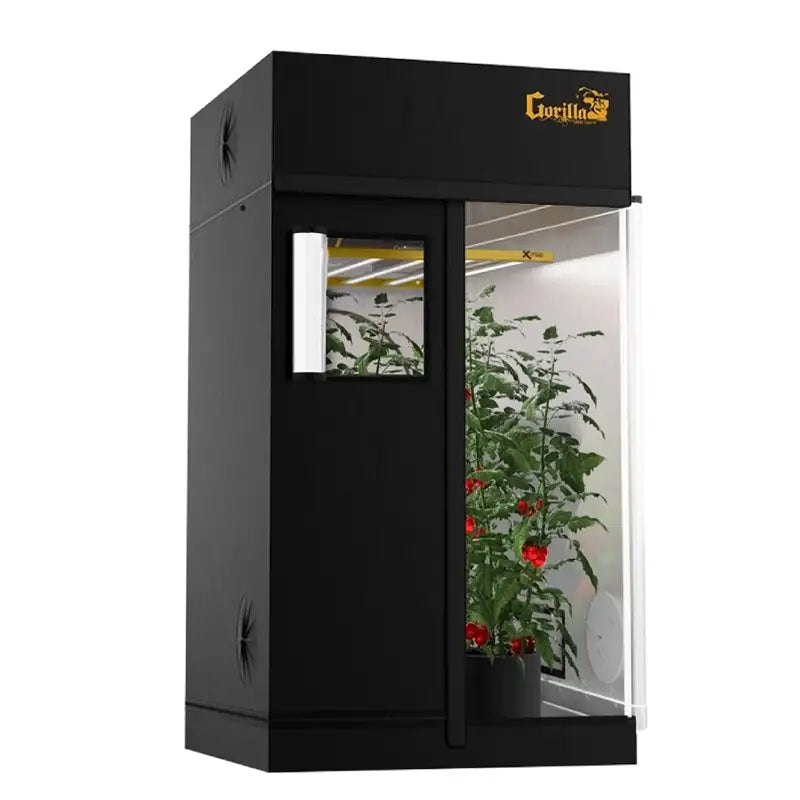
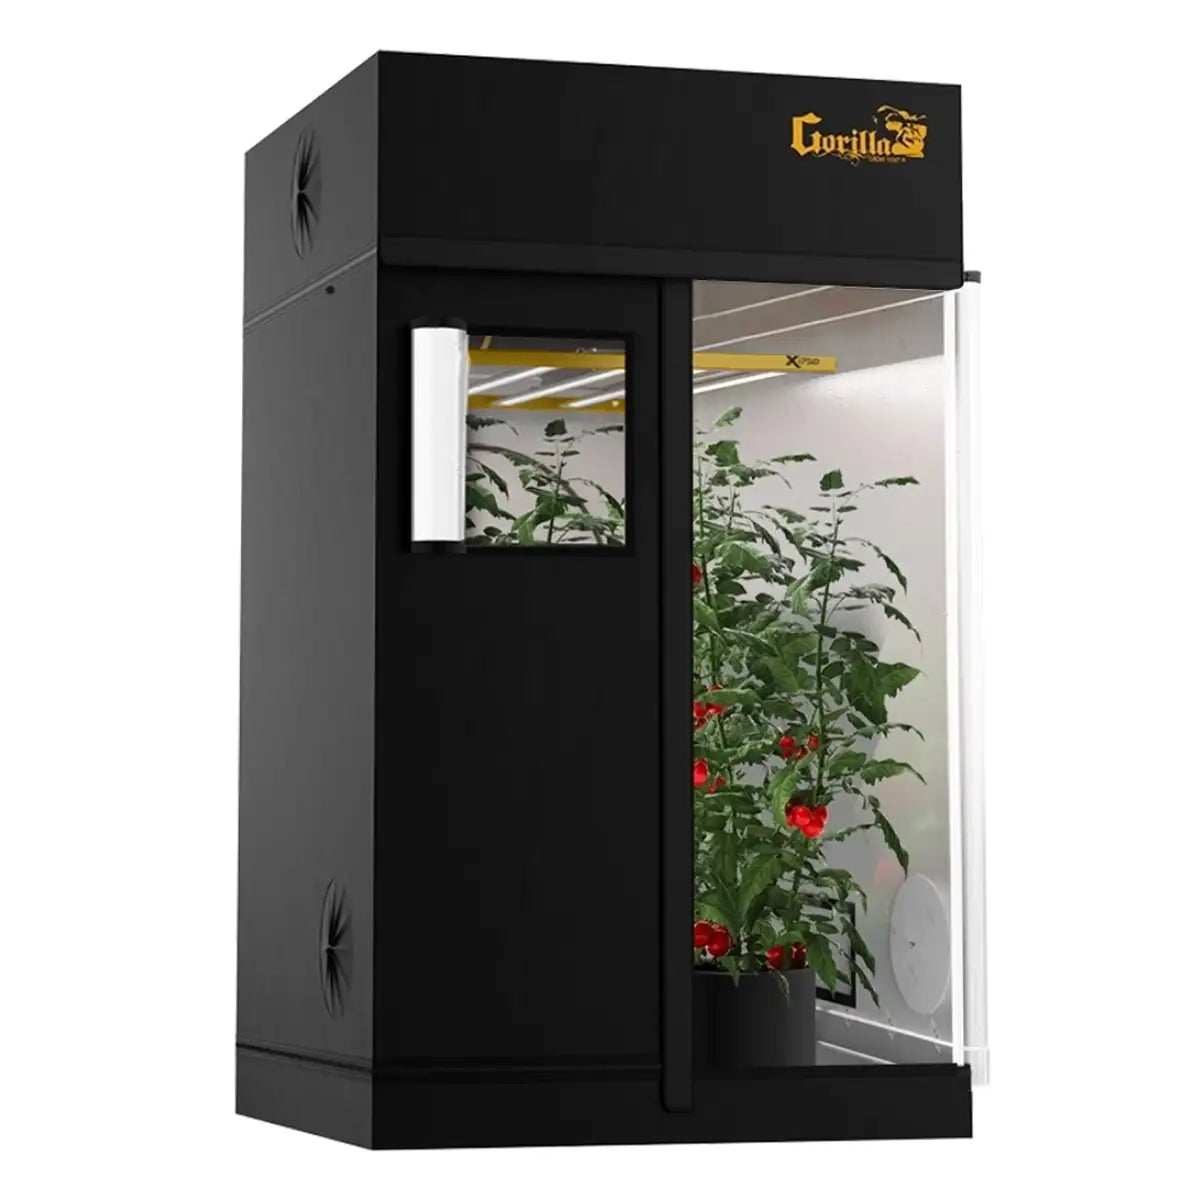
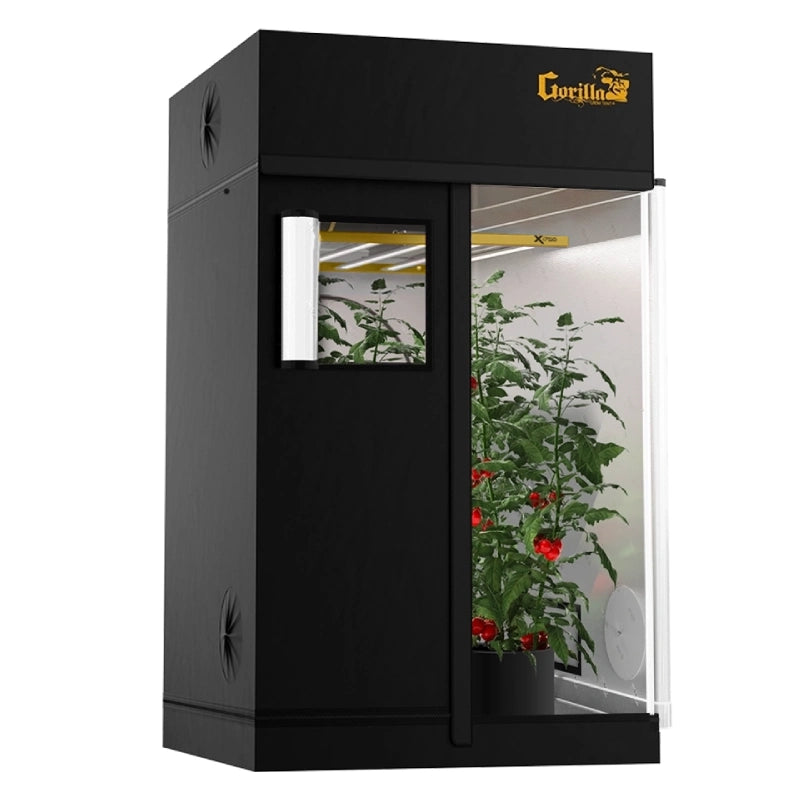
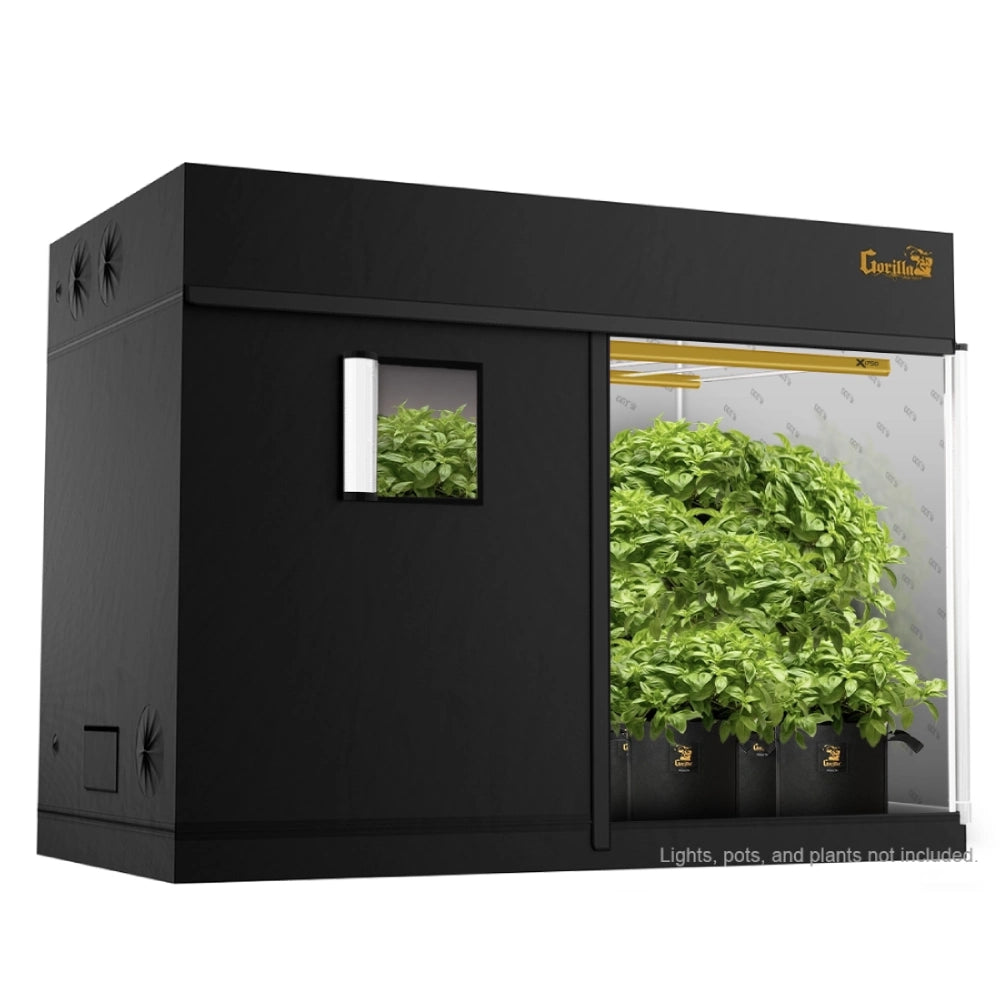
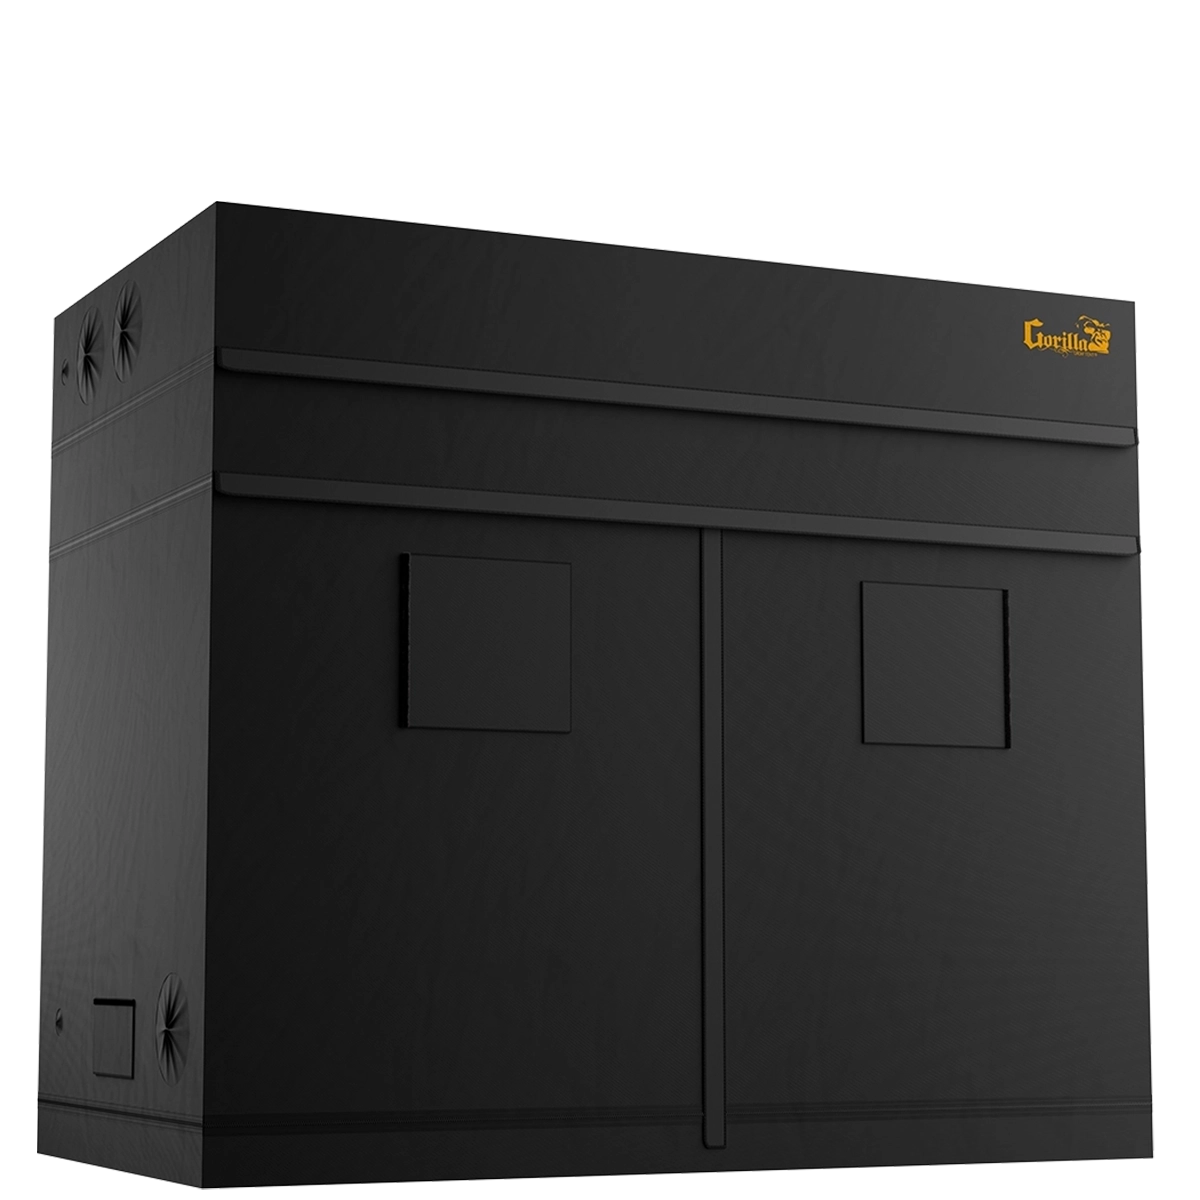
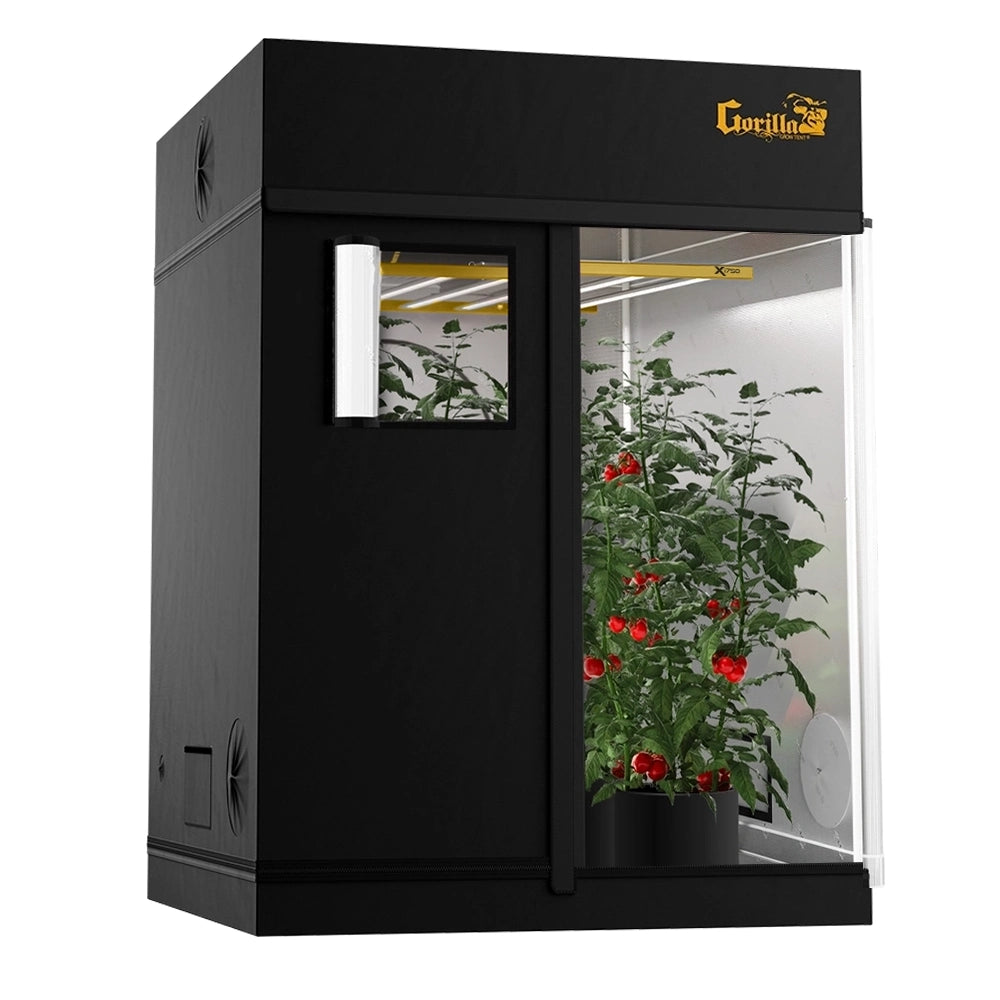
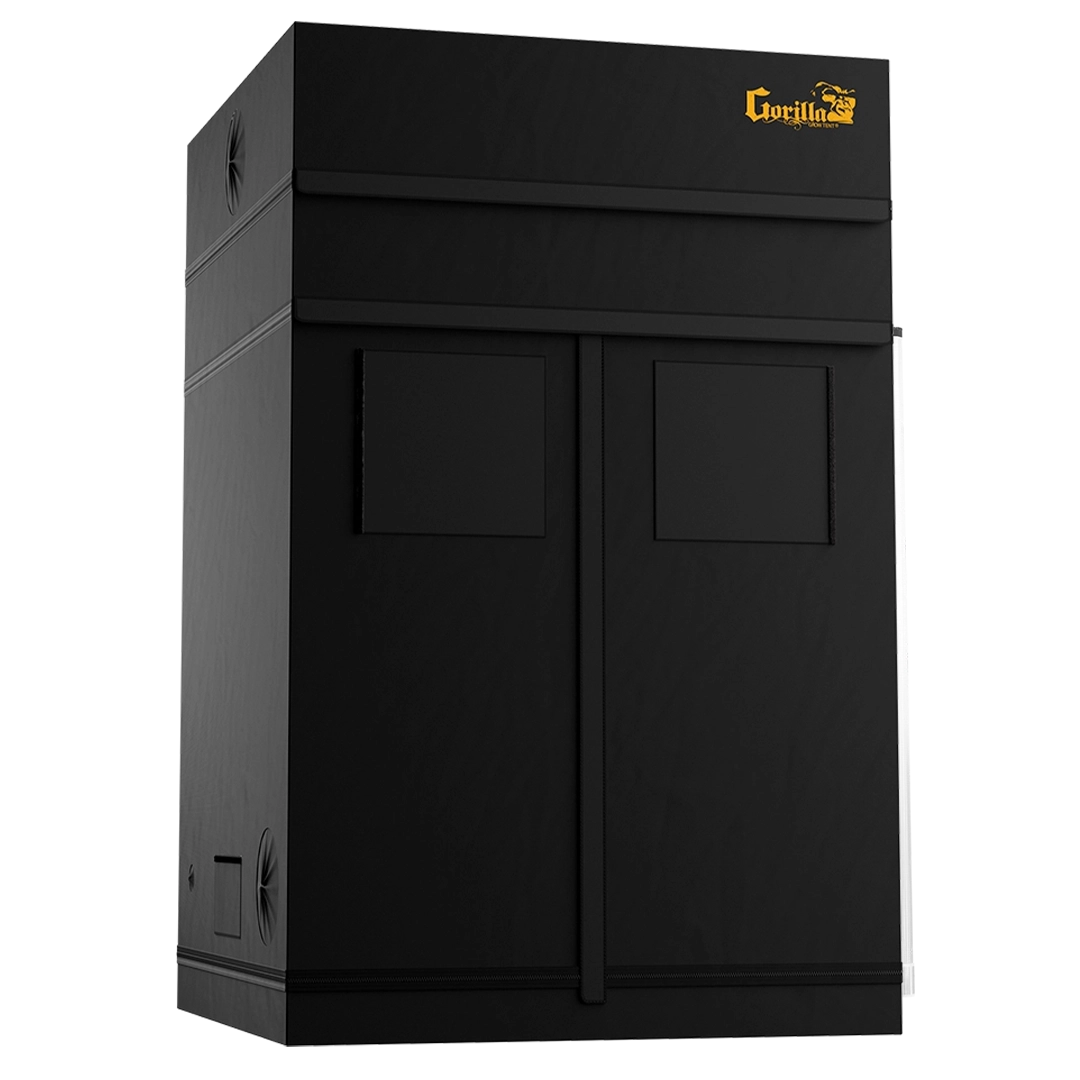
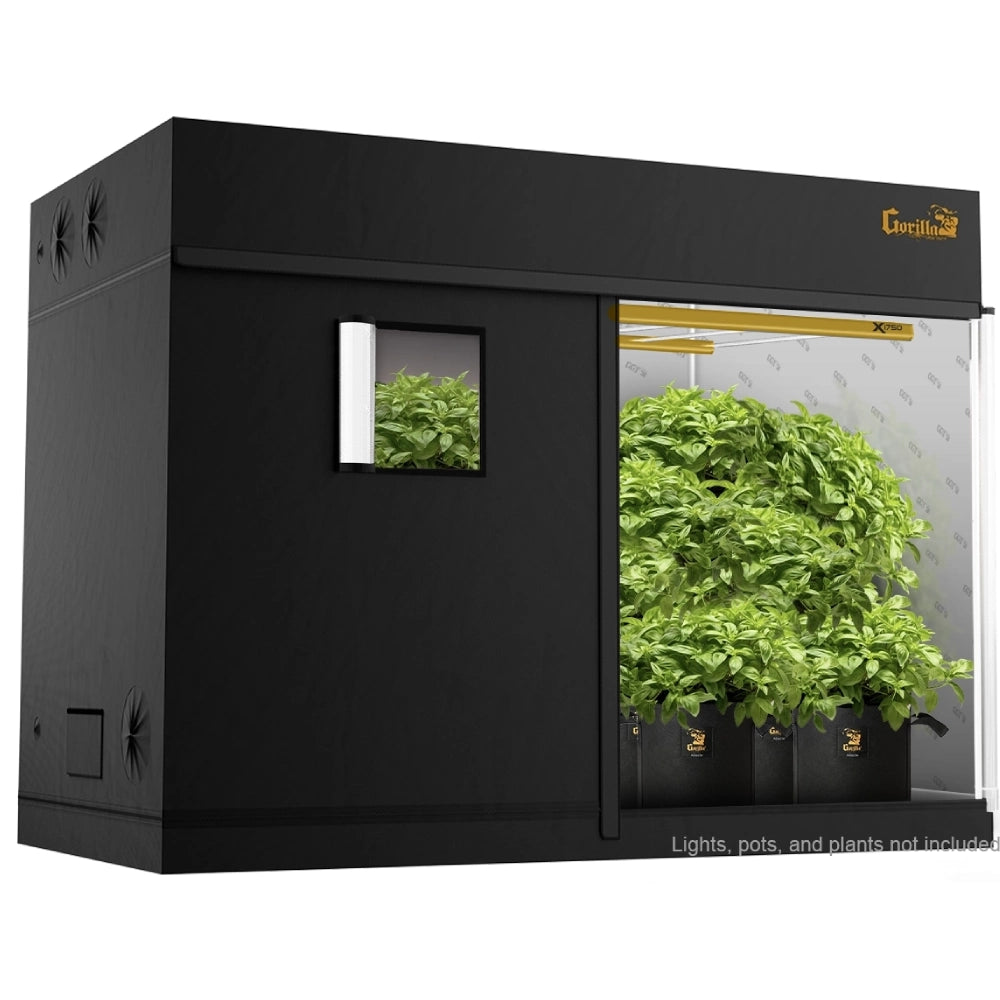
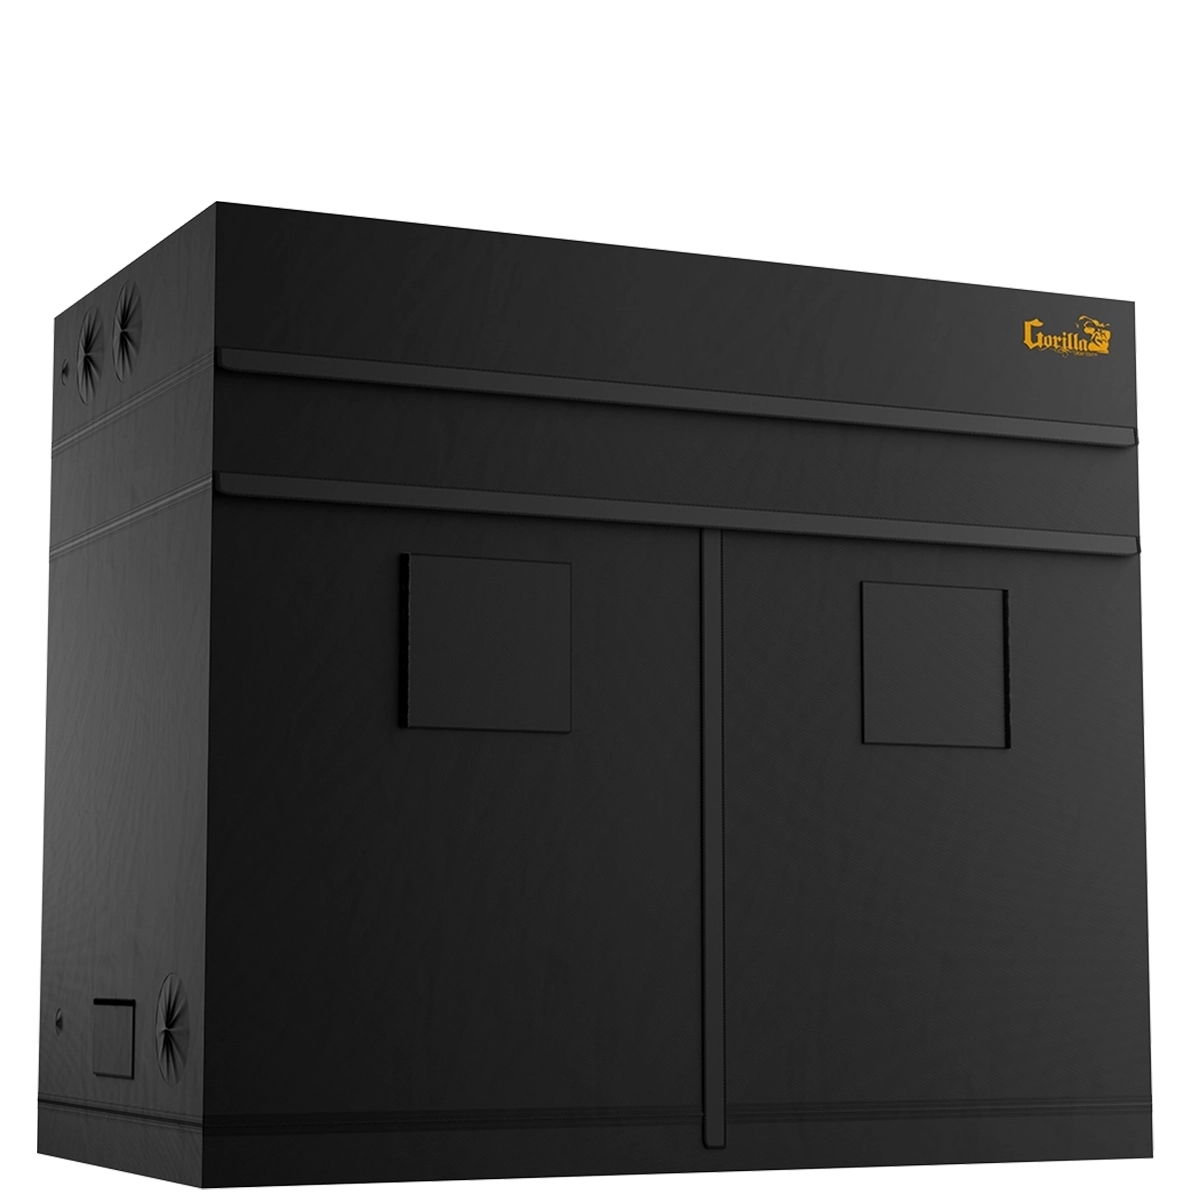
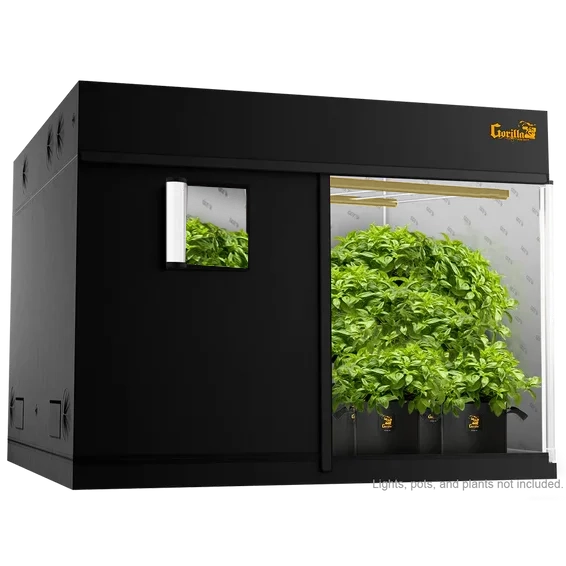
If you’re using a grow tent, setting it up is relatively straightforward. Grow tents provide a controlled environment with reflective interiors that maximize light efficiency. If you’re not using a tent, designate a corner of a room or a closet and make sure it’s well-sealed to maintain the right conditions.
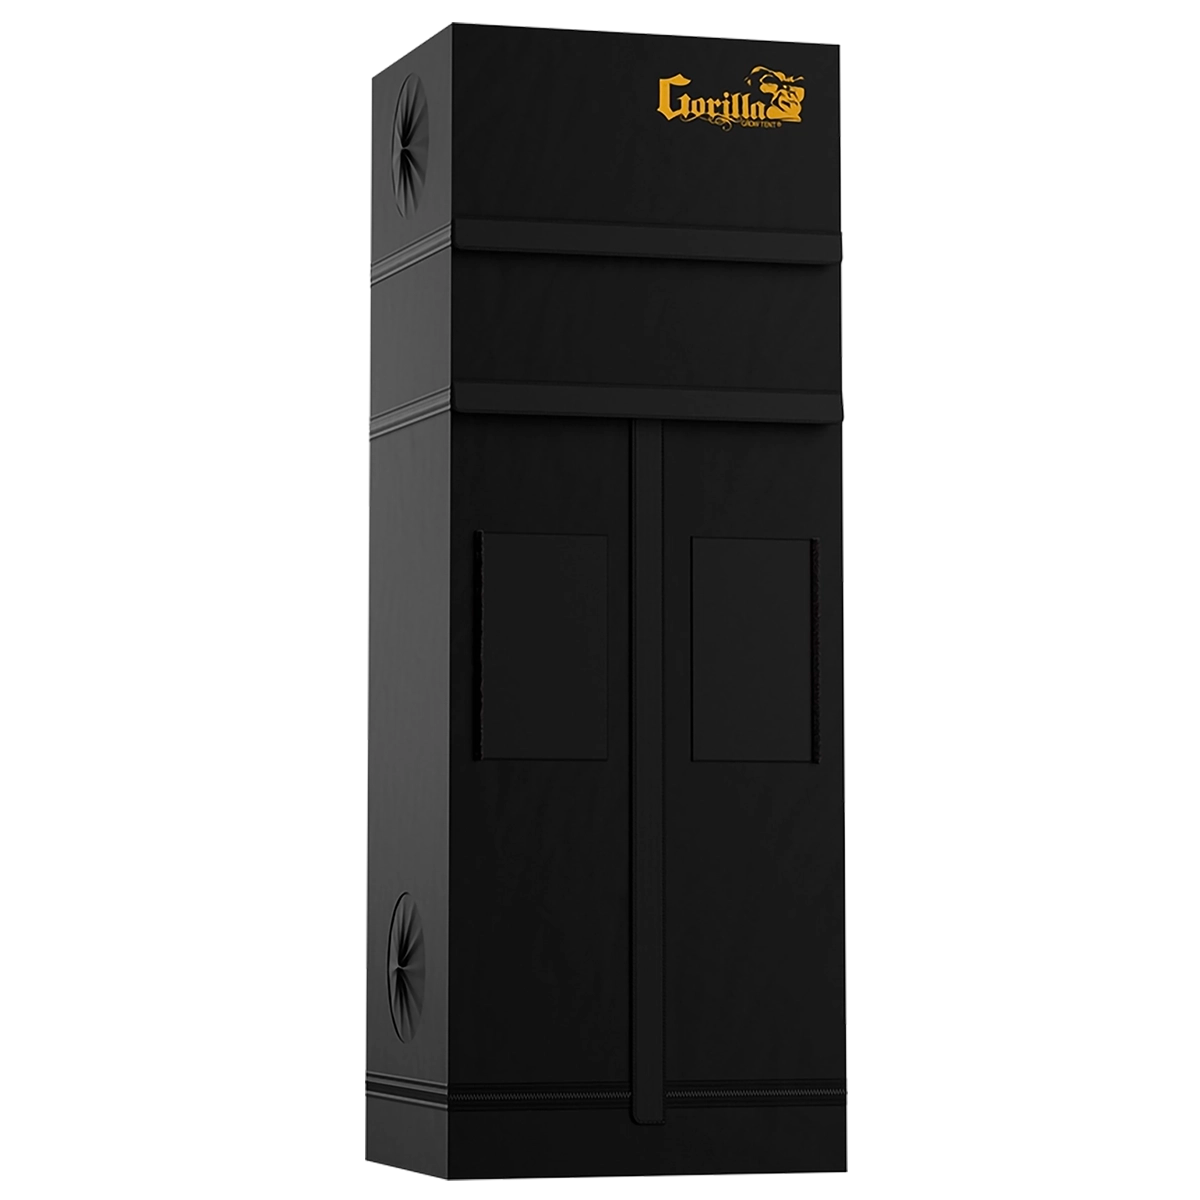
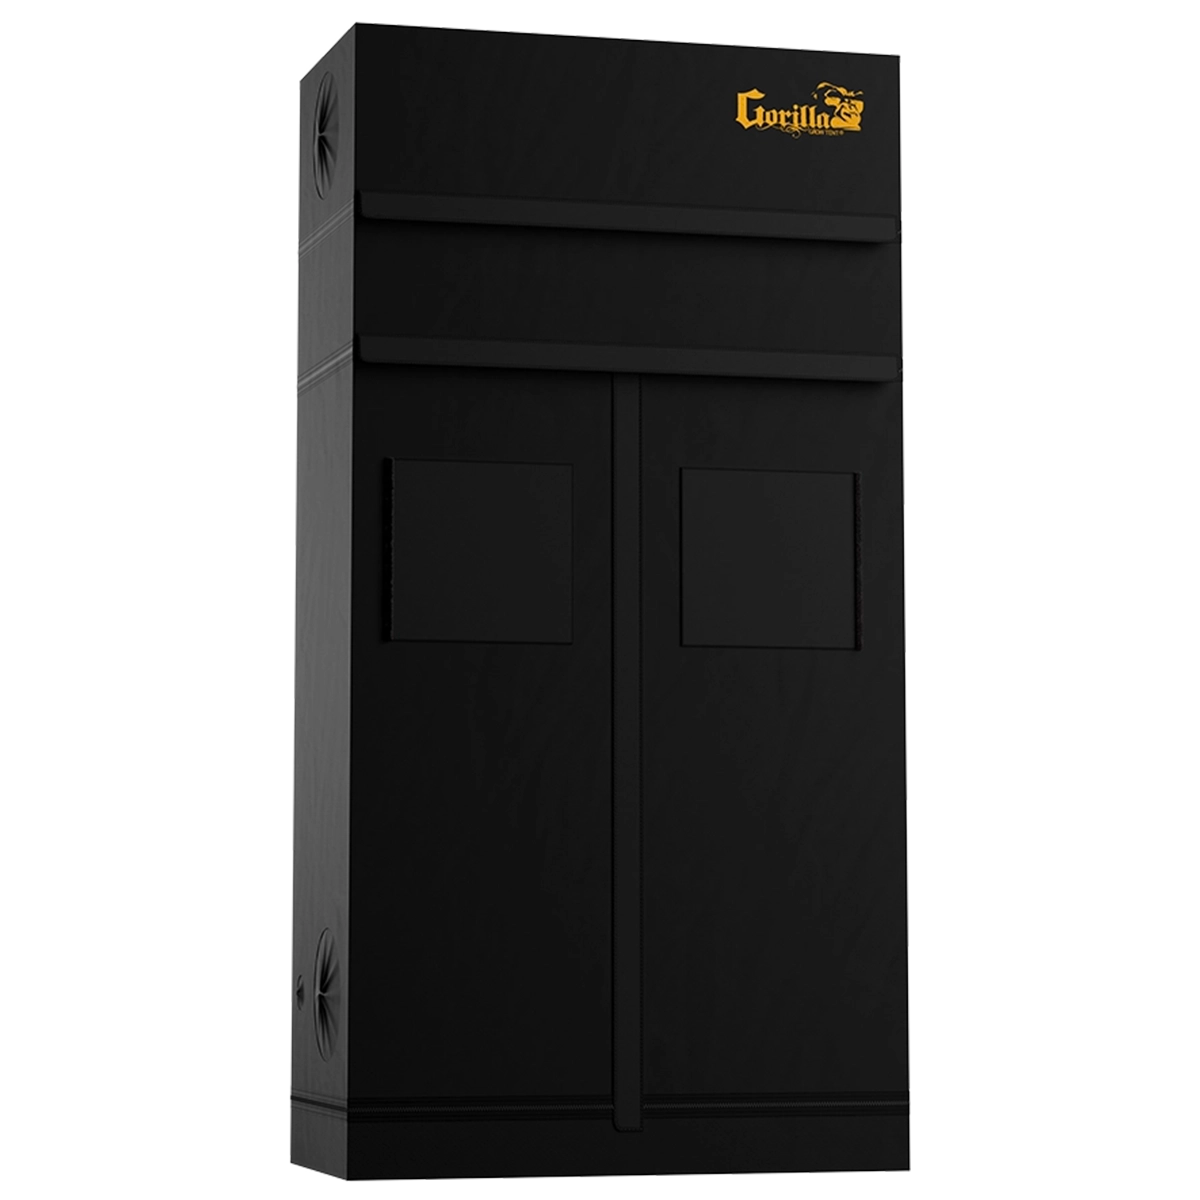
- Grow Tents: Available in various sizes, grow tents are portable, easy to set up, and provide a self-contained space for growing. They also have built-in ventilation ports for fans and filters.
- Grow Box: If you prefer not to use a tent, you can set up a grow area by hanging reflective material (like Mylar) on the walls to improve light distribution.
3. Choose the Right Grow Lights
Lighting is one of the most important factors in indoor growing. The type of grow lights you choose will determine how well your plants grow. Here are the three most common types of grow lights:
1. LED Grow Lights
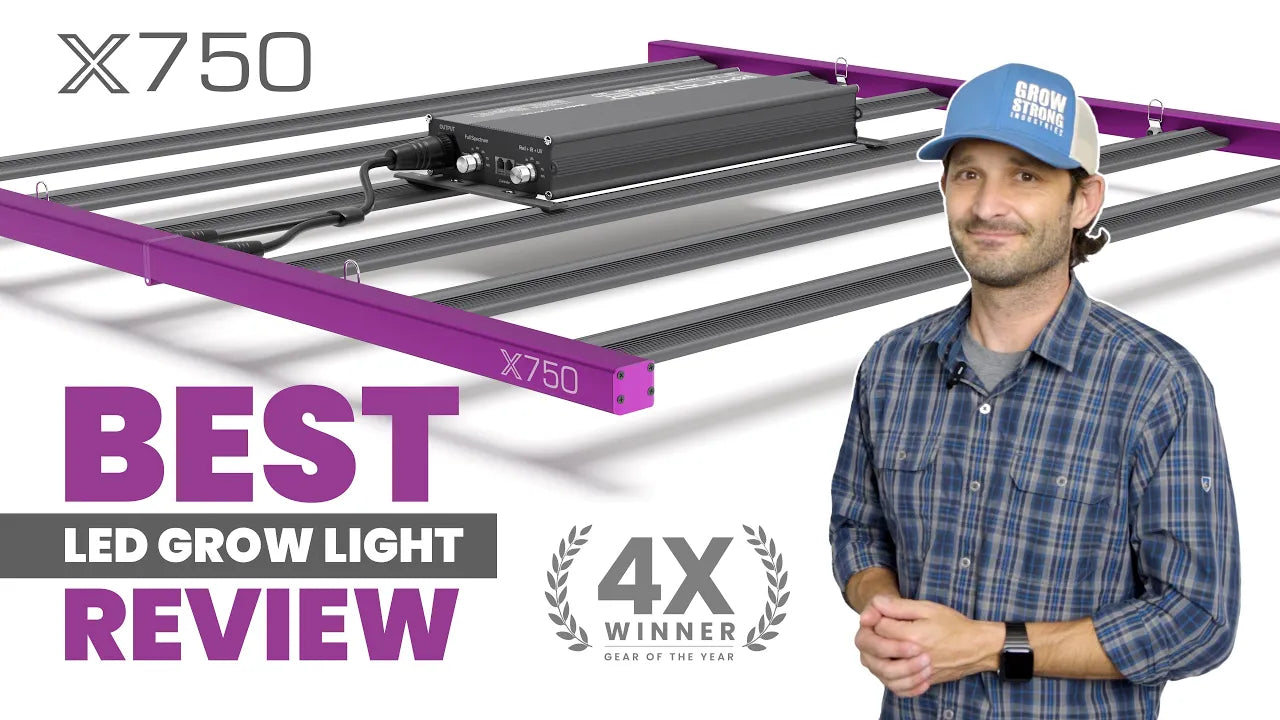
LED grow lights are energy-efficient, produce little heat, and offer a full spectrum of light suitable for all stages of plant growth. LEDs are ideal for beginners due to their ease of use and low energy consumption.
2. HID Grow Lights
HID (High-Intensity Discharge) lights, such as Metal Halide (MH) and High-Pressure Sodium (HPS), are powerful and provide intense light for large grows. MH lights are used during the vegetative stage, while HPS lights are used during flowering. However, HID lights produce a lot of heat and require good ventilation.
3. CFL Grow Lights
CFL (Compact Fluorescent Lamps) are affordable and produce minimal heat, making them a good option for small grows. They are best used for seedlings, clones, and the vegetative stage of plant growth.
4. Set Up Ventilation
Proper airflow is crucial for maintaining the temperature, humidity, and oxygen levels in your grow area. Without good ventilation, plants can become stressed, leading to slower growth and a higher risk of mold and pests. Here’s what you need for ventilation:
- Inline Fan: This fan pulls hot air out of the grow area and brings in fresh air, ensuring a constant supply of oxygen. It also helps control humidity levels.
- Carbon Filter: If you’re growing plants that have a strong odor, a carbon filter attached to the exhaust fan will help neutralize smells as they exit the grow area.
- Oscillating Fan: This fan circulates air inside the grow area, preventing heat buildup and ensuring even distribution of CO2 and humidity.
5. Choose Your Growing Medium
Your growing medium is where your plants’ roots will develop. The most common options include:
- Soil: Organic potting soil is a beginner-friendly option and provides natural nutrients. Make sure to use soil that is light and well-draining, without too many added nutrients for seedlings.
- Coco Coir: Made from coconut husks, coco coir is an excellent soilless medium that retains moisture and allows for good root aeration. It’s often used in hydroponic systems.
- Hydroponics: A hydroponic system involves growing plants in water-based nutrient solutions without soil. Hydroponics can lead to faster growth and higher yields, but it requires more setup and monitoring.
6. Watering and Nutrient Management
Watering your plants correctly is essential for healthy growth. Overwatering or underwatering can harm your plants, so it’s important to monitor moisture levels. Additionally, providing the right nutrients at each stage of growth is key to success:
- Watering: Water the plants when the top inch of soil feels dry to the touch. Ensure proper drainage to avoid waterlogged roots.
- Nutrients: Use a nutrient solution formulated for the specific growth stage of your plants. During the vegetative stage, focus on nitrogen-rich nutrients. For the flowering stage, switch to a formula higher in phosphorus and potassium.
- pH Levels: Keep the pH of your water and nutrient solution in the optimal range (6.0-6.5 for soil and 5.5-6.0 for hydroponics) to avoid nutrient lockout.
7. Set Up a Light Cycle
Plants require different light cycles depending on their growth stage. Using a timer to automate your light schedule will ensure your plants get the right amount of light each day.
- Vegetative Stage: During this stage, plants need 18 hours of light and 6 hours of darkness per day. This encourages rapid growth and development.
- Flowering Stage: Once your plants are ready to flower, switch to a 12/12 light cycle (12 hours of light and 12 hours of darkness).
8. Monitor Temperature and Humidity
Maintaining the right temperature and humidity is crucial for plant health. Here’s what to aim for:
- Temperature: Keep the temperature between 70-85°F (21-29°C) during the day and slightly cooler at night.
- Humidity: For seedlings and clones, aim for a humidity level of 60-70%. As the plants grow, reduce the humidity to 40-50% to prevent mold and other issues.
9. Maintain Your Indoor Grow Environment
Once your indoor grow is up and running, maintaining a stable environment is key to success. Monitor the temperature, humidity, and light levels regularly, and adjust your ventilation and watering as needed. Keep an eye out for signs of stress, such as yellowing leaves or stunted growth, which may indicate nutrient imbalances or environmental issues.
Conclusion: Getting Started with Indoor Growing
Starting an indoor grow can be a rewarding experience, allowing you to cultivate plants year-round in a controlled environment. By following the steps outlined in this guide—choosing the right space, setting up your grow lights and ventilation, and providing the right nutrients and care—you’ll be well on your way to a successful indoor garden. With careful attention to your plants’ needs, you’ll soon be enjoying a healthy, productive grow.