Best Grow Tent Setup for Beginners: A Step-by-Step Guide
Best Grow Tent Setup for Beginners: A Step-by-Step Guide
Why a Grow Tent Setup Is Ideal for Beginners
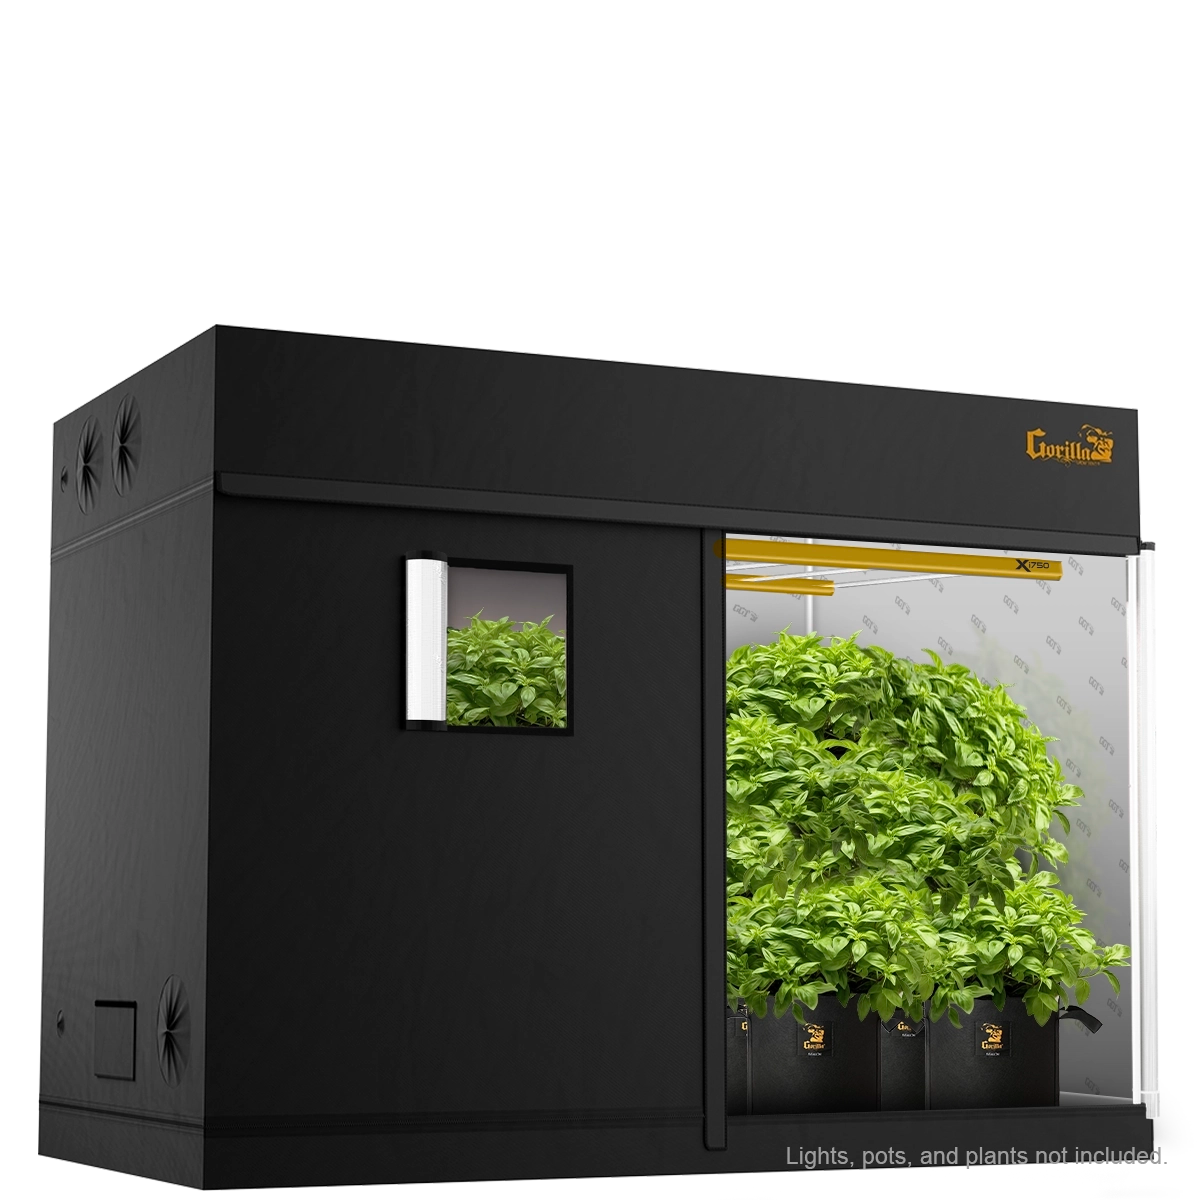
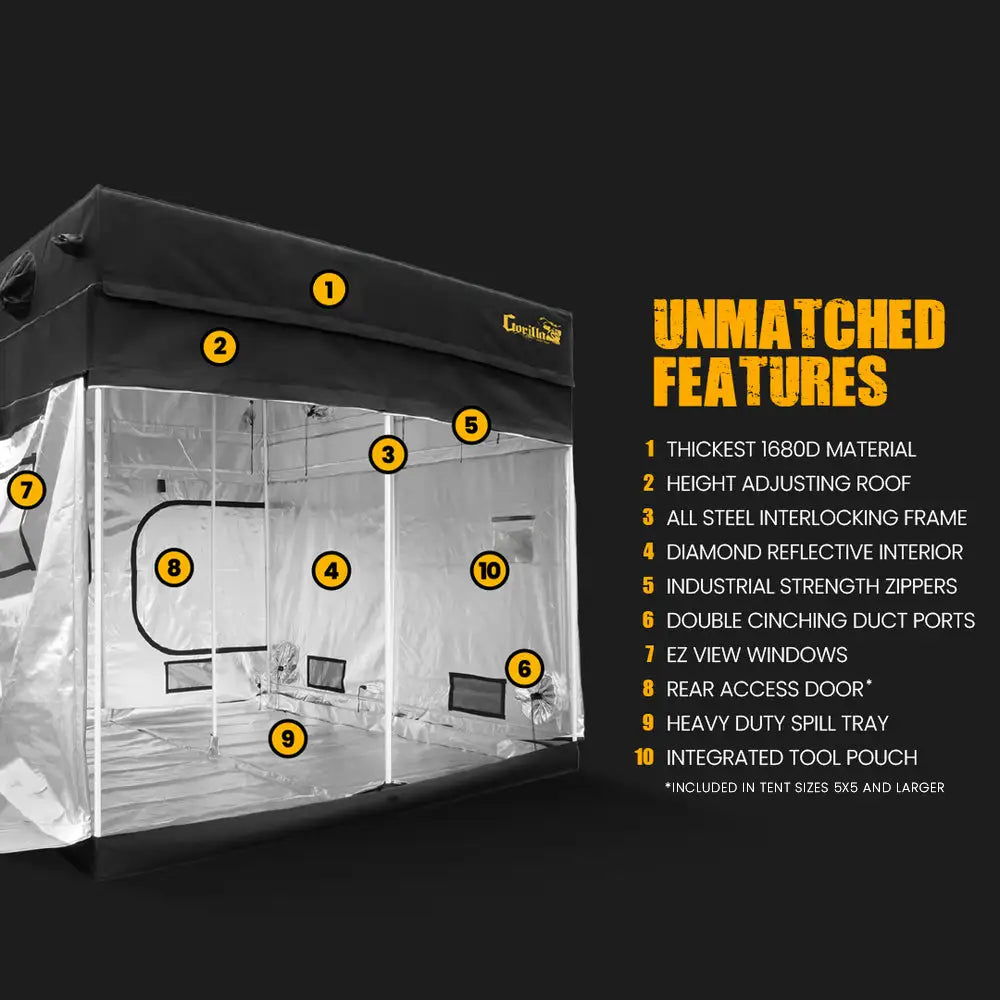
A grow tent setup is the perfect choice for beginners because it provides a controlled environment where you can easily manage factors like light, temperature, humidity, and airflow. Grow tents are designed to maximize efficiency and make indoor gardening more accessible, whether you're growing plants, herbs, or vegetables. This guide will help you set up the best grow tent for beginners, covering all the essentials you need to get started.
1. Choose the Right Grow Tent Size
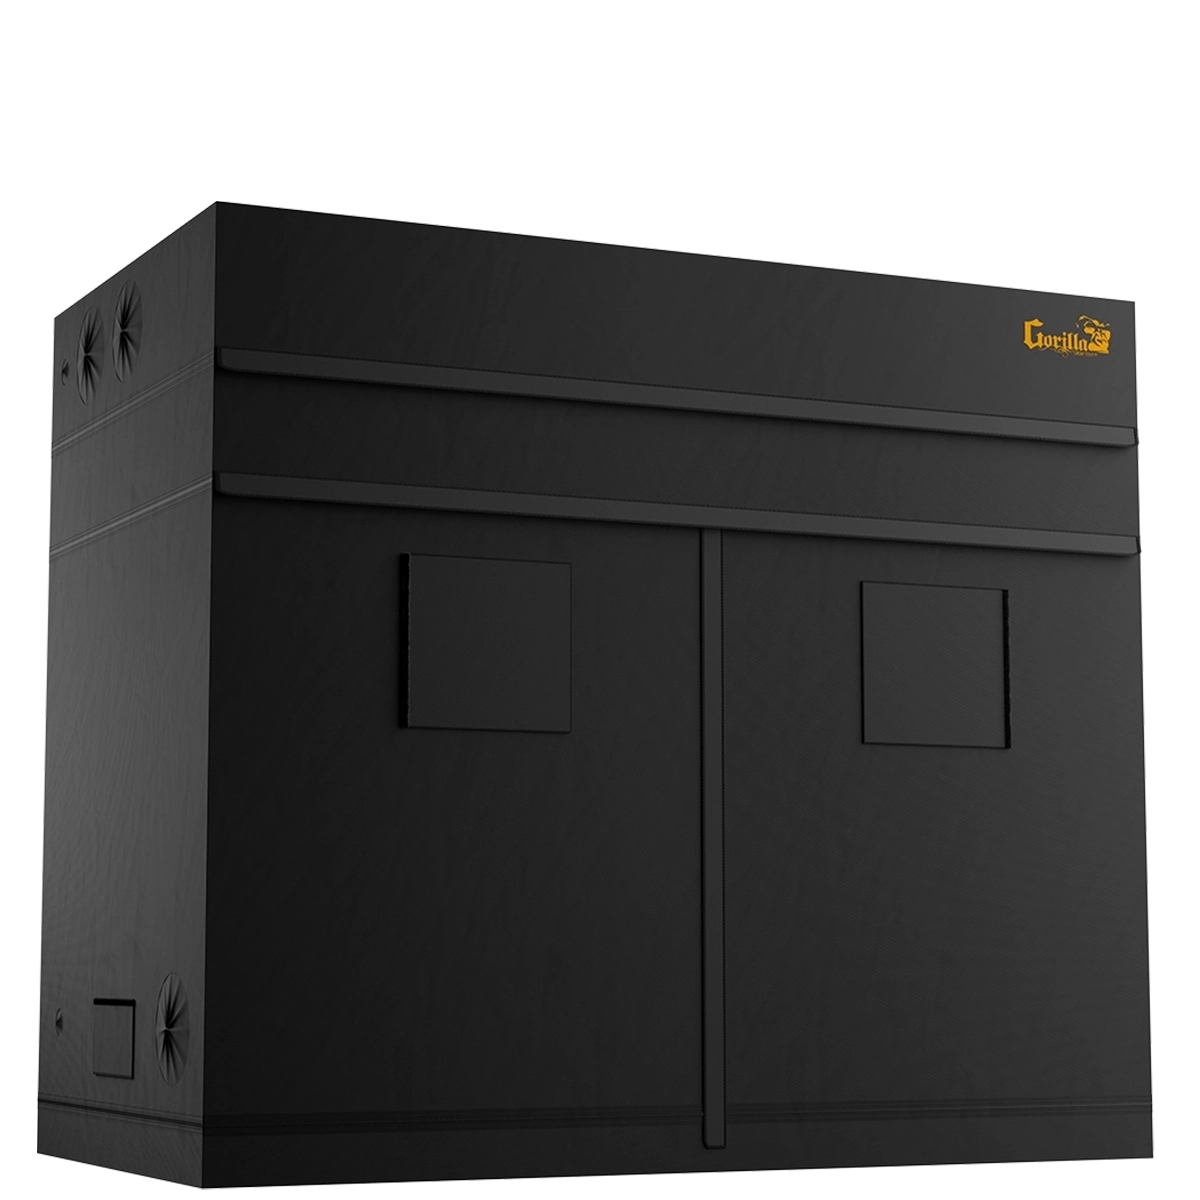
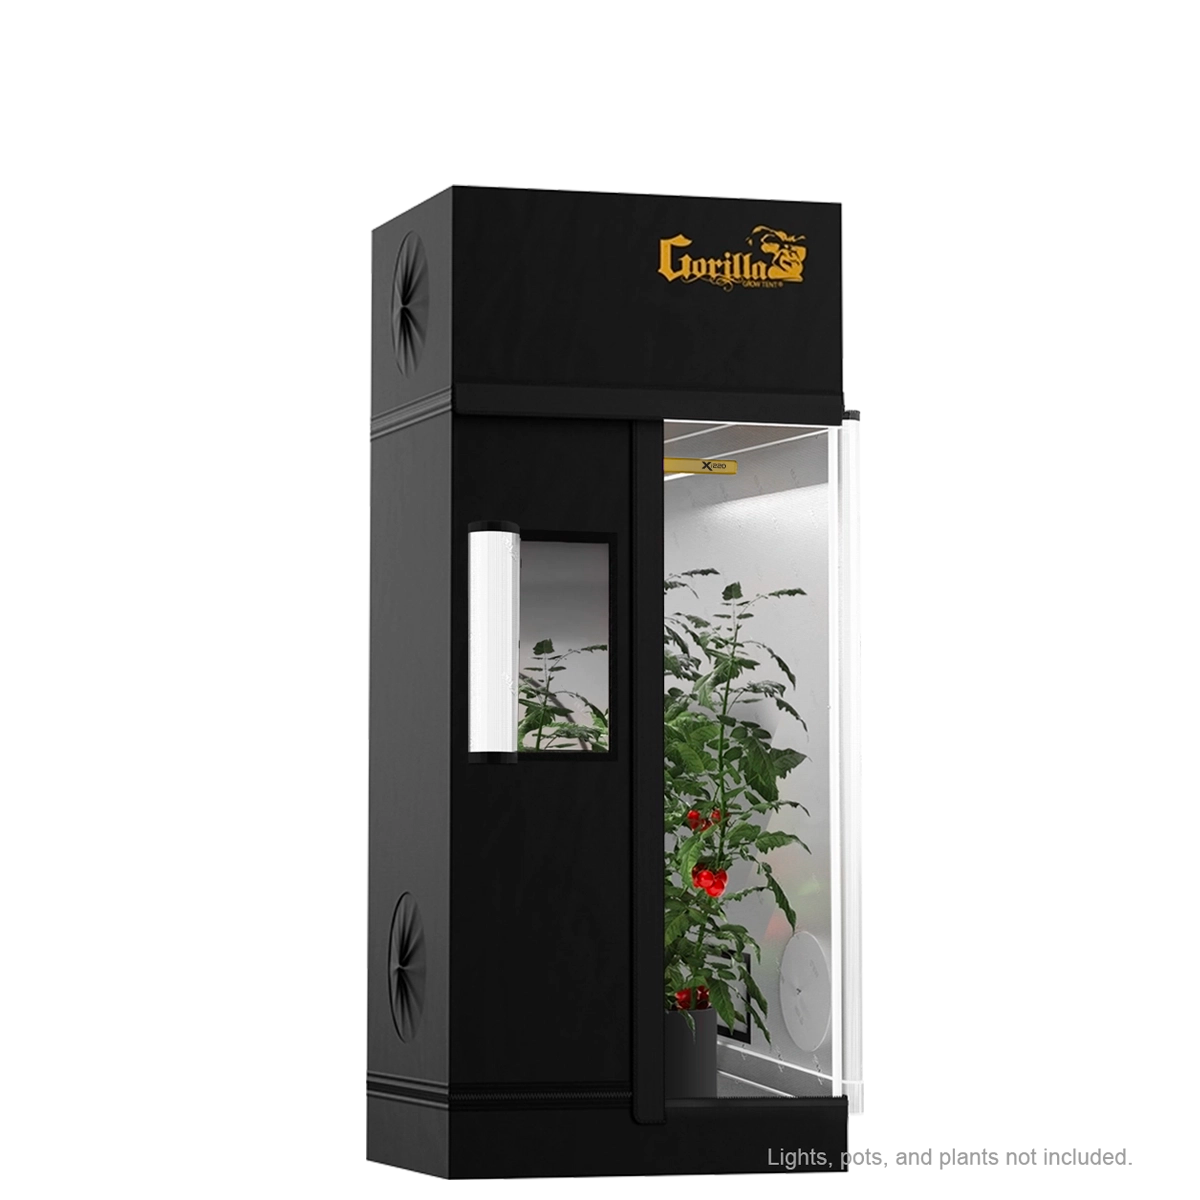
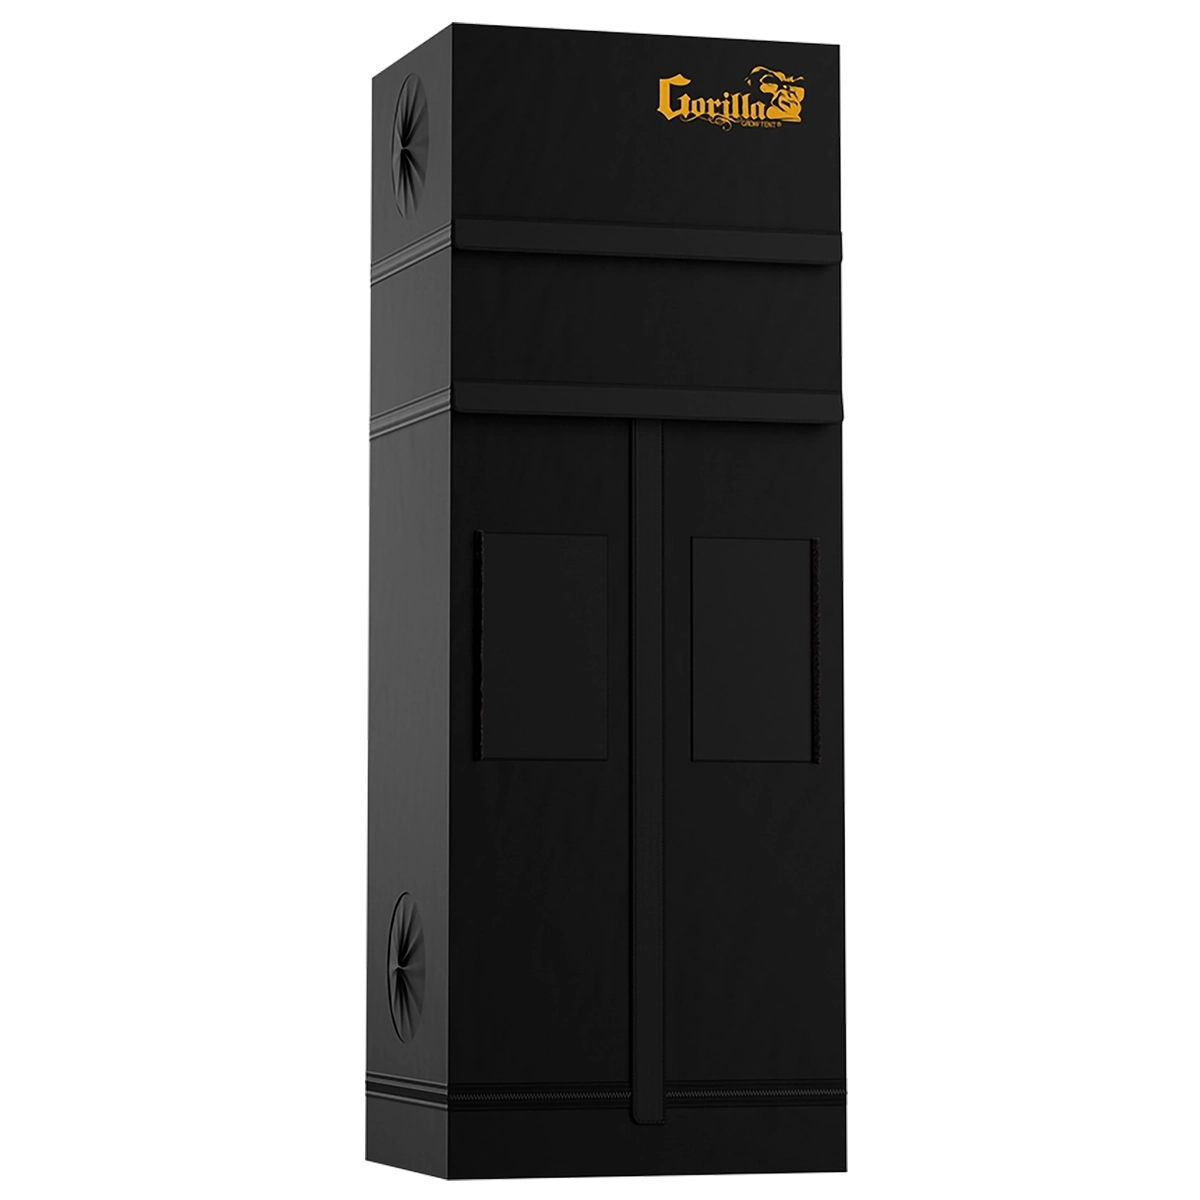
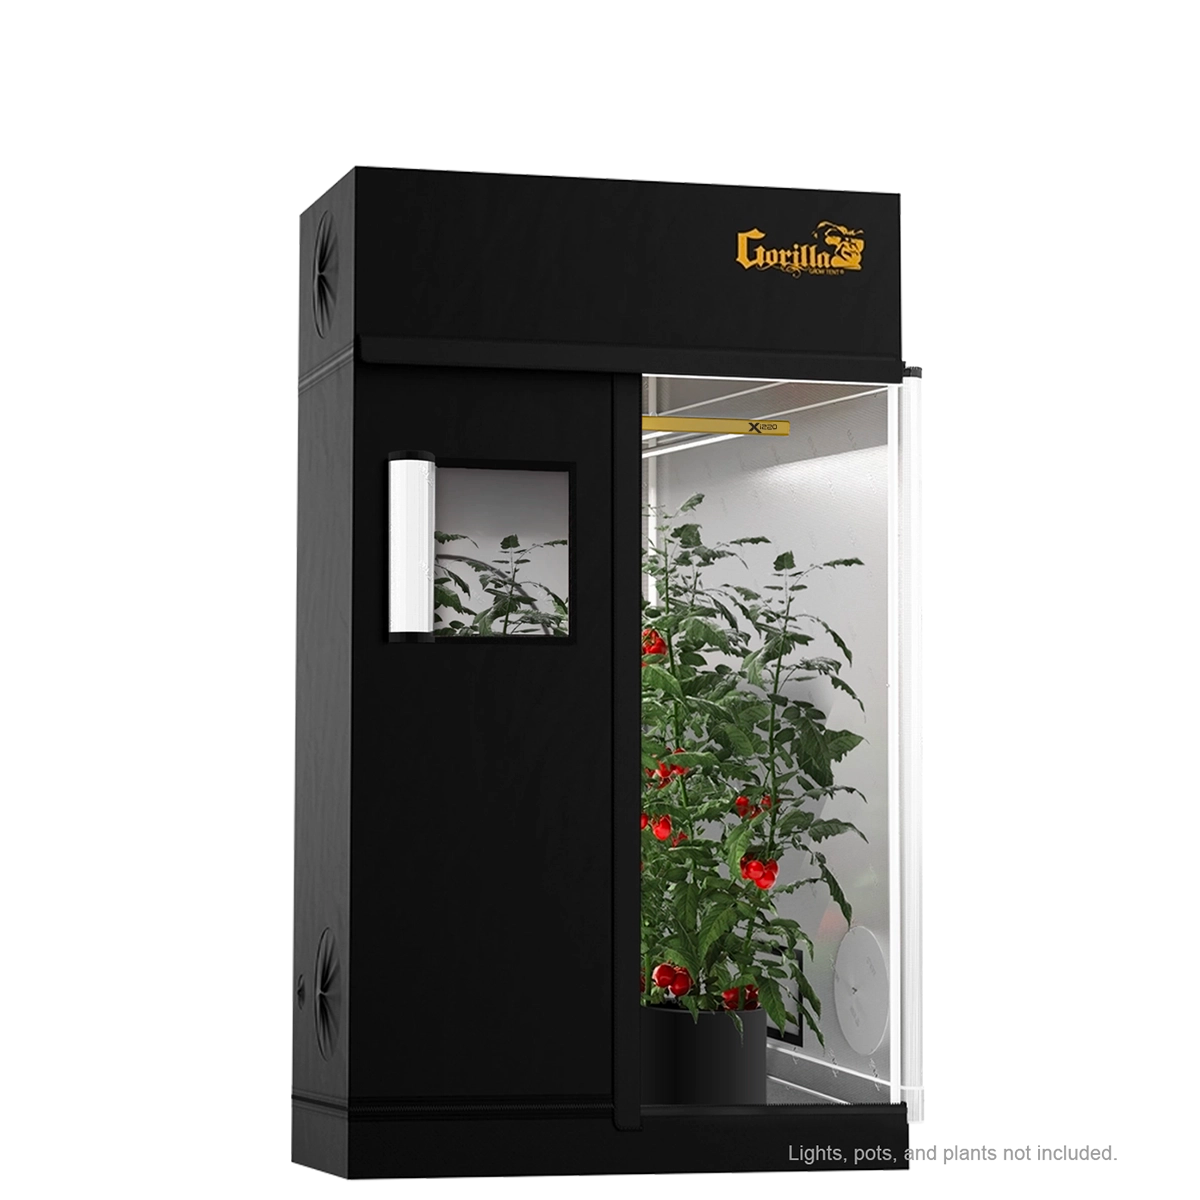
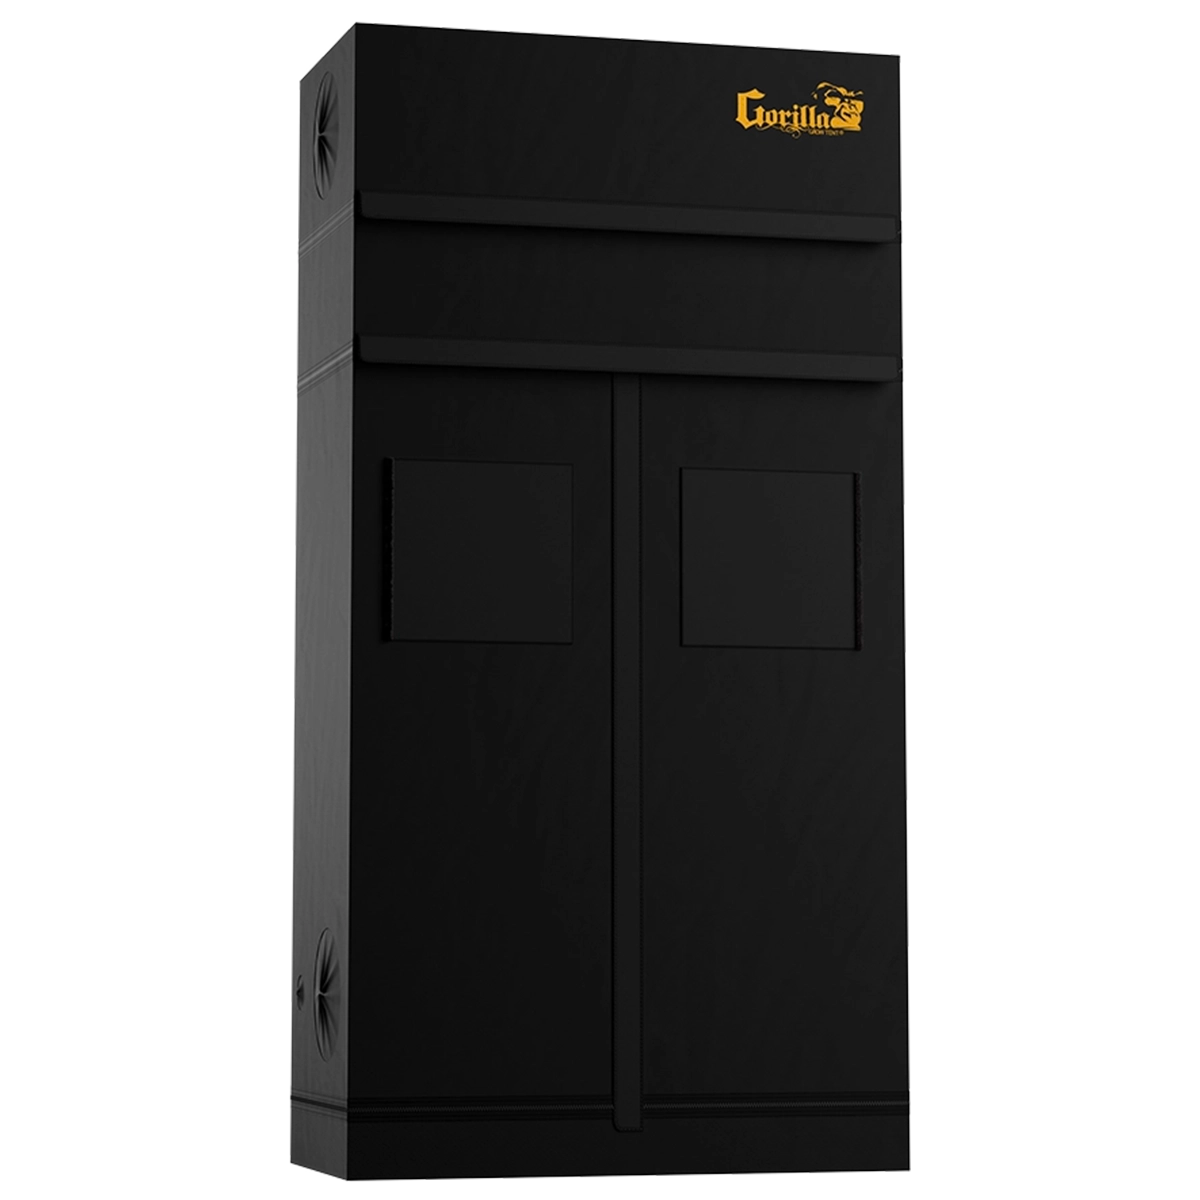
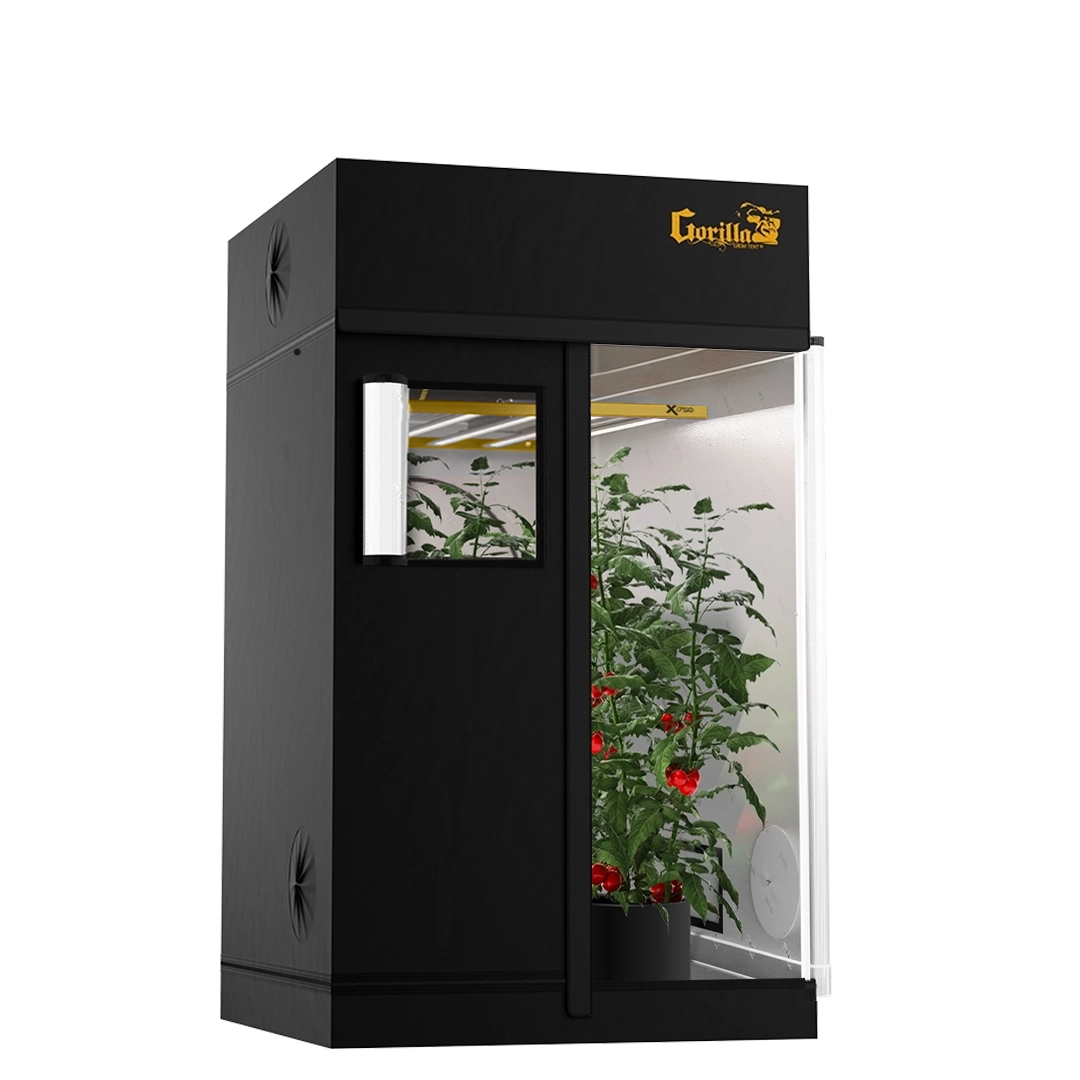
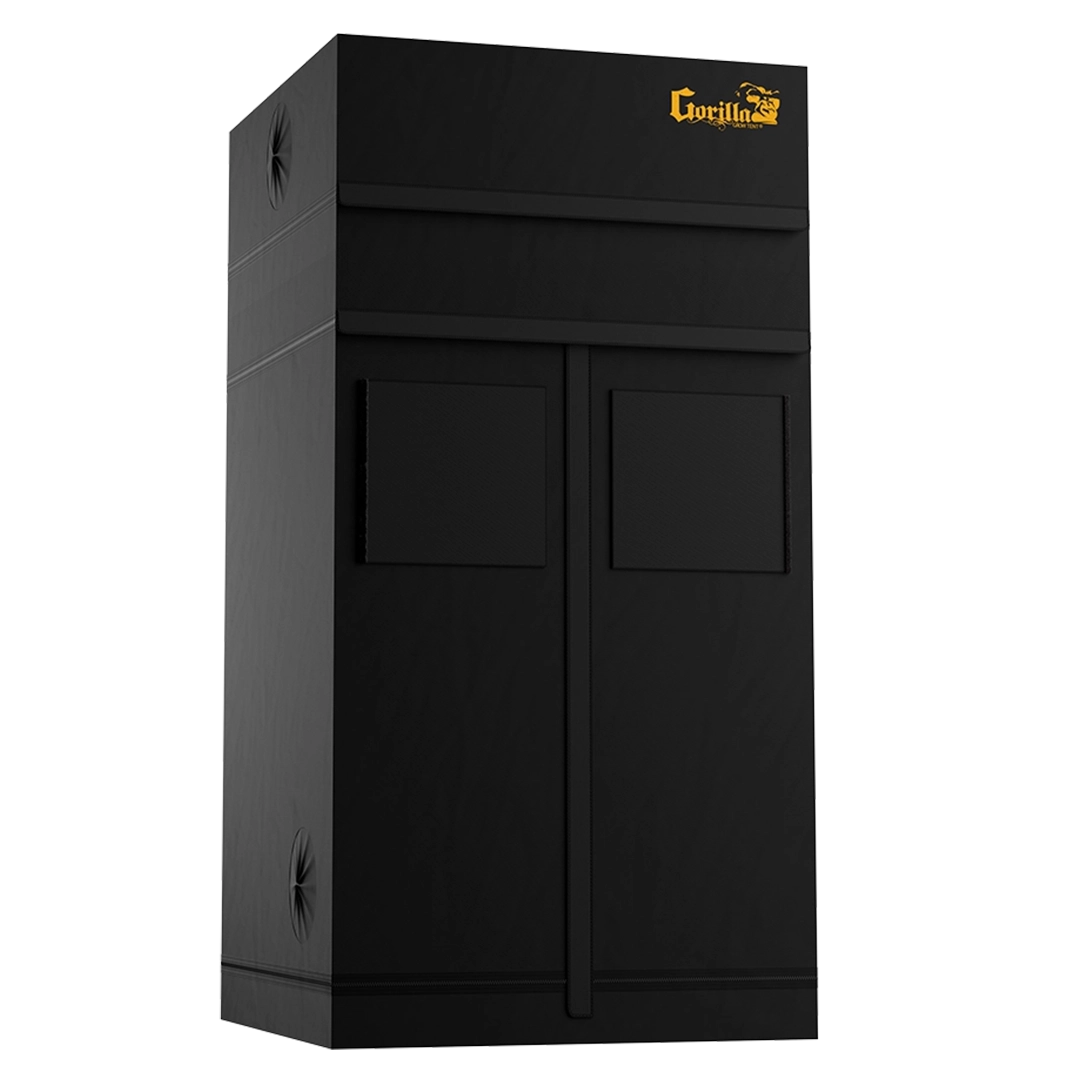
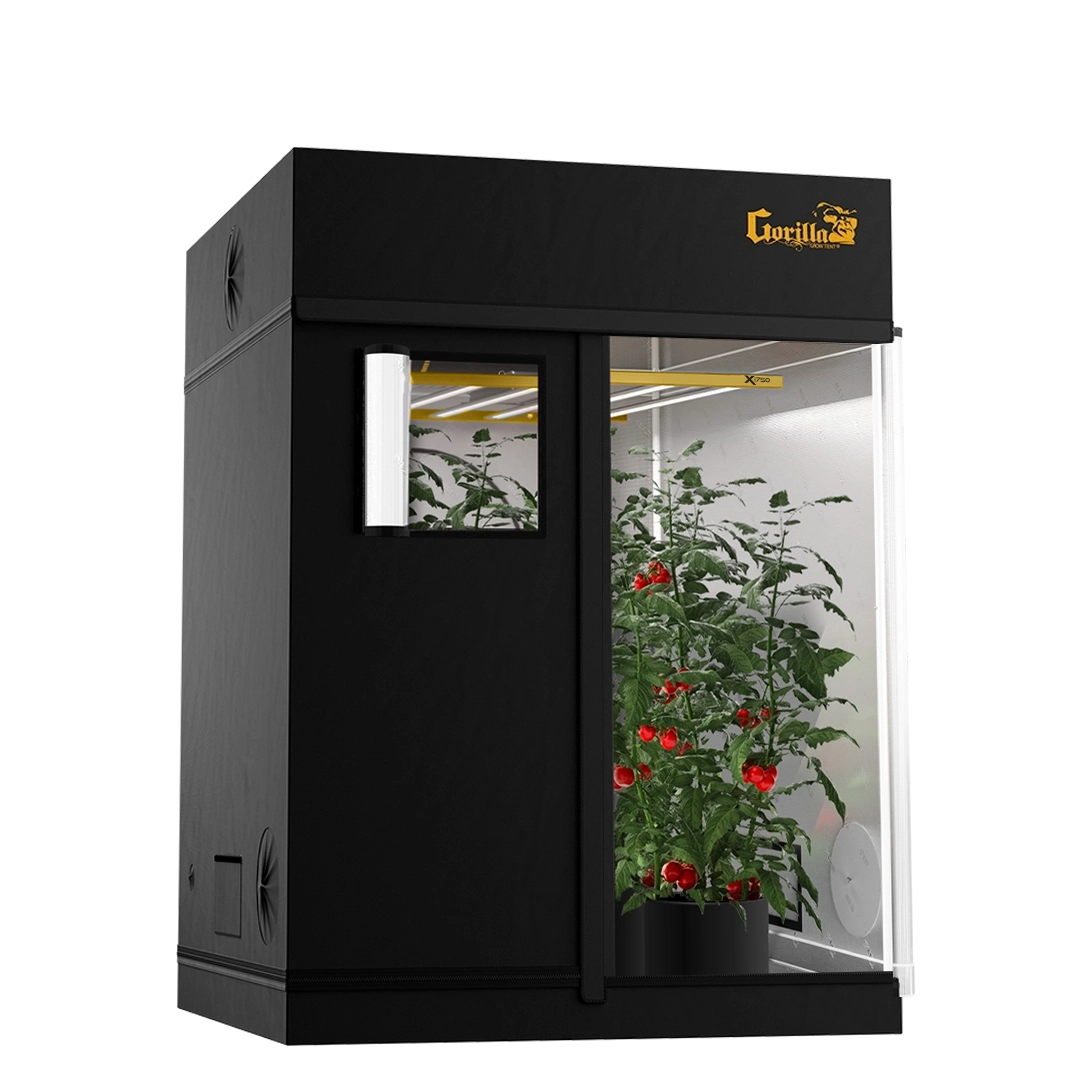
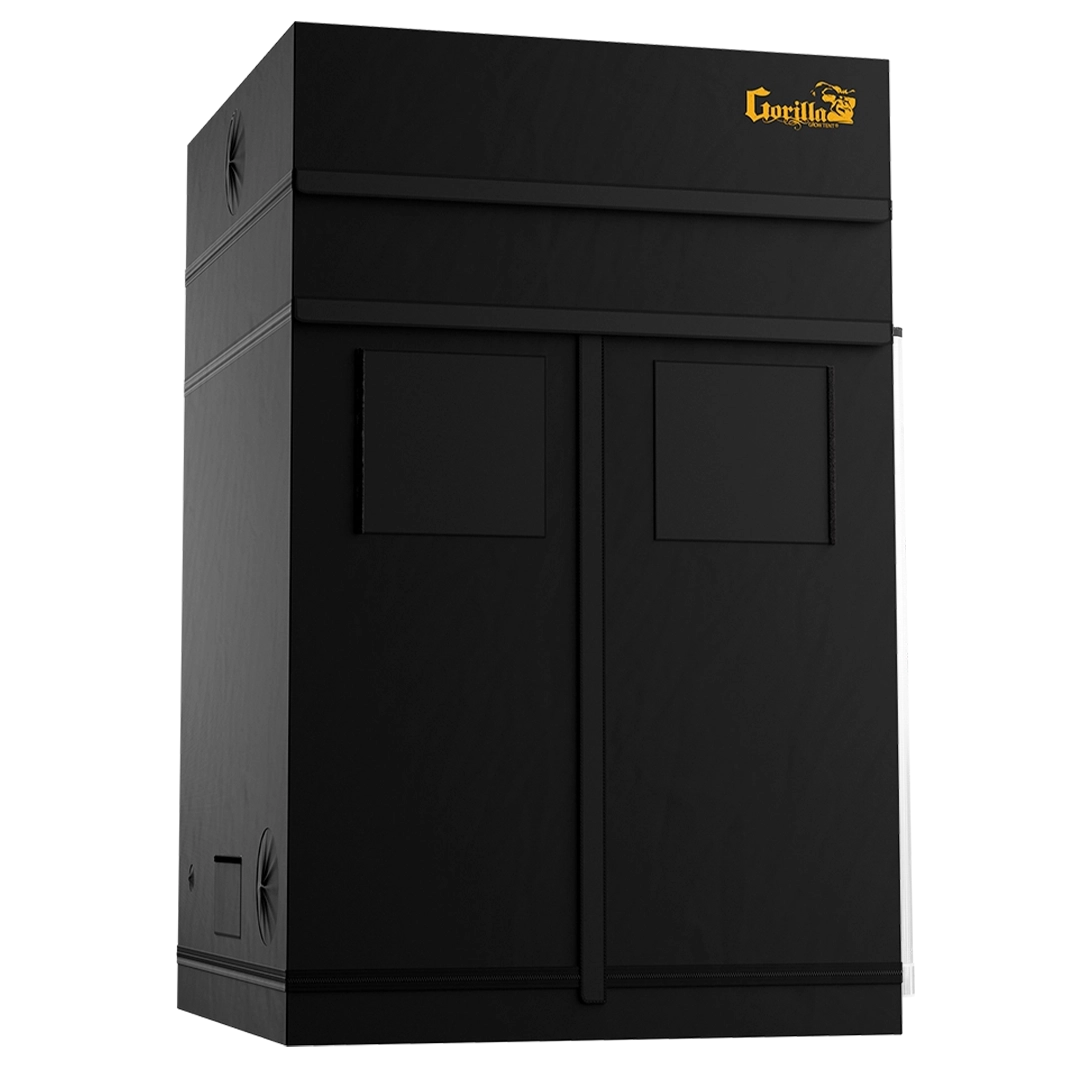
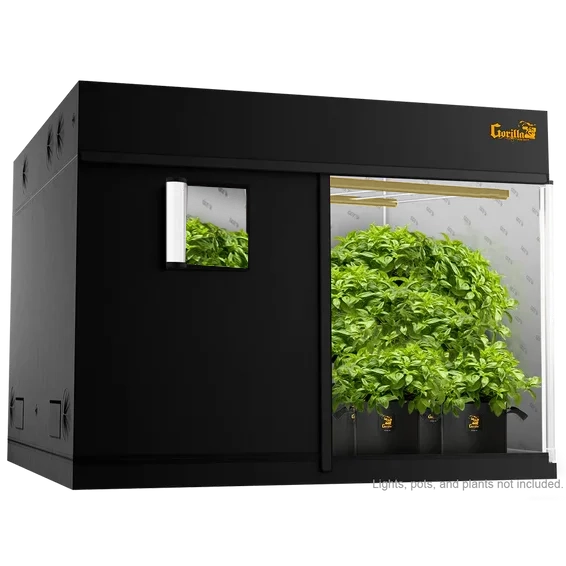
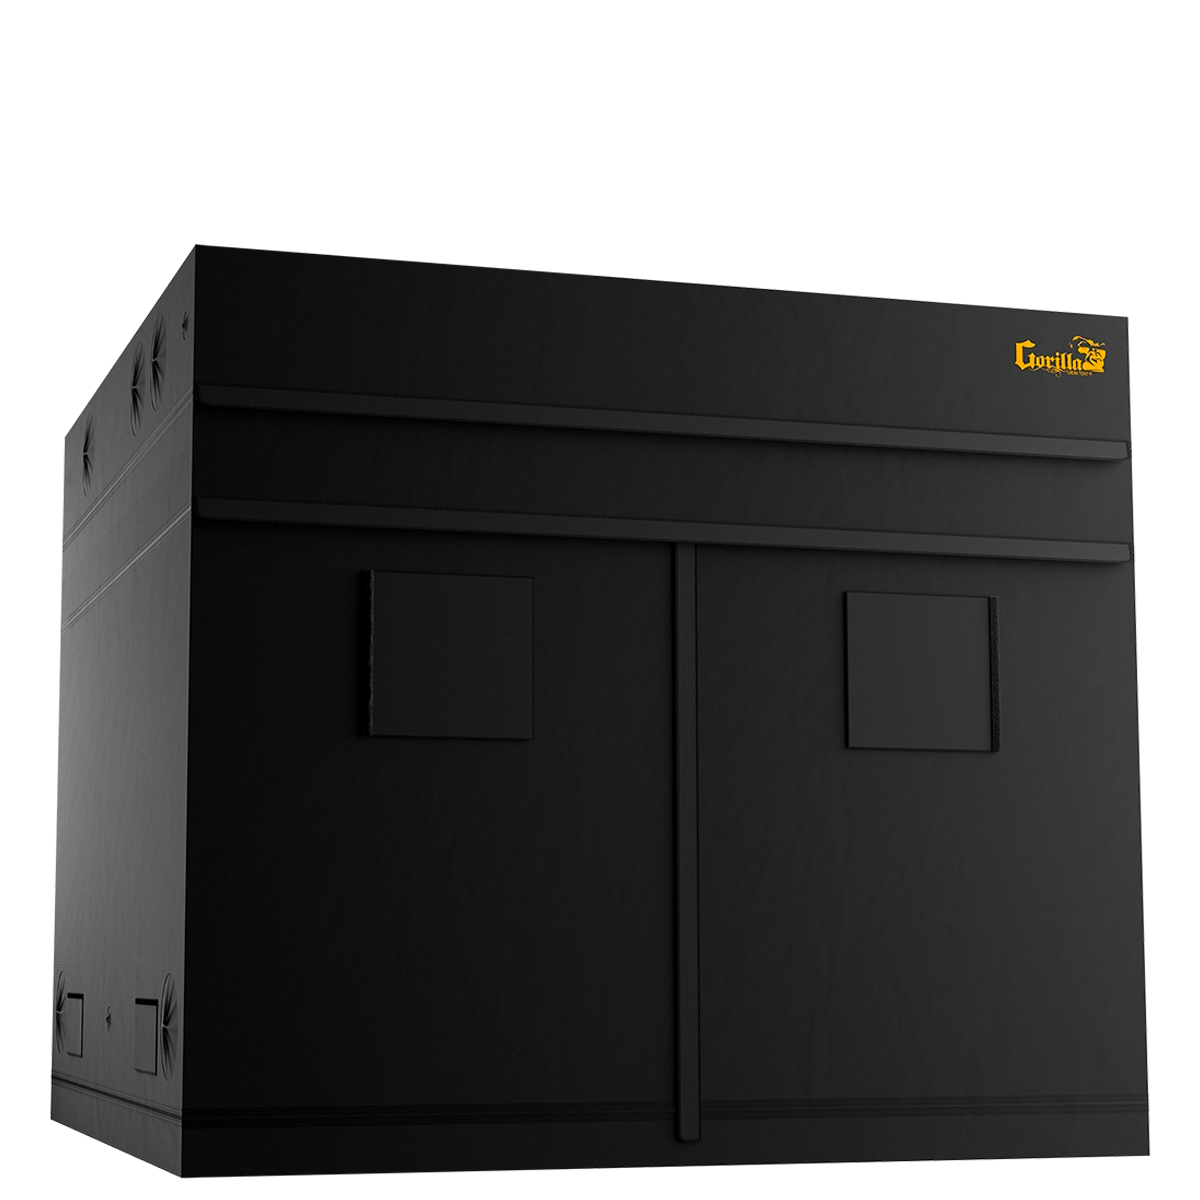
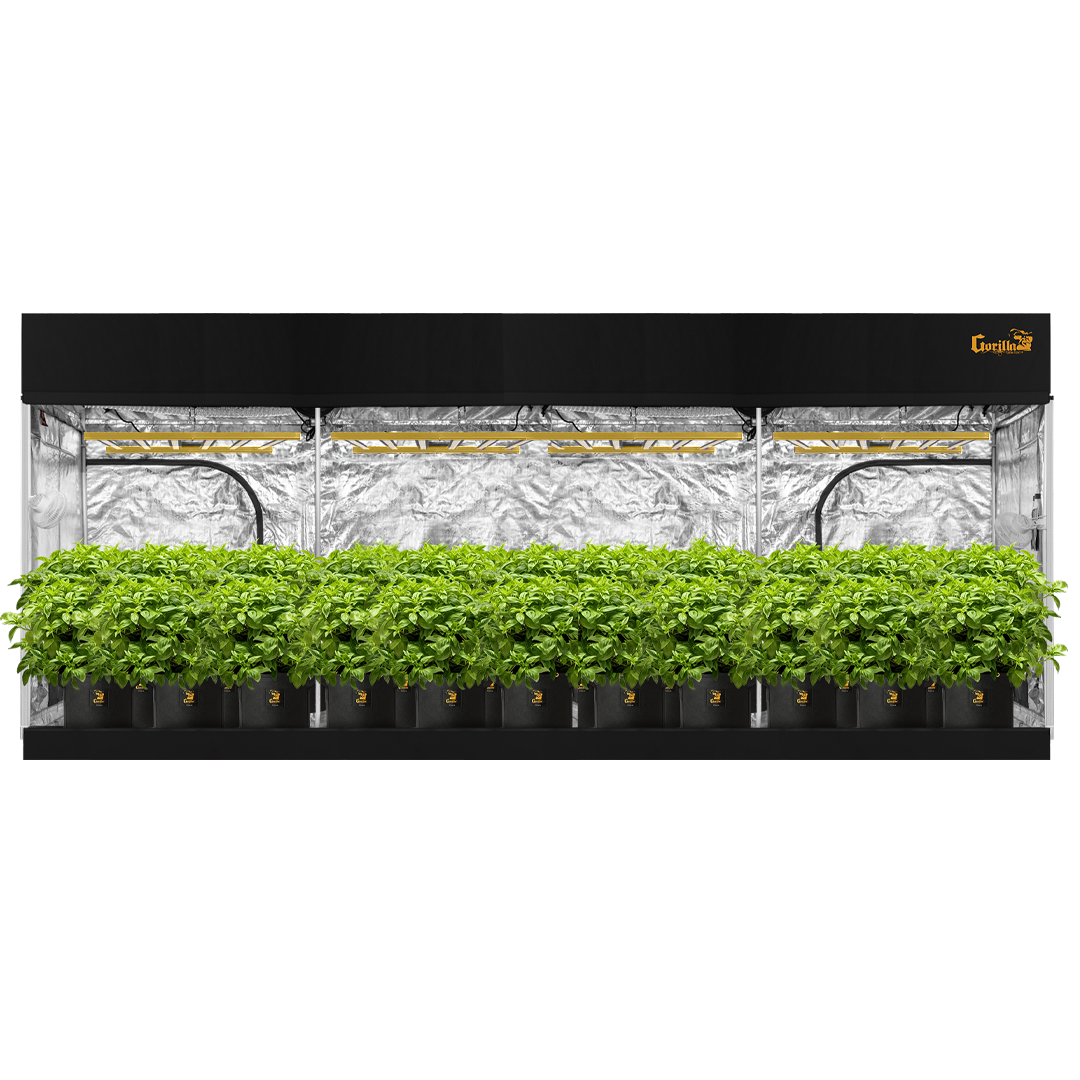
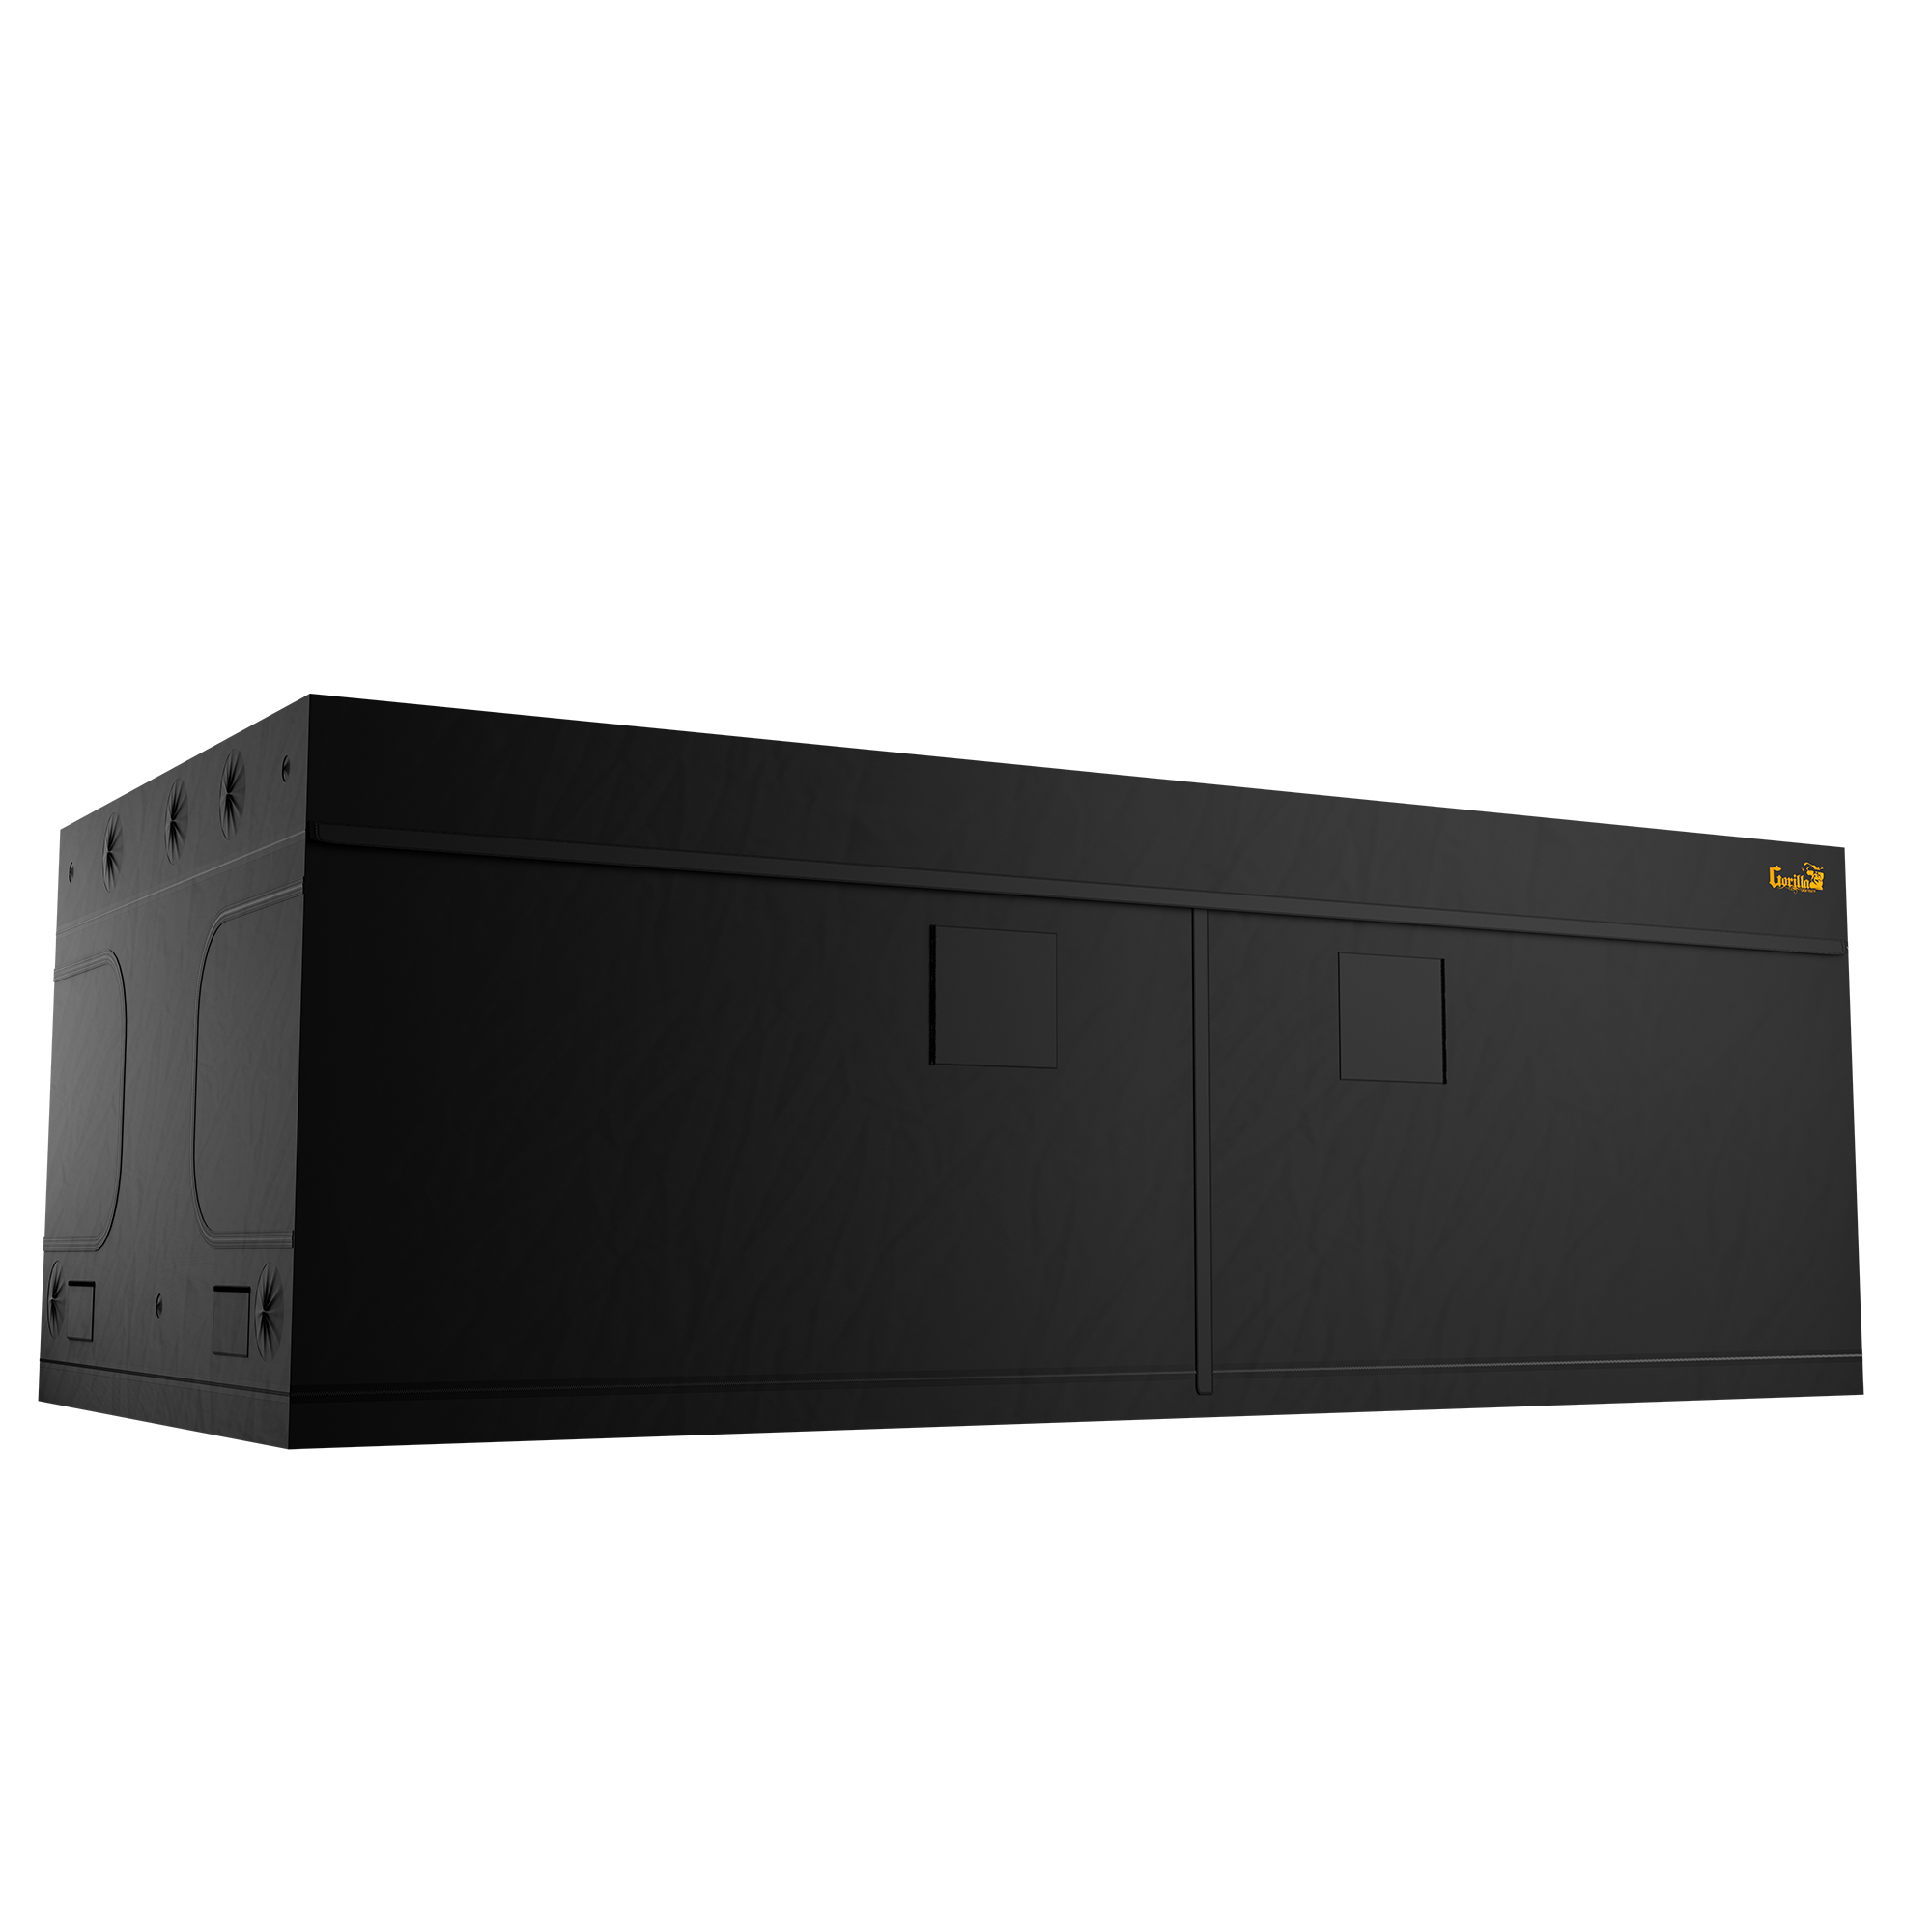
The first step in setting up a grow tent is choosing the right size. As a beginner, it's important to start with a manageable size that fits your space and growing needs. Here are the most common sizes for beginners:
- 2'x2' Tent: This small tent is ideal for growing 1-2 plants and fits in most indoor spaces like closets or corners of a room. It’s perfect for those with limited space.
- 3'x3' Tent: This is slightly larger and can accommodate 3-4 plants. It offers more flexibility in terms of plant size and equipment while still being beginner-friendly.
- 4'x4' Tent: A 4'x4' tent is great for growers who want to expand their grow without taking up too much room. It can hold up to 6 plants comfortably and provides enough space for ventilation and accessories.
2. Select the Best Grow Lights
Choosing the right grow lights is essential for the health and growth of your plants. For beginners, LED grow lights are the best option due to their energy efficiency, low heat output, and ease of use. Here are the types of lights to consider:
- LED Grow Lights: LED lights are popular for beginners because they are easy to set up, produce less heat, and provide a full spectrum of light that promotes growth in all stages. They are also energy-efficient, making them cost-effective in the long run.
- CFL Grow Lights: CFL (Compact Fluorescent Lights) are a budget-friendly option and produce minimal heat. They are best for small grows and can be used during the seedling and vegetative stages.
For a 2'x2' tent, a 200W LED light will be sufficient, while a 300W LED light is ideal for a 3'x3' tent. Make sure your grow light has an adjustable height feature so you can move it closer to or farther from the plants as they grow.
3. Set Up Ventilation and Airflow
Proper airflow is key to maintaining a healthy environment inside your grow tent. Ventilation helps regulate temperature and humidity, prevents mold and pests, and ensures your plants get fresh air. Here's what you need:
- Inline Fan: An inline fan helps exhaust hot air from the grow tent, keeping the temperature stable. A 4-inch inline fan is suitable for small grow tents, while a 6-inch fan is recommended for larger tents.
- Carbon Filter: If you’re growing plants with a strong odor, a carbon filter will help neutralize the smell before the air is exhausted outside the tent.
- Oscillating Fan: Place a small oscillating fan inside the tent to circulate air evenly. This helps strengthen plant stems and prevents heat from building up near the light.
4. Choose the Right Growing Medium
The growing medium is where your plants' roots will develop. For beginners, soil is the easiest and most forgiving option, but other mediums can also be considered. Here are some choices:
- Soil: Organic potting soil is beginner-friendly and contains natural nutrients. Look for a light, well-draining soil with no added fertilizers, which can burn seedlings.
- Coco Coir: Coco coir is a popular soilless medium made from coconut husks. It retains moisture and provides excellent aeration for roots, making it a good choice for hydroponic setups.
- Hydroponics: For more advanced growers, hydroponic systems allow you to grow plants in a water-based solution without soil. While it offers faster growth, it requires more equipment and monitoring.
5. Watering and Nutrient Management
Watering your plants correctly is crucial for healthy growth. Overwatering or underwatering can stunt growth or lead to root problems. Here’s how to manage watering and nutrients:
- Watering: Water your plants when the top inch of soil feels dry. Use pots with drainage holes to prevent water from pooling at the bottom, which can cause root rot.
- Nutrients: During the vegetative stage, your plants will need a nutrient solution rich in nitrogen. As they move into the flowering stage, switch to a solution higher in phosphorus and potassium to encourage bud development.
- pH Monitoring: Keep the pH of your water and nutrient solution between 6.0-6.5 for soil grows, and 5.5-6.0 for soilless mediums like coco coir or hydroponics. Using a pH meter can help you avoid nutrient lockout.
6. Set Up a Light Cycle
Your grow lights need to follow a specific schedule to mimic the natural day/night cycle and promote healthy growth. Using a timer makes it easy to automate this process. Here’s the recommended light cycle:
- Vegetative Stage: In the vegetative stage, plants need 18 hours of light and 6 hours of darkness each day to grow strong and healthy.
- Flowering Stage: Once your plants are ready to flower, switch to a 12/12 light cycle (12 hours of light, 12 hours of darkness) to encourage bud formation.
7. Monitor Temperature and Humidity
Keeping your grow tent at the right temperature and humidity levels is essential for plant health. Too much heat can stress your plants, while high humidity can lead to mold and pests. Here’s what to aim for:
- Temperature: During the vegetative stage, keep the temperature between 70-85°F (21-29°C). For the flowering stage, maintain a temperature between 65-80°F (18-26°C).
- Humidity: Seedlings and young plants thrive in higher humidity levels of 60-70%. As the plants mature, reduce humidity to 40-50% to prevent mold and mildew.
- Thermometers and Hygrometers: Use a thermometer and hygrometer to monitor temperature and humidity inside your grow tent. These tools will help you make adjustments to your ventilation system as needed.
8. Regular Maintenance and Monitoring
Once your grow tent setup is complete, regular maintenance is key to ensuring a successful grow. Here are some tips for ongoing care:
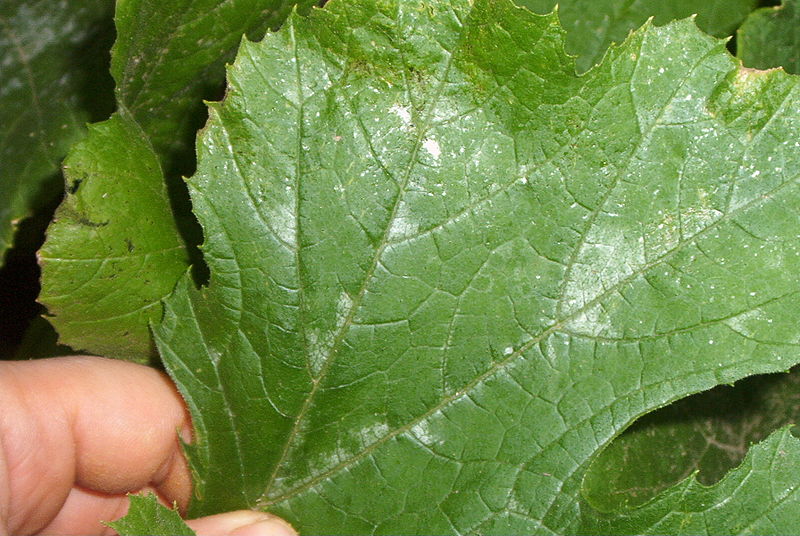
- Check for Pests: Inspect your plants regularly for pests such as spider mites or aphids. Catching infestations early will prevent damage to your plants.
- Prune and Train: Prune your plants to remove dead leaves and promote better airflow. You can also use training techniques like low-stress training (LST) to maximize light exposure and increase yields.
- Monitor Growth: Keep track of your plants' growth and adjust lighting, watering, and nutrient schedules as necessary to ensure optimal health and productivity.
Conclusion: The Best Grow Tent Setup for Beginners
Setting up a grow tent for the first time may seem overwhelming, but with the right equipment and a clear plan, it can be a rewarding experience. By following this step-by-step guide, you’ll be able to create the ideal environment for your plants to thrive. Remember, starting with a small, manageable grow tent, using energy-efficient LED lights, and maintaining proper ventilation, temperature, and humidity are key to success. With time and practice, you’ll soon be on your way to a bountiful indoor garden.
Frequently Asked Questions
- What is the easiest grow tent size for beginners? A 2'x2' or 3'x3' grow tent is perfect for beginners as it’s easy to manage and fits well in most indoor spaces.
-
How often should I water plants in a grow tent? Water your plants when the top inch of soil feels dry. Ensure the pots have good drainage to avoid overwatering.
Lena Myles
I'm a mushroom enthusiast and home cook based in Oregon. I'm passionate about foraging and creating fungi-focused recipes, especially delicious, plant-based dishes using gourmet mushrooms like trumpet, shiitake, and oyster. When I’m not in the kitchen, you’ll usually find me wandering the woods in search of new wild flavors.

