
How to Grow a Weed Plant: Complete Beginner's Guide from Seed to Harvest
Growing your own cannabis plant is one of the most rewarding experiences for any enthusiast. While it might seem intimidating at first, the process is surprisingly straightforward when you understand the fundamentals. With proper knowledge, quality equipment, and attention to detail, anyone can successfully grow healthy, potent cannabis plants at home.
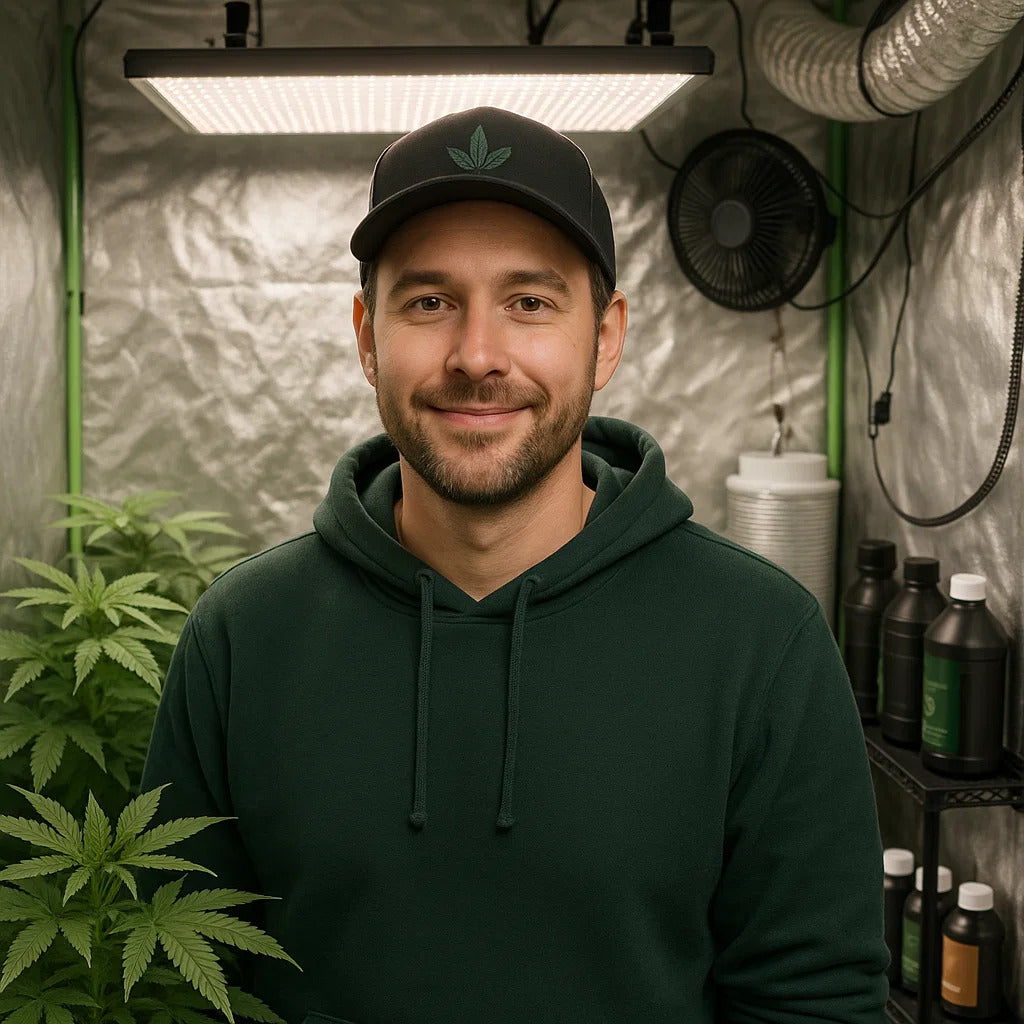
Starting your growing journey with a complete grow tent kit eliminates guesswork and ensures you have everything needed for successful cultivation from day one.
Why Grow Your Own Cannabis Plant?
Before diving into the how-to, let's understand why home cultivation is worth the effort:
Cost Savings: After initial setup costs, home growing provides high-quality cannabis at a fraction of dispensary prices.
Quality Control: You control every aspect of cultivation—no pesticides, chemicals, or unknown additives.
Strain Selection: Grow exactly what works best for you without depending on dispensary availability.
Learning Experience: Cannabis cultivation teaches valuable horticultural skills applicable to any gardening.
Self-Sufficiency: Enjoy a consistent supply without depending on external sources.
Essential Equipment: What You Need to Get Started
Success in cannabis cultivation starts with proper equipment. Here's what every beginner needs:

The Core Equipment List
Growing Space:
- Grow tent (start with 2x4 or 4x4 size)
- Adjustable hanging equipment
- Reflective interior for maximum light efficiency
Lighting System:
- Full-spectrum LED grow lights (recommended for beginners)
- Light timer for automated schedules
- Hanging chains or yo-yos for height adjustment
Climate Control:
- Inline exhaust fan and ducting
- Carbon filter for odor control
- Circulating fan for air movement
- Thermometer and hygrometer
Growing Medium & Containers:
- Quality soil or coco coir
- 3-5 gallon pots with drainage
- Saucers to catch runoff
Nutrients & pH Management:
- Cannabis-specific nutrients
- pH test kit or digital meter
- pH up/down solutions
Investment Range: Basic setups start around $500-800, while premium setups can cost $1,500-3,000+. A quality grow tent kit provides everything in one package.
Step 1: Choose Your Cannabis Seeds
The journey begins with selecting the right genetics for your grow.
Understanding Seed Types
Feminized Seeds: Produce 99.9% female plants, eliminating males. Best for beginners since only females produce consumable flowers.
Regular Seeds: Result in 50/50 male-female ratio. Males must be identified and removed before pollinating females.
Autoflowering Seeds: Ideal for beginners, these plants complete their cycle in 8–10 weeks, regardless of light exposure. Small and perfect for limited space.
Beginner-Friendly Strains
Indica Strains: Short, bushy, easier to manage indoors. Resilient and forgiving of mistakes.
Sativa Strains: Taller growth, longer flowering. More challenging for beginners.
Autoflowers: Fixed short lifecycle, automatically flower without light schedule changes. Great first choice.
Recommendation: Start with feminized autoflower seeds of indica-dominant strains for the most forgiving first grow.
Learn more about strain selection in our guide on how to grow cannabis indoors.
Step 2: Germinate Your Seeds
Germination transforms dormant seeds into viable seedlings ready for growth.
The Paper Towel Method (Most Popular)
- Moisten two paper towels until damp, not soaking
- Place seeds between the towels
- Put towels on a plate, cover with another plate
- Store in a warm, dark place (70-80°F)
- Check daily for taproots (usually 2-7 days)
- Plant when taproot is ¼ to ½ inch long
Alternative Methods:
- Direct planting into soil
- Soaking in water for 24 hours before planting
- Using specialized germination cubes
Success Rate: Cannabis seeds remain inactive until they are exposed to water and light. Proper germination ensures 80-90% success rate.
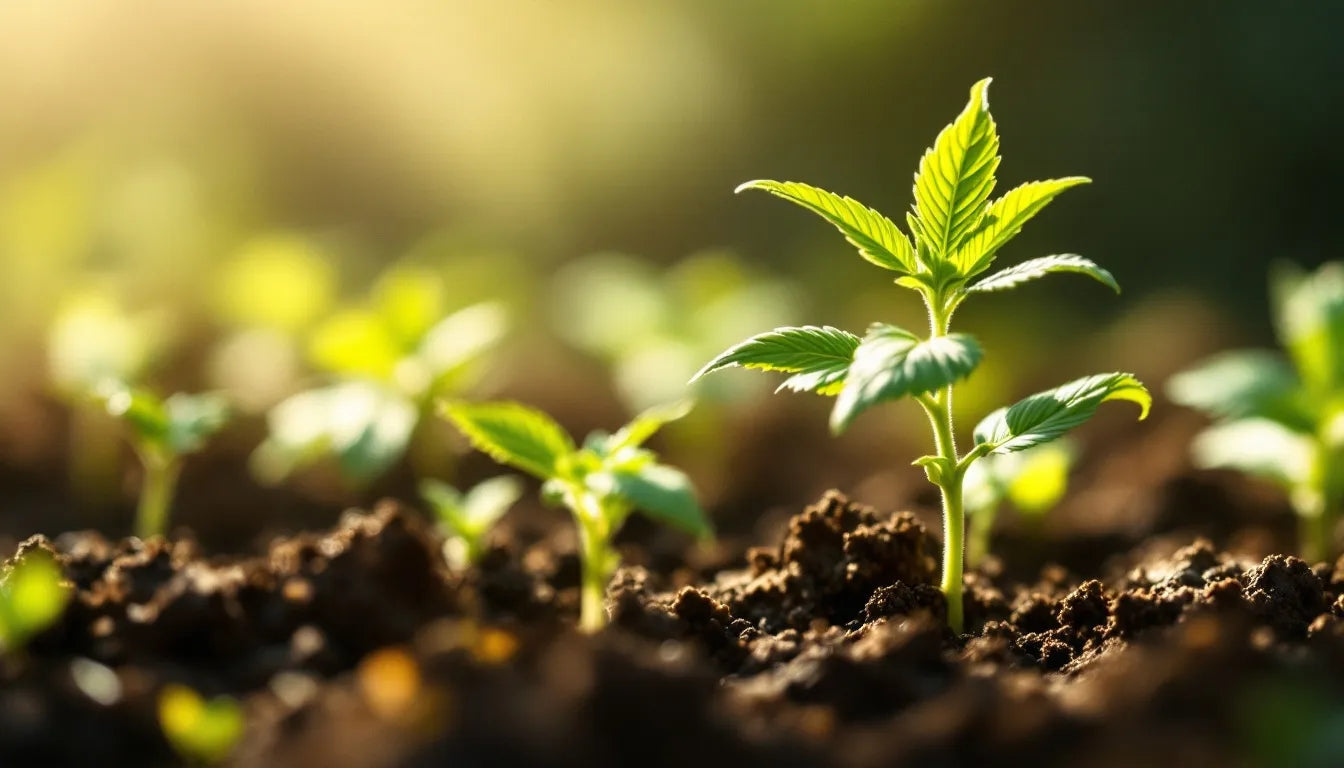
Step 3: The Seedling Stage (2-3 Weeks)
Once sprouted, your plant enters the delicate seedling phase.

Seedling Care Requirements
Light Schedule: 18 hours light, 6 hours darkness (18/6 cycle)
Temperature: 20-25°C (68-77°F)
Humidity: 65-70% for optimal growth
Watering: Use spray bottle to keep soil moist, not soaked. The seedling stage lasts from 1 to 4 weeks and is the period of greatest vulnerability in the life cycle of the plant.
Common Seedling Mistakes to Avoid
Overwatering: The #1 killer of seedlings. Let soil dry slightly between waterings.
Too Much Light: Seedlings need gentle light. Keep LEDs 24-36 inches away initially.
Adding Nutrients Too Early: If using quality soil, plants don't need nutrients for 2-3 weeks.
Poor Humidity: Low humidity stunts growth. Use a humidity dome if needed.
Step 4: Vegetative Stage (2-8 Weeks)
This is when explosive growth occurs as plants focus on building structure.
Vegetative Stage Care
Light Schedule: Maintain 18/6 or even 24/0 (some growers use continuous light)
Temperature: 22-28°C (72-82°F)
Humidity: 50-60%
Nutrients: Begin feeding with nitrogen-rich "grow" nutrients. Start at ¼ strength, gradually increase.
pH Levels: Keep pH around 6.0-7.0 for soil, 5.5-6.5 for coco/hydro. It's actually really easy, quick, and cheap to learn how to check and adjust the pH of your water.
Growth Expectations
Height Development: Plants can gain several inches per week during vigorous vegetative growth.
Structural Building: Nodes develop where branches meet the main stem, creating future bud sites.
Root Expansion: Healthy root systems are crucial for supporting large yields later.
Training Your Plant (Optional but Recommended)
Low-Stress Training (LST): Gently bend and tie branches to create a flat, even canopy. Increases bud sites without stressing the plant.
Topping: Cut the main stem to create two main colas. Best performed when plant has 5-6 nodes.
Purpose: Training techniques can easily double your harvest while keeping plants at manageable heights.
For detailed training methods, see our guide on how tall do weed plants grow.
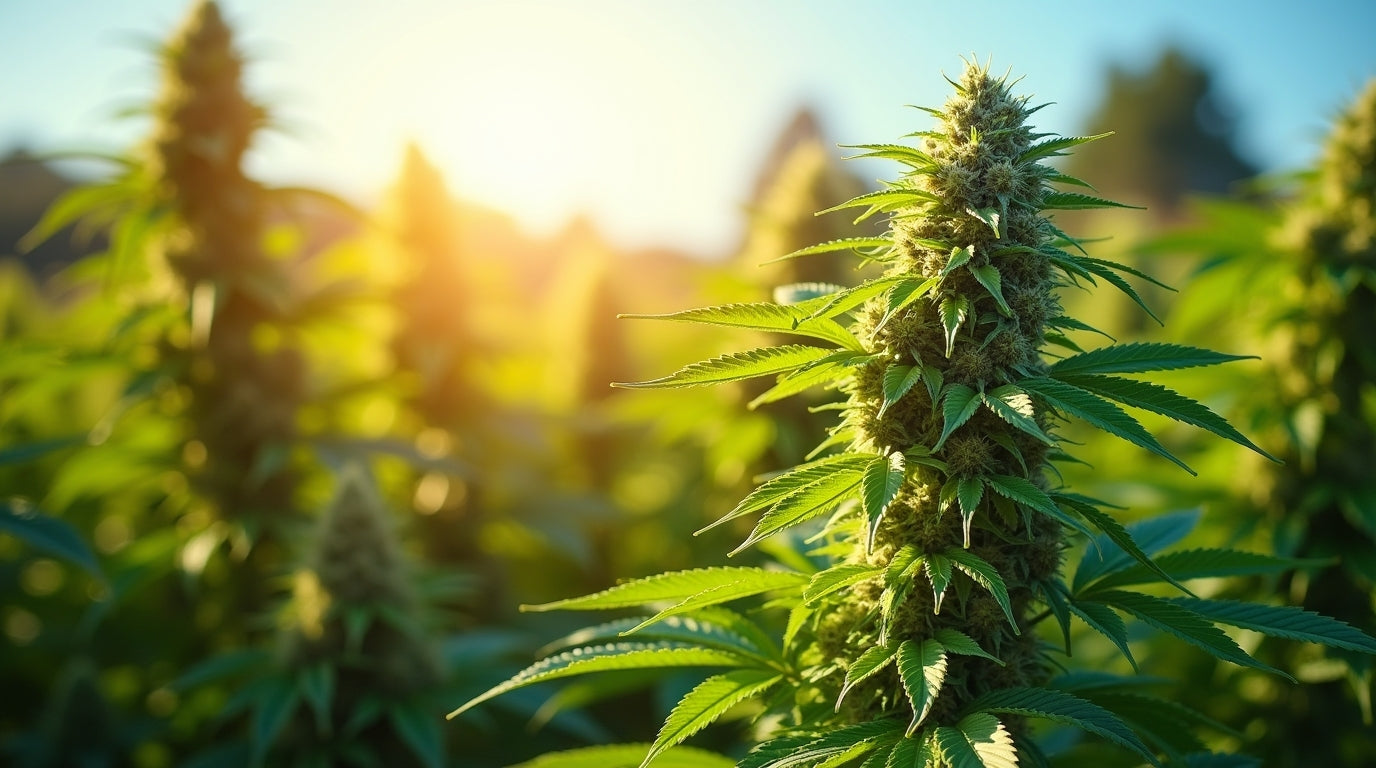
Step 5: Flowering Stage (6-12 Weeks)
This is where magic happens—your plant produces the resinous buds you've been waiting for.
Initiating Flowering
For Photoperiod Plants: Change light schedule to 12 hours light, 12 hours darkness (12/12)
For Autoflowers: They flower automatically after 3-5 weeks regardless of light schedule
Timing: Cannabis plants will generally double in height after switching to a 12-12 light schedule, so plan accordingly.
Flowering Stage Requirements
Light Schedule: Strict 12/12 with complete darkness during dark periods
Temperature: 18-26°C (64-79°F) - slightly cooler than veg
Humidity: 40-50%, decreasing to 30-40% in late flowering
Nutrients: Switch to phosphorus and potassium-rich "bloom" nutrients
Water: Plants drink more during flowering. Monitor closely.
Flowering Timeline
Weeks 1-3: Flowering stretch, rapid vertical growth, early bud formation
Weeks 4-6: Bud development accelerates, trichomes begin forming
Weeks 7-9: Buds swell and mature, trichomes multiply
Weeks 10+: Final maturation (strain-dependent)
Total Time: Most strains flower for 8-12 weeks. Indicas typically finish in 7-9 weeks, while sativas often take 10-14 weeks.
For complete timeline information, check our article on how long to grow cannabis.
Step 6: Monitoring Plant Health
Successful growing requires vigilance and quick problem-solving.
Common Issues and Solutions
Yellow Leaves: Usually indicates nitrogen deficiency in veg, or natural fade in late flower. Adjust nutrients accordingly.
Brown Spots: Often phosphorus or potassium deficiency, or pH problems. Test and adjust pH first.
Curling Leaves: Can indicate heat stress, overwatering, or pH issues. Check environment and watering schedule.
Slow Growth: Usually light, nutrient, or pH related. Ensure proper light intensity and nutrient feeding.
Pest Prevention
Common Pests: Spider mites, fungus gnats, thrips, aphids
Prevention: Maintain proper humidity, good airflow, and cleanliness. Use grow tent accessories like intake filters.
Treatment: Address immediately with appropriate organic or chemical solutions.
Step 7: Determining Harvest Time
Harvesting at the right moment is crucial for potency and effects.
Reading Trichomes (Most Accurate Method)
Equipment Needed: Jeweler's loupe (60x magnification) or digital microscope
Trichome Colors:
- Clear: Too early, low potency
- Cloudy/Milky: Peak THC, energetic effects
- Amber: More sedative, relaxing effects
Optimal Harvest: When trichomes turn from clear to milky white and finally amber, it's time to harvest. Aim for 80% cloudy, 20% amber for balanced effects.
Alternative Signs
Pistil Color: When 70-90% of white pistils have darkened to orange/brown
Timing: Following breeder's suggested flowering time
Visual Cues: Swollen calyxes, strong aroma, dense bud structure
Step 8: Harvesting Your Plant
The moment you've been working toward has arrived.
Harvest Process
1. Stop Feeding: Give plants only pure water for the last 1-2 weeks (called "flushing")
2. Choose Harvest Day: Harvest in morning after dark period for peak terpene levels
3. Cut the Plant: Use sharp, clean scissors. Cut at the base or remove branches individually
4. Trim: Remove large fan leaves immediately. Decide between wet or dry trimming for sugar leaves.
Wet vs. Dry Trimming
Wet Trimming: Remove all leaves immediately after harvest. Faster drying, easier to trim.
Dry Trimming: Leave sugar leaves on during drying. Slower drying, better flavor preservation.
Step 9: Drying Your Harvest
Proper drying prevents mold and preserves quality.
Drying Environment
Temperature: 60-70°F (15-21°C)
Humidity: 45-55%
Airflow: Gentle circulation with small fan (not directly on buds)
Light: Complete darkness
Duration: 7-14 days depending on conditions
Drying Methods
Hang Drying: Hang whole branches or individual buds upside down on lines or racks
Drying Racks: Lay buds on mesh screens for even air circulation
Readiness Test: Stems should snap (not bend) when buds are ready for curing
Step 10: Curing for Quality
Curing is the final step that transforms good buds into great ones.
The Curing Process
1. Jar Your Buds: Pack loosely into glass jars, filling 75% full
2. Initial Burping (Week 1-2): Open jars daily for 5-10 minutes to release moisture
3. Continued Curing (Week 3-4): Burp every 2-3 days
4. Long-Term Storage: After 4 weeks, burp weekly or seal for long-term storage
Curing Guidelines
Humidity: Maintain 55-65% inside jars (use humidity packs if needed)
Duration: Minimum 2-4 weeks for quality. Longer curing (up to 6 months) continues to improve quality.
Signs of Problems: Ammonia smell indicates too much moisture—burp immediately and more frequently
Storage: Keep jars in cool, dark place. Properly cured cannabis stays fresh 12-18 months.
Frequently Asked Questions About Growing Cannabis
How long does it take to grow a weed plant from seed to harvest?
The timeline varies by strain and growing method. Cannabis growth typically takes 3-6 months total: 1 week germination, 2-3 weeks seedling, 4-8 weeks vegetative, and 8-12 weeks flowering. Autoflowers complete their cycle faster at 10-14 weeks total from seed to harvest.
How much does it cost to grow one cannabis plant?
Initial setup costs $500-1,500 for equipment (tent, lights, ventilation, nutrients). Operating costs are $30-75/month for electricity and nutrients. After initial investment, growing your own provides high-quality cannabis at a fraction of dispensary prices.
What's the easiest method for first-time growers?
Start with feminized autoflower seeds in quality soil, grown in a complete grow tent kit with LED lighting. This combination minimizes complexity while maximizing success rates for beginners.
How many plants should a beginner grow?
Start with 1-2 plants to learn without overwhelming yourself. This allows you to focus on proper techniques and learn from any mistakes without risking an entire crop.
Do I need expensive equipment to grow good cannabis?
No, but quality equipment makes success easier. Basic setups produce excellent results. Invest in good lighting and proper ventilation, as these are most critical for plant health and yield.
Can I grow cannabis indoors year-round?
Yes! Indoor growing with proper equipment allows year-round cultivation with consistent results. Unlike outdoor growing dependent on seasons, indoor environments give you complete control over timing and conditions.
Indoor vs. Outdoor Growing: Which is Better for Beginners?
Indoor Growing Advantages
Complete Control: Manage every environmental factor for optimal results
Year-Round Growing: Not limited by seasons
Privacy: Grow discreetly without neighbors knowing
Consistent Quality: Controlled conditions produce consistent results
Setup: Use grow tents for organized, efficient growing spaces
Outdoor Growing Advantages
Lower Costs: Natural sunlight eliminates lighting expenses
Larger Plants: Unrestricted root space allows bigger plants
Natural Environment: Less equipment to manage and maintain
Challenges: Weather-dependent, pest exposure, limited privacy
Recommendation: Beginners typically find more success with indoor growing using complete tent setups due to environmental control and privacy.
Advanced Tips for Better Yields
Once you master the basics, these techniques boost results:
Optimize Your Growing Environment
Proper Ventilation: Use grow tent accessories like quality fans and filters
Light Intensity: Provide adequate wattage for your space (30-50 watts per square foot)
Environmental Control: Maintain consistent temperature and humidity
Nutrient Management
Start Light: Begin at ¼ recommended strength, increase gradually
Follow Schedules: Use manufacturer's feeding charts as guidelines
Flush Before Harvest: Pure water for final 1-2 weeks improves taste
Training and Pruning
LST and Topping: Increase yield by creating multiple main colas
Defoliation: Strategic leaf removal improves light penetration
SCROG: Use screens for maximum light exposure to all bud sites
Learn advanced techniques in our guide on how to grow weed plants for multiple plant setups.
Summary: Your Path to Successful Cannabis Growing
Quick Answer: Growing cannabis involves germinating seeds, nurturing seedlings, managing vegetative growth (2-8 weeks), flowering (8-12 weeks), harvesting at peak maturity, and properly drying/curing. Total time is 3-6 months from seed to smokeable buds. Success requires proper equipment, environmental control, and attention to plant needs throughout each stage.
Key Takeaways: Start with quality feminized seeds, invest in proper equipment (especially lighting and ventilation), maintain correct pH and nutrients, monitor plant health closely, and be patient through the growing and curing process.
Start Your Growing Journey Today
Ready to grow your first cannabis plant? Success begins with proper preparation and quality equipment.
Browse our complete selection of grow tent kits designed specifically for beginners. Each kit includes everything you need: tent, lighting, ventilation, and accessories for successful cultivation from day one.
For specialized growing methods, explore our hydroponic grow systems that provide faster growth and bigger yields through precise nutrient delivery.
Want to expand your knowledge? Check out our comprehensive guides on cannabis grow stages and outdoor growing to explore all cultivation possibilities.
Remember: every expert grower started as a beginner. With the right knowledge, proper equipment, and attention to detail, you can successfully grow high-quality cannabis plants at home. The journey from seed to harvest is incredibly rewarding, and each grow teaches valuable lessons that make you a better cultivator.
Lena Myles
I'm a mushroom enthusiast and home cook based in Oregon. I'm passionate about foraging and creating fungi-focused recipes, especially delicious, plant-based dishes using gourmet mushrooms like trumpet, shiitake, and oyster. When I’m not in the kitchen, you’ll usually find me wandering the woods in search of new wild flavors.