


LED Grow Light Distance Chart: Optimal Height for Every Xi Model & Growth Stage
Hang a full-spectrum LED grow light at 24 inches above the canopy for seedlings, 18 inches for vegetative plants, and 12–16 inches for mature flowering plants — then fine-tune based on your LED's PPF and dimmer setting. Using a dimmer lets you hang the light 4–6 inches closer without burning leaves.
The exact distance depends on the LED's wattage: a Gorilla Xi220 (220W) hangs at 18–24" for veg; an Xi420 (420W) hangs at 24–30" for the same plants at full power. Use the interactive calculator below to dial in the right distance for your specific Xi model, tent size, and growth stage.
The single most common question in indoor growing — "how far should my grow light be from the plants?" — has no one-size answer. Distance depends on the LED's PPF output, your plants' growth stage, your dimmer setting, and the footprint you're covering. This guide replaces guesswork with exact distance charts for every Gorilla Xi-Series model (Xi220, Xi330, Xi420, Xi750), a physics explainer for why distance matters, and an interactive calculator that tells you exactly how far to hang your LED based on your setup.
On This Page
- The Physics: Inverse Square Law
- Interactive Hang-Height Calculator
- Distance Chart by Growth Stage
- Distance Chart by Xi Model
- Signs Your LED Is Too Close
- Signs Your LED Is Too Far
- Dimming vs Distance Trade-Off
- PPFD Targets by Stage
- Seedling-Specific Distance Rules
- Mature Plant Distance Rules
- Common Mistakes & Fixes
- Frequently Asked Questions
The Physics: Why Distance Matters
LED grow light intensity follows the inverse square law: doubling the distance from the light reduces the PPFD at canopy level by a factor of four. Halving the distance quadruples the intensity. This is why a 2-inch move — up or down — visibly changes plant response within days.
| Distance from LED | Relative PPFD | Real-World Effect |
|---|---|---|
| 6 inches | 400% (4×) | Severe light burn, bleaching, heat stress |
| 12 inches | 100% (baseline) | Full intensity — mature flowering plants |
| 18 inches | 44% | Vegetative growth, established plants |
| 24 inches | 25% | Seedlings, clones, low-light herbs |
| 36 inches | 11% | Too weak — legginess, etiolation |
| 48 inches | 6% | Essentially dark — plants fail |
When your light is at 12", moving it to 24" doesn't cut intensity in half — it drops to 25%. This is why "move the light up a few inches" can turn a burn problem into a stretch problem overnight. Small adjustments compound fast.
Interactive Hang-Height Calculator
Find Your Exact Hang Height
Pick your LED model, tent size, and growth stage. Adjusts for your dimmer setting.
Distance Chart by Growth Stage
Start with these stage-based targets. Adjust for your specific LED wattage using the model chart below.
| Growth Stage | Target PPFD | Distance (220W LED) | Distance (330–420W LED) | Distance (750W LED) |
|---|---|---|---|---|
| Germination (pre-sprout) | 100–200 µmol/m²/s | 24–30" | 30–36" | 36–42" |
| Seedling / cotyledon | 200–300 µmol/m²/s | 18–24" | 24–30" | 30–36" |
| Vegetative | 400–600 µmol/m²/s | 16–20" | 18–24" | 24–30" |
| Early flowering | 600–800 µmol/m²/s | 14–18" | 16–20" | 20–26" |
| Mature flowering | 800–1,000 µmol/m²/s | 12–16" | 14–18" | 18–24" |
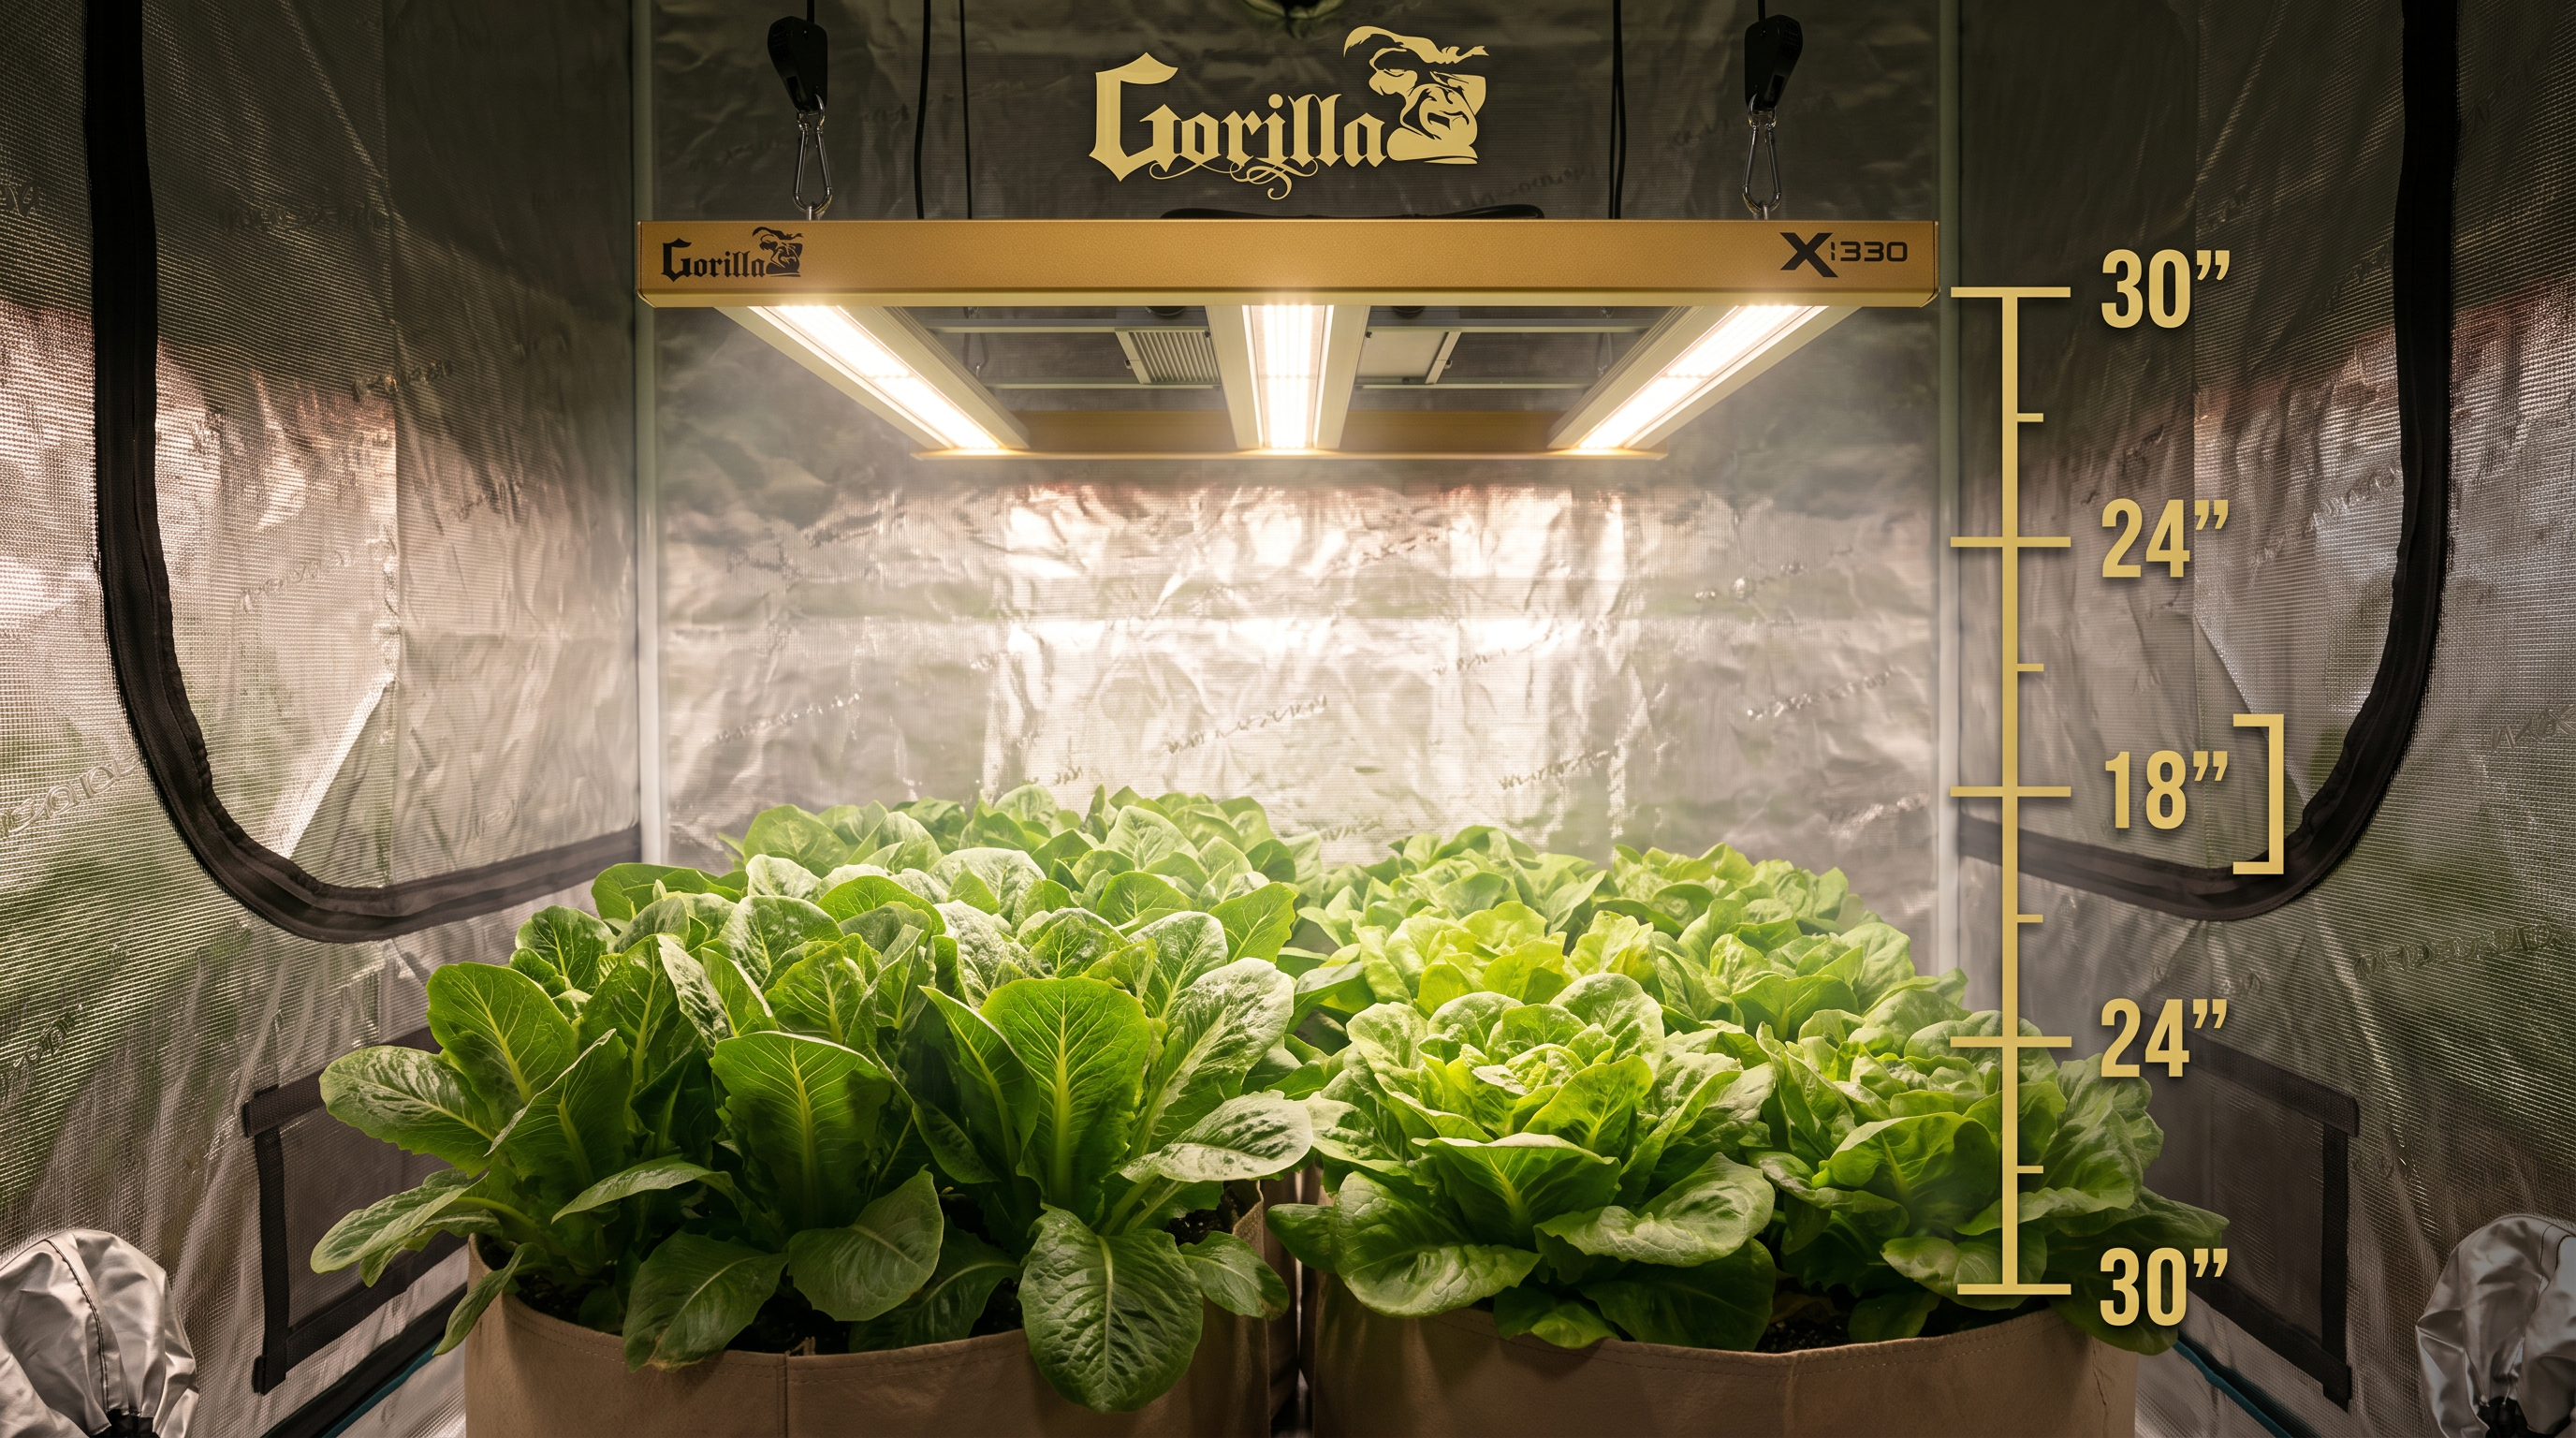
Distance Chart by Xi Model
Specific hang-height recommendations for each Gorilla Xi-Series LED at 100% power. Dim the light to hang 2–4 inches closer safely.
Gorilla Xi220 (220W — covers 2×2 to 3×3 tents)
| Stage | 100% Power | 50% Power | Notes |
|---|---|---|---|
| Seedling | 24" above canopy | 18" above canopy | Best starter light for seed starting |
| Vegetative | 18–20" | 14–16" | Ideal for 2×2 and 2×4 tents |
| Early flower | 14–16" | 12–14" | Max intensity for compact tents |
| Late flower | 12–14" | 10–12" | Monitor for canopy heat |
Gorilla Xi330 (330W — covers 3×3 to 4×4 tents)
| Stage | 100% Power | 50% Power | Notes |
|---|---|---|---|
| Seedling | 28–30" | 20–24" | Dim aggressively or swap to Xi220 for small seedling runs |
| Vegetative | 20–24" | 16–18" | Sweet spot for 3×3 tents |
| Early flower | 16–18" | 14–16" | Ideal for 3×3 and 4×4 late veg |
| Late flower | 14–16" | 12–14" | Full power for max yield |
Gorilla Xi420 (420W — covers 4×4 to 5×5 tents)
| Stage | 100% Power | 50% Power | Notes |
|---|---|---|---|
| Seedling | 32–36" | 24–28" | Always dim to 30–40% for seedlings |
| Vegetative | 24–28" | 18–22" | Best in 4×4 tents |
| Early flower | 18–22" | 16–18" | Ramp dim up as plants mature |
| Late flower | 16–20" | 14–16" | Consider CO₂ supplementation for full PAR utilization |
Gorilla Xi750 (750W — covers 5×5 to 6×6 tents / commercial)
| Stage | 100% Power | 50% Power | Notes |
|---|---|---|---|
| Seedling | 40–48" | 28–32" | Xi750 is overpowered for seedlings — use Xi220 instead |
| Vegetative | 30–36" | 22–26" | Needs a tall tent (7'11" or extended 8'11") |
| Early flower | 22–26" | 18–22" | Flagship intensity for large canopies |
| Late flower | 18–24" | 16–20" | Max PAR delivery — pair with CO₂ for best ROI |
Signs Your LED Is Too Close
LED Too Close
- Pale, bleached white leaf tops at canopy level
- Curling, "tacoed" leaf edges pointing up
- Crispy brown leaf tips
- Excessive transpiration — plants drink water rapidly
- Slow growth despite bright light
- Canopy temperature 5°F+ above surrounding air
- Leaves closest to LED look stressed while lower leaves thrive
LED Too Far
- Tall, stretched, leggy stems
- Wide gaps between leaf nodes
- Pale light-green color across the canopy
- Thin, weak stems that lean or fall
- Slow growth with plants reaching upward
- Flowers form loose and airy instead of dense
- Plants stretch up toward the light
Hold the back of your hand at canopy height for 60 seconds. If it feels uncomfortably warm, raise the LED or dim it. If it feels just slightly warm, you're in the right zone. This works for any LED, no PAR meter required.
Dimming vs Distance: Which to Adjust?
Both reduce intensity at canopy — but they do it differently, and one is usually better than the other for your situation.
| Scenario | Adjust Distance | Adjust Dimmer |
|---|---|---|
| Small intensity change (±10–20%) | — | ✓ Easier, non-destructive |
| Big intensity change (±50%) | ✓ More coverage at closer range | — |
| Preserving even PPFD across canopy | ✓ Distance controls coverage area | — |
| Avoiding heat near the canopy | — | ✓ Dimming also reduces heat |
| Matching growth stage transitions | — | ✓ Easier to automate via app |
| Short tent (under 7') | — | ✓ No room to raise the light |
| Plants already at max height | — | ✓ Distance already fixed |
Set distance based on growth stage, then use the dimmer to fine-tune PPFD. For seedlings in a 4×4 tent with an Xi330: hang at 24" (stage-appropriate distance) and run at 40% (dimmed for seedling PPFD). As plants mature, raise dim to 60%, then 80%, then 100%. Distance stays constant — intensity ramps up with growth.
PPFD Targets by Stage
These targets are what you're trying to deliver at canopy. Match them with the distance-by-model charts above.
| Stage | PPFD Target | Daily Light Integral | Photoperiod |
|---|---|---|---|
| Seedling / clone | 100–300 µmol/m²/s | 6–12 mol/m²/day | 14–18 hrs |
| Vegetative | 400–600 µmol/m²/s | 20–35 mol/m²/day | 18–24 hrs |
| Early flowering | 600–800 µmol/m²/s | 35–45 mol/m²/day | 12 hrs |
| Mature flowering | 800–1,000 µmol/m²/s | 45–55 mol/m²/day | 12 hrs |
| CO₂-supplemented | 1,000–1,500 µmol/m²/s | 50–65 mol/m²/day | 12 hrs |
Seedling-Specific Distance Rules
Seedlings are the most common casualty of wrong LED distance. They either get burned by a too-close flagship light or stretch under a too-far LED. Full guide on this in our leggy seedlings article and dedicated grow lights for seedlings guide.
- Day 1 (seeds sown): LED at 24–30" above soil, run at 30–40% dim
- Day 3 (sprouts emerge): LED stays at 24", raise dim to 40–50%
- Week 2 (cotyledons open): Lower LED to 20–24" OR raise dim to 50–60%
- Week 3–4 (first true leaves): LED at 18–20", dim 60–80%
- Transplant-ready: LED at 14–18", dim 80–100%
Mature Plant Distance Rules
Mature plants can handle much higher PPFD than seedlings, but they're also more sensitive to heat stress. The distance floor is determined by your tent temperature and the LED's heat output.
- Late veg (pre-stretch): LED at 18–24" at full power to encourage bushing
- Stretch phase: Raise LED 2–4" as plants grow to maintain 18" clearance
- Full flower: LED at 12–18" depending on model — monitor canopy temperature, use an environmental sensor
- If canopy temp exceeds 85°F: raise the LED 2" or dim to 80%
Common Mistakes & Fixes
| Mistake | Result | Fix |
|---|---|---|
| Hanging LED at manufacturer's max from day 1 | Seedling stretch and etiolation | Start closer and dim — ramp intensity as plants mature |
| Running full power in an uncooled tent | Canopy heat stress above 85°F | Dim to 80% or raise the LED 2"; improve exhaust |
| Moving the LED up and down daily | Plant light-response stress | Pick a distance, hold it steady, use dimmer for adjustments |
| Measuring distance to the soil, not canopy | Too-close as plants grow tall | Re-measure to the highest leaves every 5–7 days |
| Using a flagship Xi750 for a 2×2 seedling run | Burn even at max distance | Swap to Xi220 for seedlings, save Xi750 for flowering |
| Ignoring dimmer — using distance alone | No fine control, plants in "too close" or "too far" zones | Set stage-appropriate distance, use dimmer for PPFD tuning |
| Forgetting to raise light during stretch | Canopy hits the LED, severe burn | Raise 2–4" every week during stretch phase |
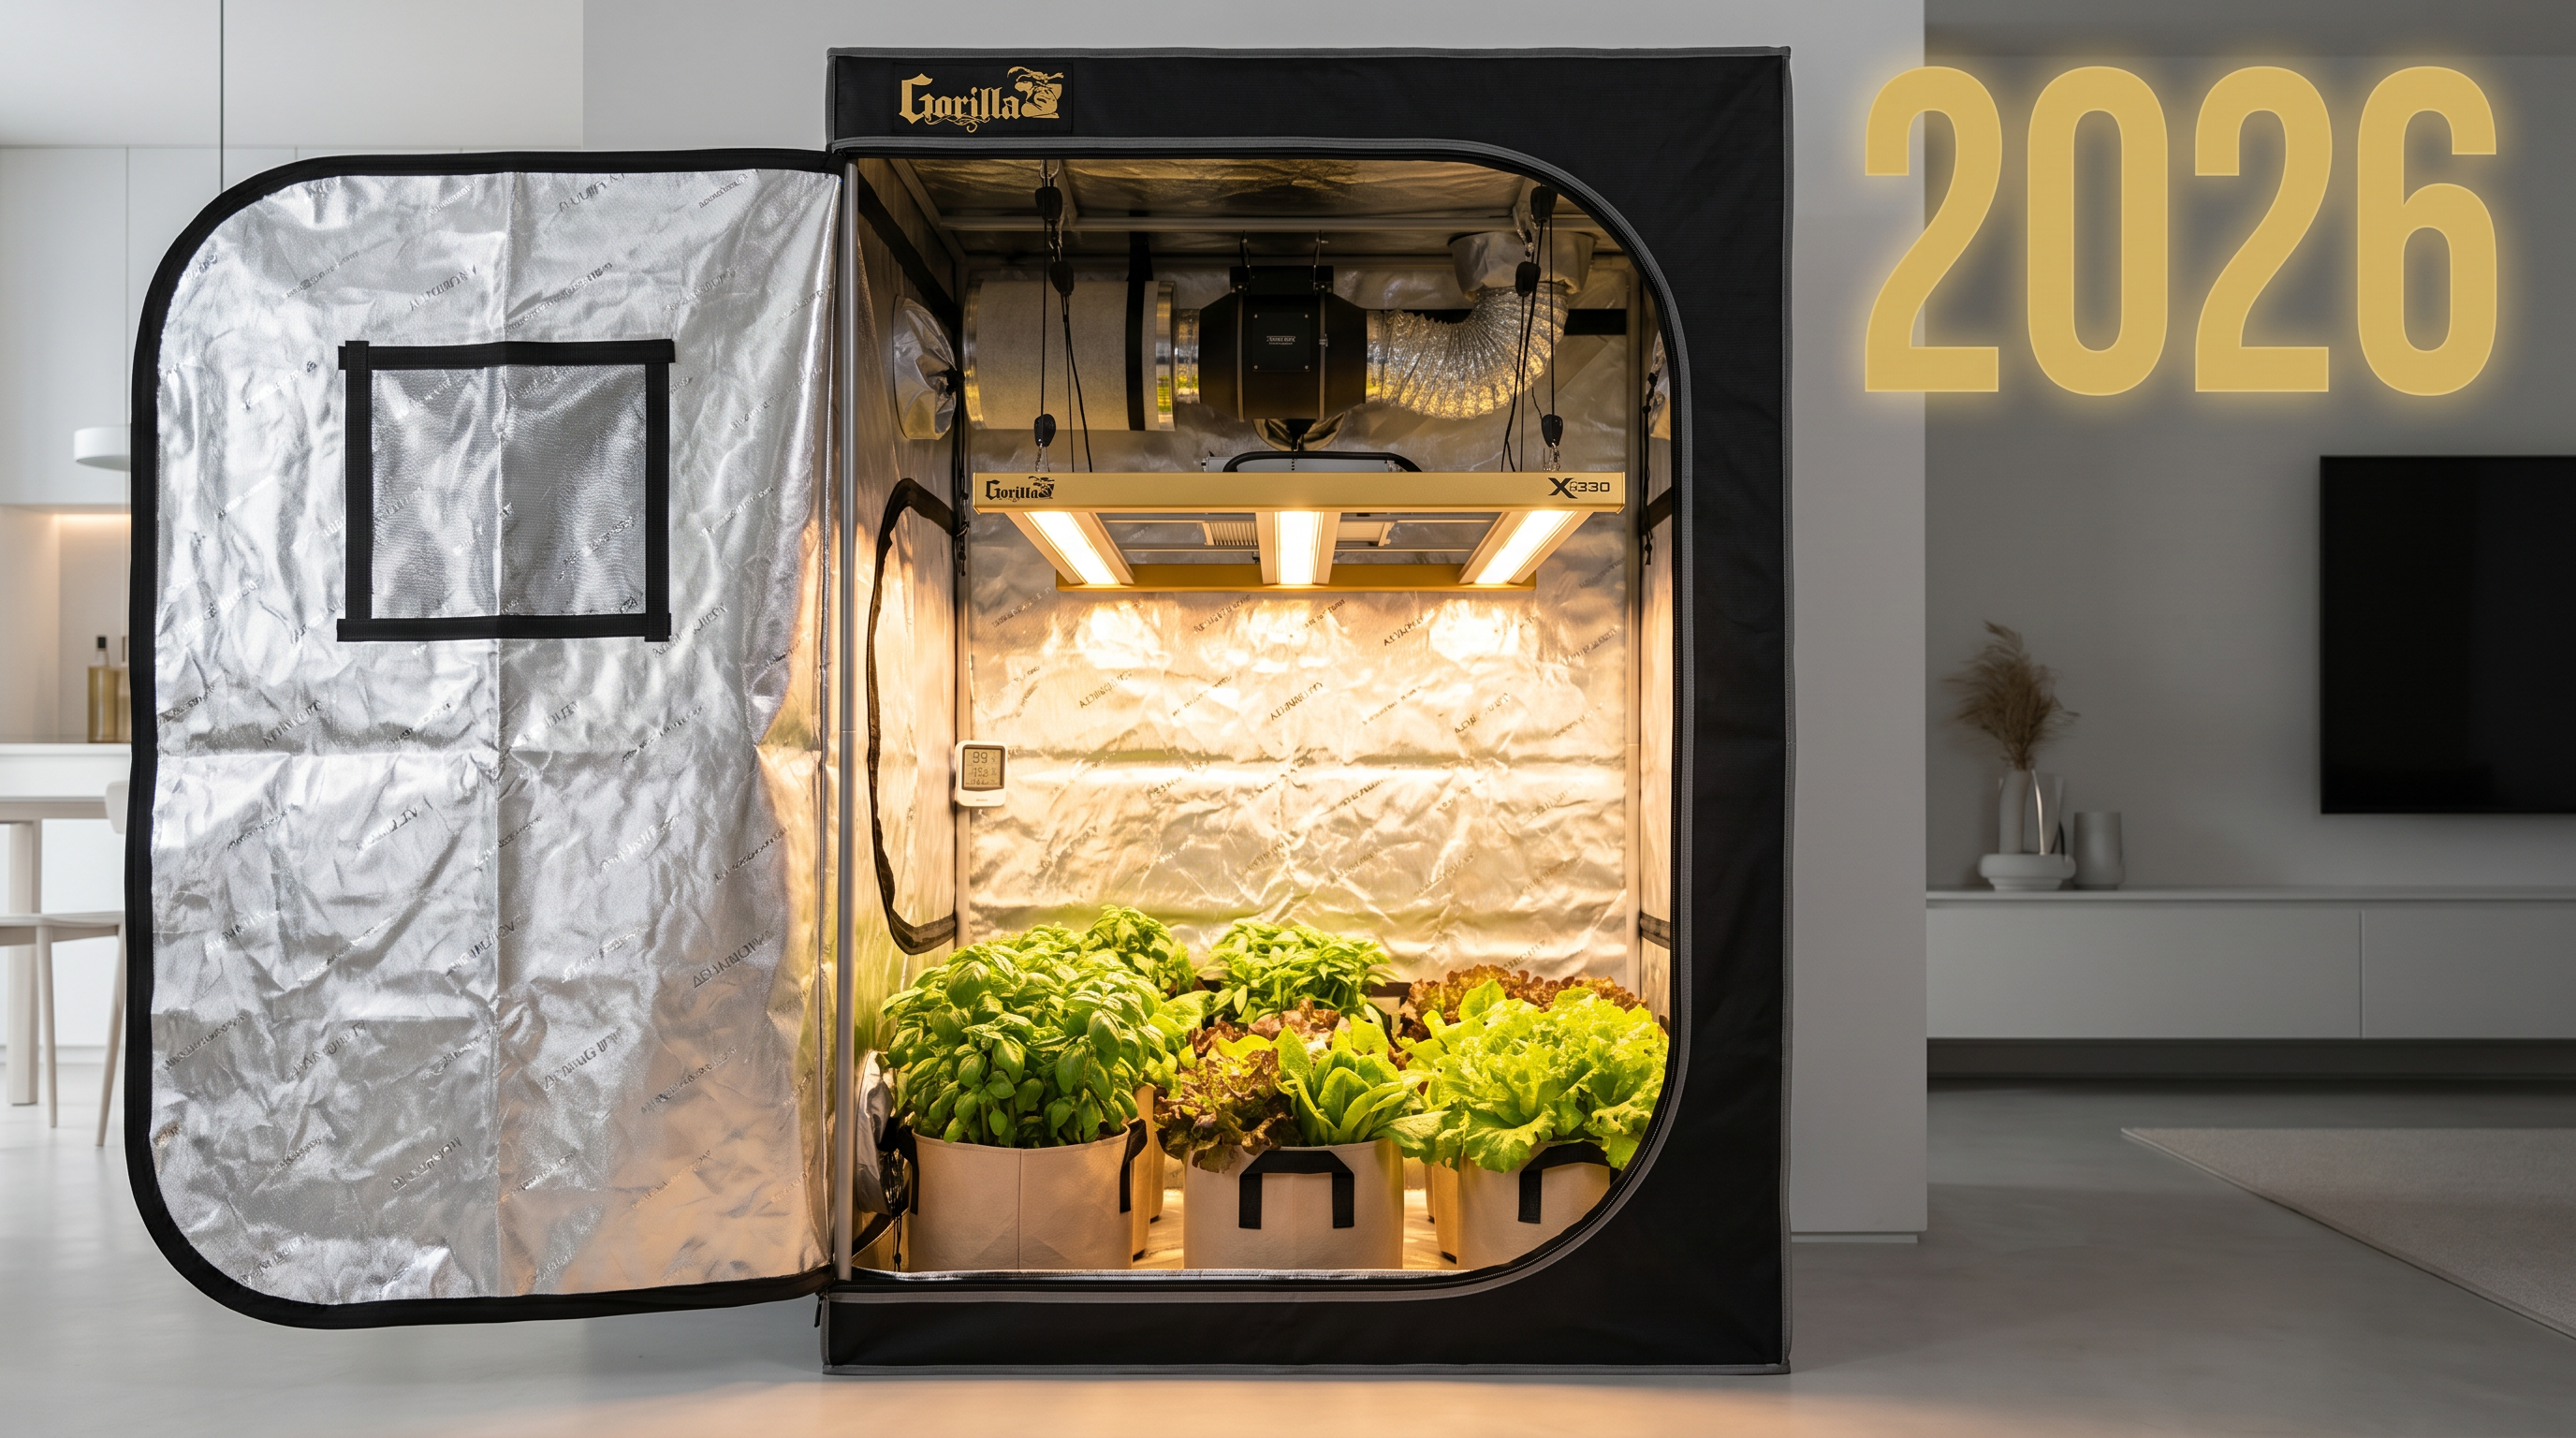
Xi-Series LED Pick by Tent Size
Frequently Asked Questions
How far should an LED grow light be from plants?
24 inches above seedlings, 18 inches for vegetative plants, and 12–16 inches for mature flowering plants — adjusted for LED wattage. A 220W LED hangs 4–6 inches closer than a 420W LED at the same stage because the smaller light delivers less PPFD per inch of distance.
How close can I put an LED grow light to plants?
The minimum is usually 10–12 inches from the canopy for any dimmable full-spectrum LED — closer than that and you risk bleaching and heat damage even with dimming. Non-dimmable lights should stay at the manufacturer's minimum distance regardless of plant stage.
Can grow lights be too close?
Yes. Signs include bleached white tops, curled or "tacoed" leaves, crispy leaf edges, and excessive transpiration. Raise the LED 2–4 inches or dim it to 70–80% and the plants recover within 5–7 days.
How far should a 1000W LED grow light be from plants?
Real 1000W LEDs (750–1000W actual wall draw like the Xi750) hang 30–36 inches above vegetative plants and 18–24 inches above mature flowering plants. Marketing "1000W" LEDs that actually draw 150W should hang at the manufacturer's stated distance, usually 18–24 inches.
Does dimming an LED change the recommended distance?
Yes. Dimming to 50% lets you hang the LED about 30% closer safely. A Xi330 at 100% hangs 20–24" above veg plants; at 50% it hangs 14–16" and delivers the same PPFD at canopy with cooler surface temperature.
How do I know if my LED is at the right distance?
Healthy plants show short node spacing, dense dark green leaves, and slight upward reach toward the light. Legginess means too far; bleaching or taco-curl means too close. Use a PAR meter for precise PPFD, or use the hand test — back of hand at canopy, 60 seconds, just warm.
Should I raise the LED as plants grow?
Raise it only to maintain your target distance above the canopy, not the soil. During the stretch phase, plants can grow 4–6 inches per week — raise the LED at least that much to avoid canopy burn.
What is the inverse square law for grow lights?
Light intensity at canopy drops with the square of distance. Doubling the distance from an LED reduces PPFD by 75%, not 50%. This is why small distance changes cause big intensity changes — moving an LED from 12" to 18" cuts PPFD almost in half.
What happens if my LED is too far from plants?
Plants stretch upward, stems get thin and weak, leaf nodes space wide apart, and color pales. In flowering, this leads to loose airy flowers instead of dense structure. Lower the LED 4–6 inches or raise dimmer 20% and plants tighten up within a week.
Is it better to dim a grow light or raise it?
For small intensity changes (20% or less), dim. For large changes or when you need to preserve coverage area, adjust distance. Best practice: set distance based on growth stage, then use the dimmer for PPFD fine-tuning.
Related Guides
Go deeper: Grow Lights for Seedlings · Leggy Seedlings Fix · VPD Chart for Grow Tents · 4x4 vs 5x5 Grow Tent
Dial In Your LED. Nail Every Stage.
Gorilla Xi-Series LEDs ship with full PPFD/PPF specs, app-dimmable spectrum, and verified hang-height data — the only lineup that gives you the control this chart assumes.
