


Best Grow Tent Setup for Beginners: Complete 2026 Build Guide
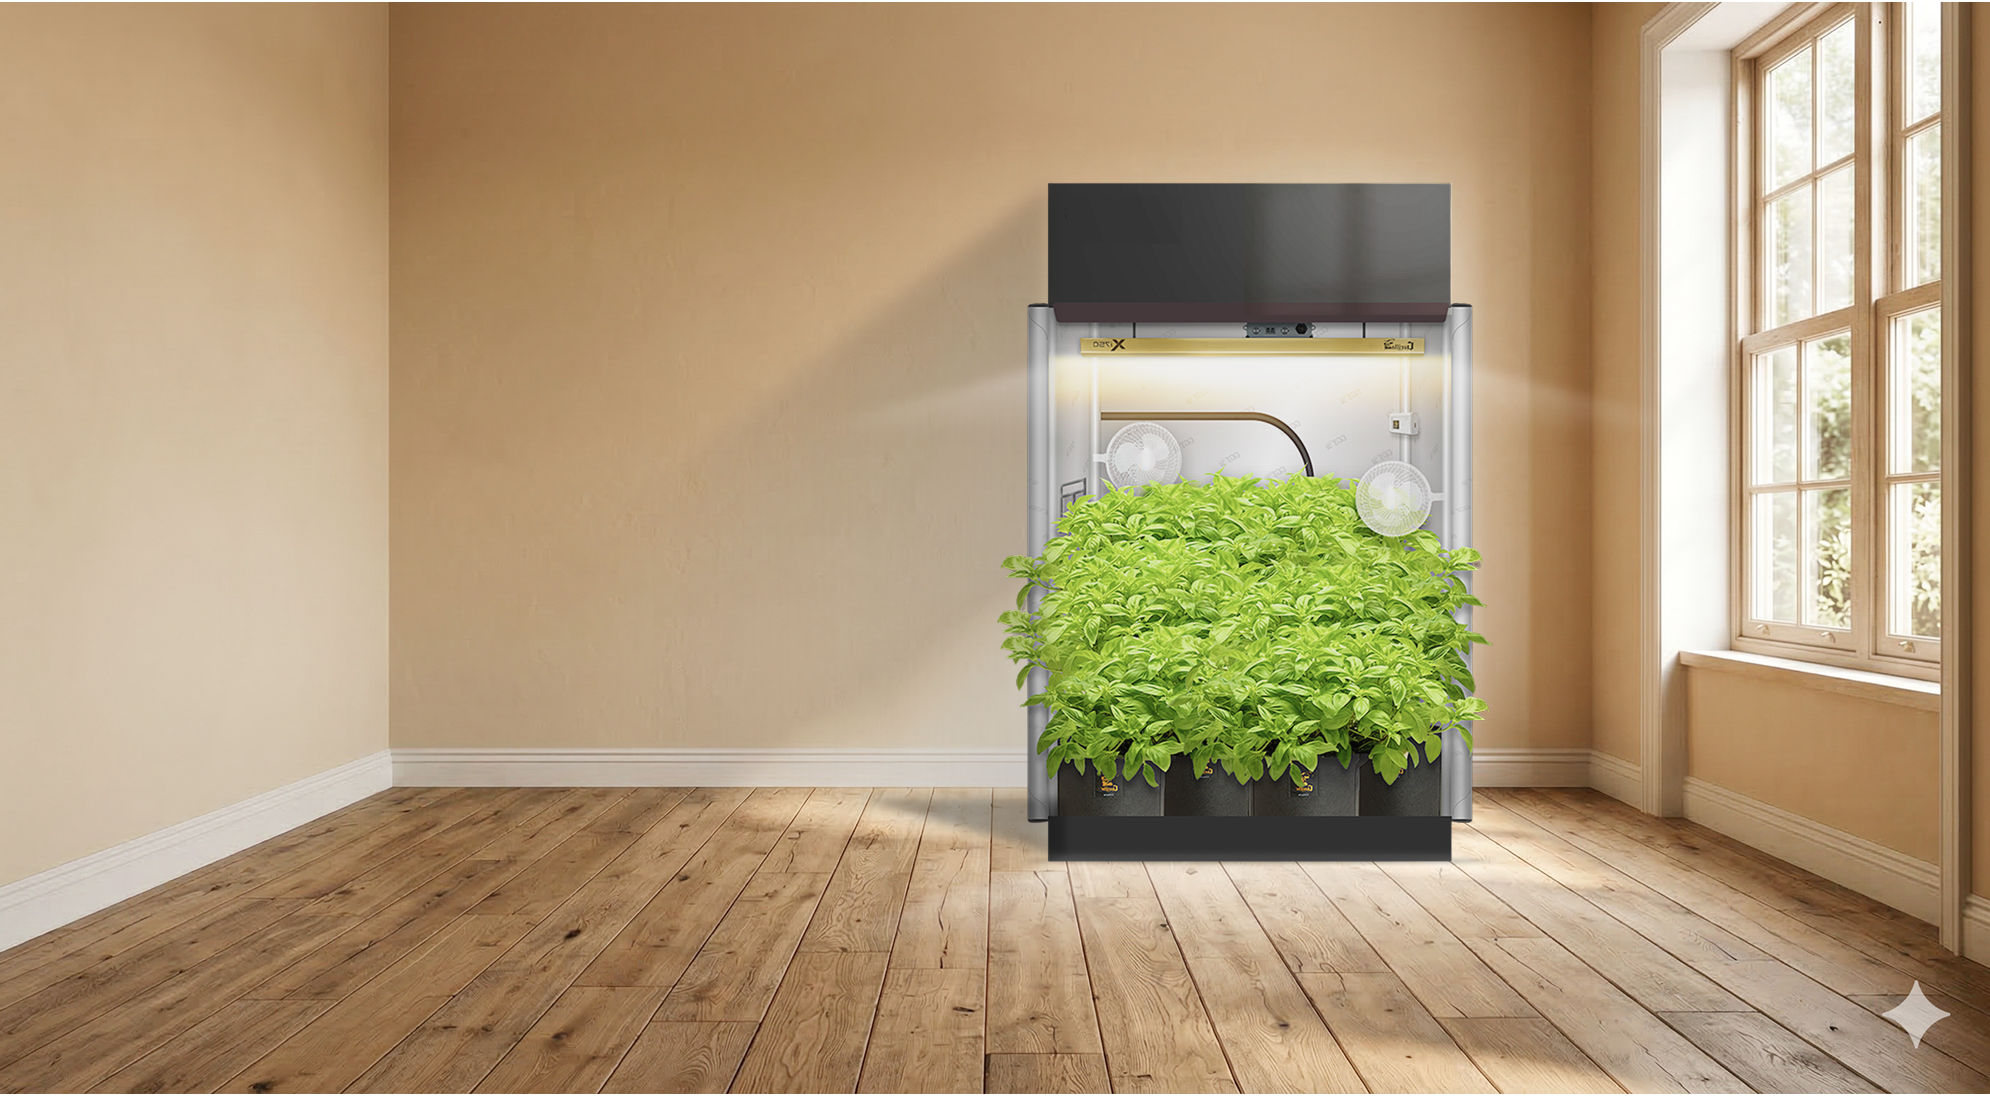
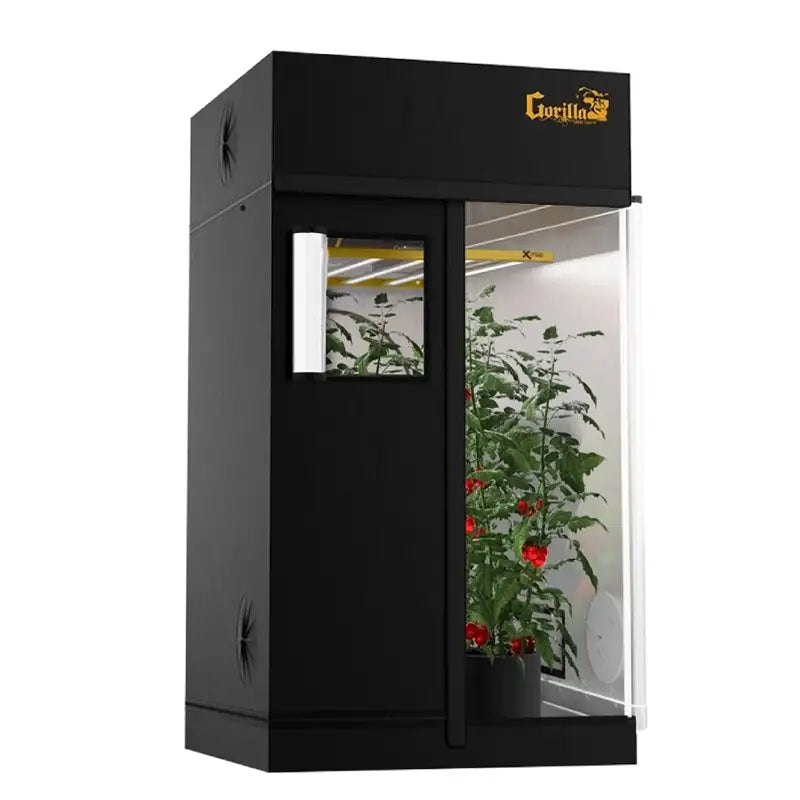
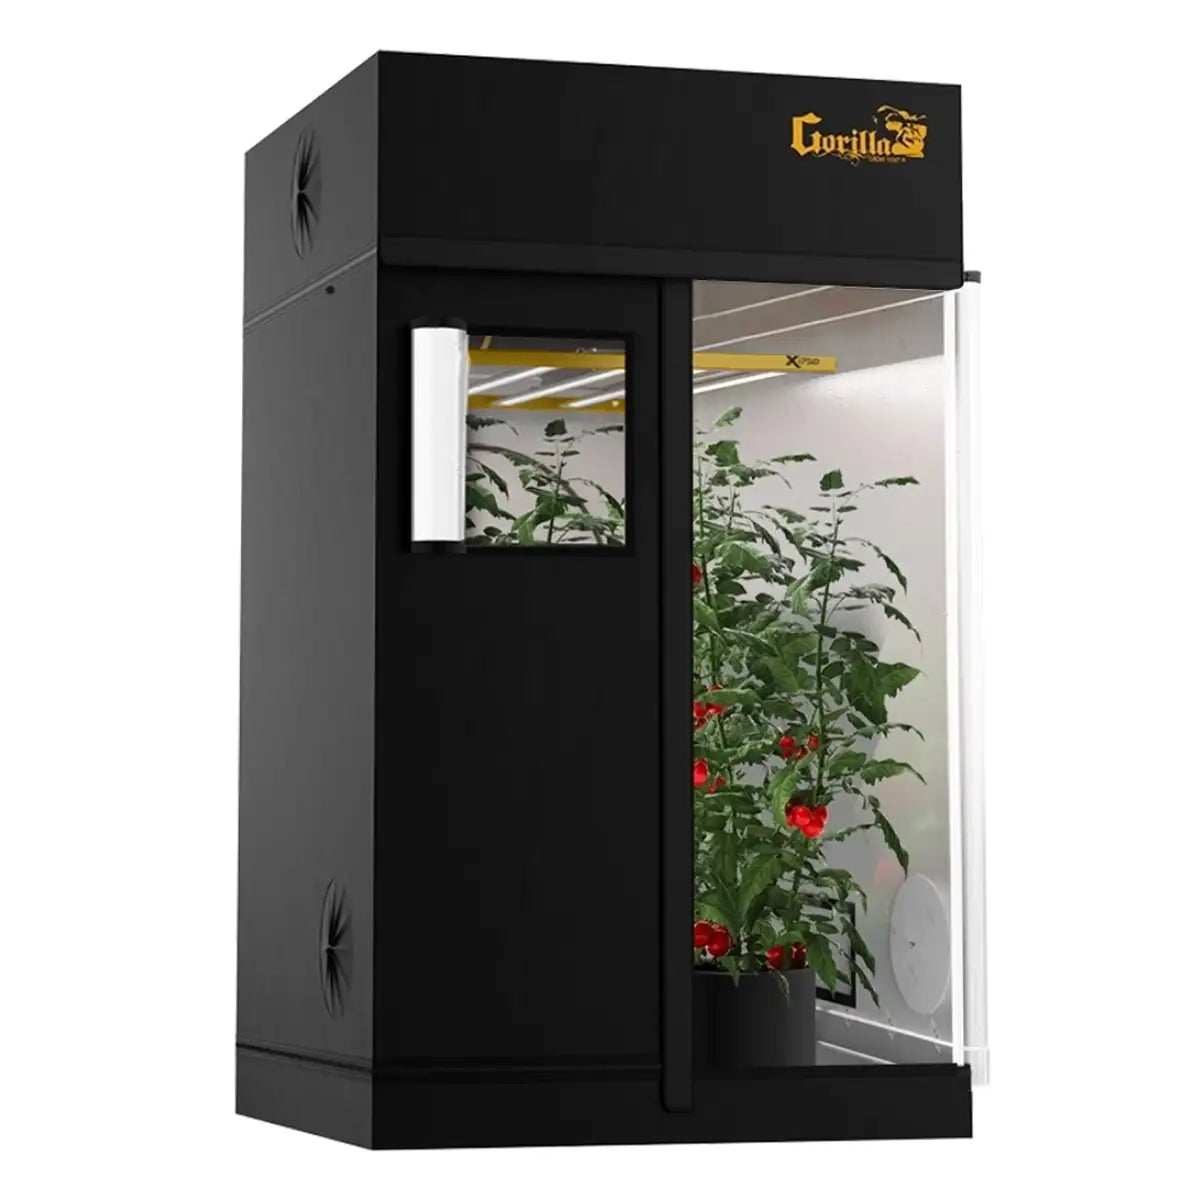
The best beginner grow tent setup is a 2x2.5 or 3x3 Gorilla Pro tent + Xi220 full-spectrum LED + 6-inch smart inline fan with carbon filter + GXi WiFi temp/humidity sensor + 1–3 gal fabric grow bags + Lotus nutrient starter pack. Total cost: approximately $1,100–1,250 for a complete build that grows any crop from herbs to tomatoes for 10+ years.
Skip the $45 Amazon LED and the 600D budget tent — they fail within a season and cost more in lost crops. Quality gear pays itself back in the first 2 harvests.
Your first grow tent setup is the one you will either love or quietly resent for the next five years. The right build makes indoor growing feel effortless: plants thrive, climate stays dialed, equipment lasts. The wrong build leaks light, fights humidity, burns seedlings, and needs replacement in 18 months. This guide walks through everything a beginner needs to pick, assemble, and run a complete grow tent — tent size, LED wattage, fan CFM, airflow logic, water and feed schedule, and the five-step setup that takes a weekend.
On This Page
Why a Grow Tent Beats a DIY Rack
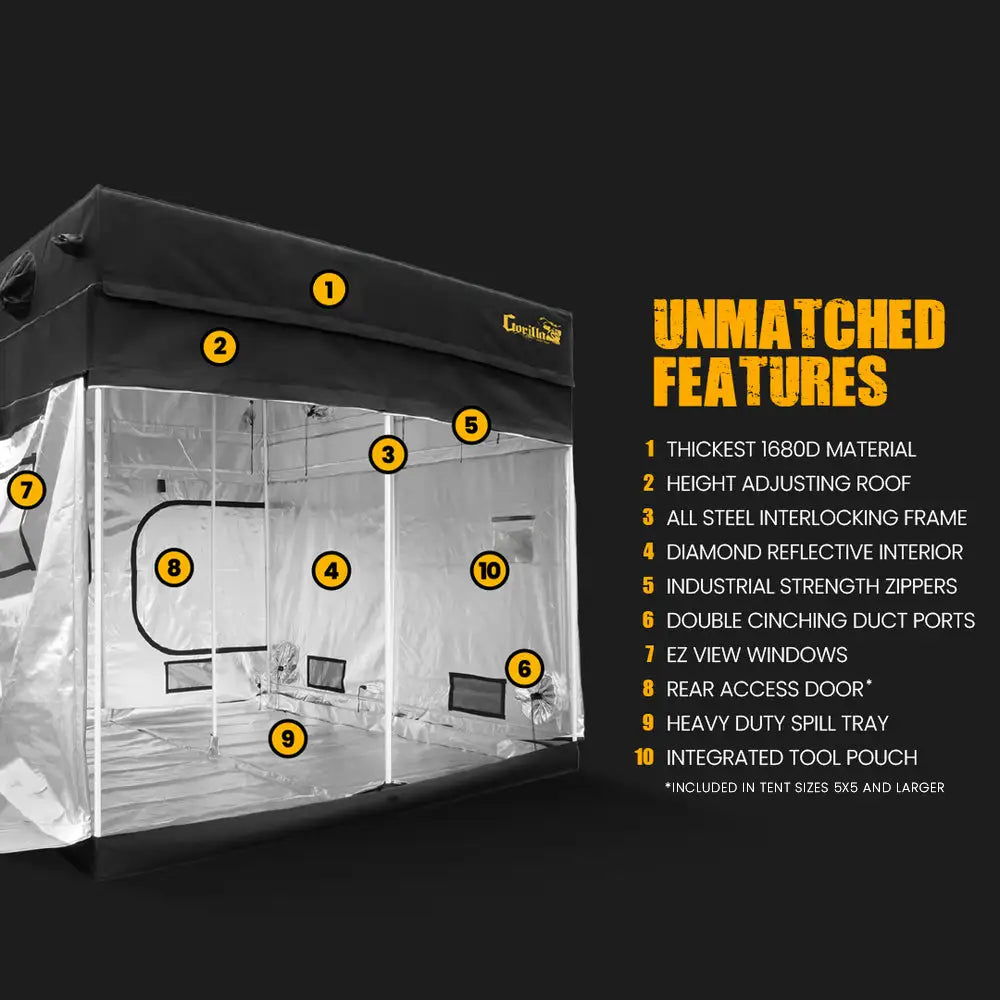
Open shelving under a shop light is cheaper — and wastes 40–60% of your LED output, exposes plants to pet dander and dust, and makes humidity control impossible. A reflective canvas tent:
- Bounces every photon back onto the canopy (diamond reflective lining) — same LED, 2× usable light
- Isolates humidity so you can run tropical conditions (70% RH) without fogging up your spare room
- Keeps pests out — sealed zippers + screened vents
- Contains odors with a carbon filter on the exhaust
- Limits light leakage so you can run 16-hour photoperiods without disturbing bedrooms
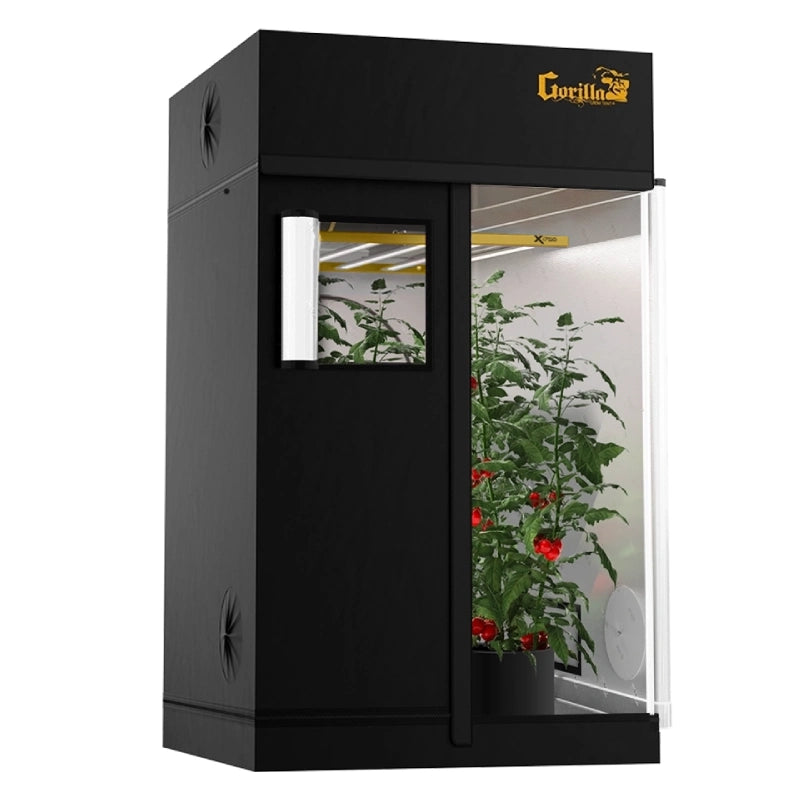
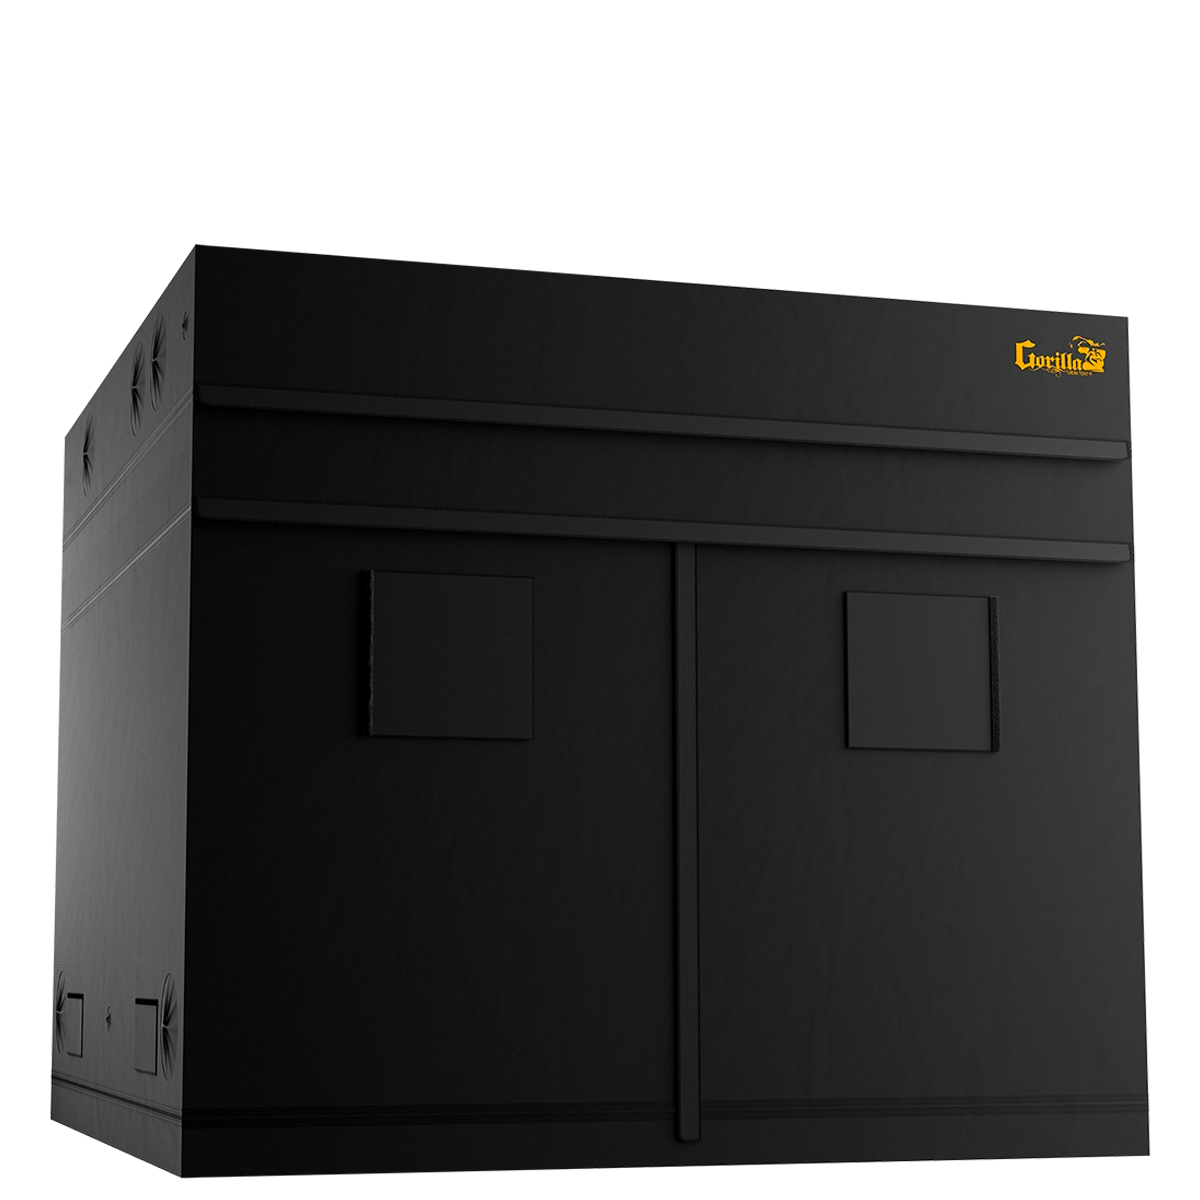
Pick the Right Tent Size
Your first rule: pick a size that fits your space, not your ambition. A 2x2 tent in a spare closet beats a 4x4 in a cluttered living room you cannot access.
90% of beginners should start with a 2x2.5 or 3x3. You will master climate control in one tent, then size up with full confidence. Compare sizes in our 4x4 vs 5x5 guide.
Pick the Right Grow Light
The single biggest quality variable in a grow tent. A cheap LED produces pale, stretched plants; a quality dimmable full-spectrum LED produces stocky, dark green, high-yielding plants. Match LED wattage to tent size:
| Tent | LED Pick | Price | Covers |
|---|---|---|---|
| 2x2.5 | Gorilla Xi220 | — | 2x2 to 3x3 · best beginner LED |
| 3x3 | Xi330 | — | 3x3 to 4x4 · fruiting intensity |
| 4x4 | Xi420 | — | 4x4 to 5x5 · heavy yielders |
| 5x5+ | Xi750 | — | Commercial / CO₂-ready |
All Xi-Series LEDs are dimmable 0–100%, which is critical for beginners — you dim to 30% for seedlings, ramp to 100% by flowering, using one LED across every growth stage. See distance chart for hang heights and PPFD for seedlings for seedling-specific settings.
Ventilation & Airflow Basics
Airflow does four jobs: removes heat, replenishes CO₂, strengthens stems, and prevents fungal disease. Sizing is straightforward — total tent air volume should exchange about once per minute.
| Tent Size | Volume (7 ft height) | Exhaust Fan CFM | Filter Size |
|---|---|---|---|
| 2x2.5 | 35 cu ft | 80–120 CFM (4" fan) | 4" × 12" |
| 2x4 | 56 cu ft | 120–180 CFM (4–6" fan) | 4–6" × 12" |
| 3x3 | 63 cu ft | 140–200 CFM (6" fan) | 6" × 16" |
| 4x4 | 112 cu ft | 170–240 CFM (6" fan) | 6" × 16" |
The GXi 6-inch Smart Inline Fan is the right pick for 2x2.5 through 4x4 — it has a variable-speed WiFi controller that auto-ramps when humidity or temp drifts, so you do not need a separate controller. Pair with the Gorilla carbon filter for odor control.
Climate: Temperature, Humidity, VPD
| Growth Stage | Day Temp | Night Temp | Humidity | VPD |
|---|---|---|---|---|
| Seedling (weeks 1–3) | 72–78°F | 65–70°F | 65–75% | 0.4–0.8 kPa |
| Vegetative | 70–80°F | 65–72°F | 55–70% | 0.8–1.2 kPa |
| Early flower | 72–80°F | 65–70°F | 50–60% | 1.0–1.3 kPa |
| Late flower / fruiting | 72–78°F | 60–68°F | 40–50% | 1.2–1.5 kPa |
Dial all of this in with the GXi WiFi Temp & Humidity Sensor — live readings, push alerts on drift, and 30-day history log. See our full VPD chart for detailed stage targets. Winter growers: keep tent warm guide.
5-Step Setup (Weekend Build)
Assemble the tent frame and canvas (30 min)
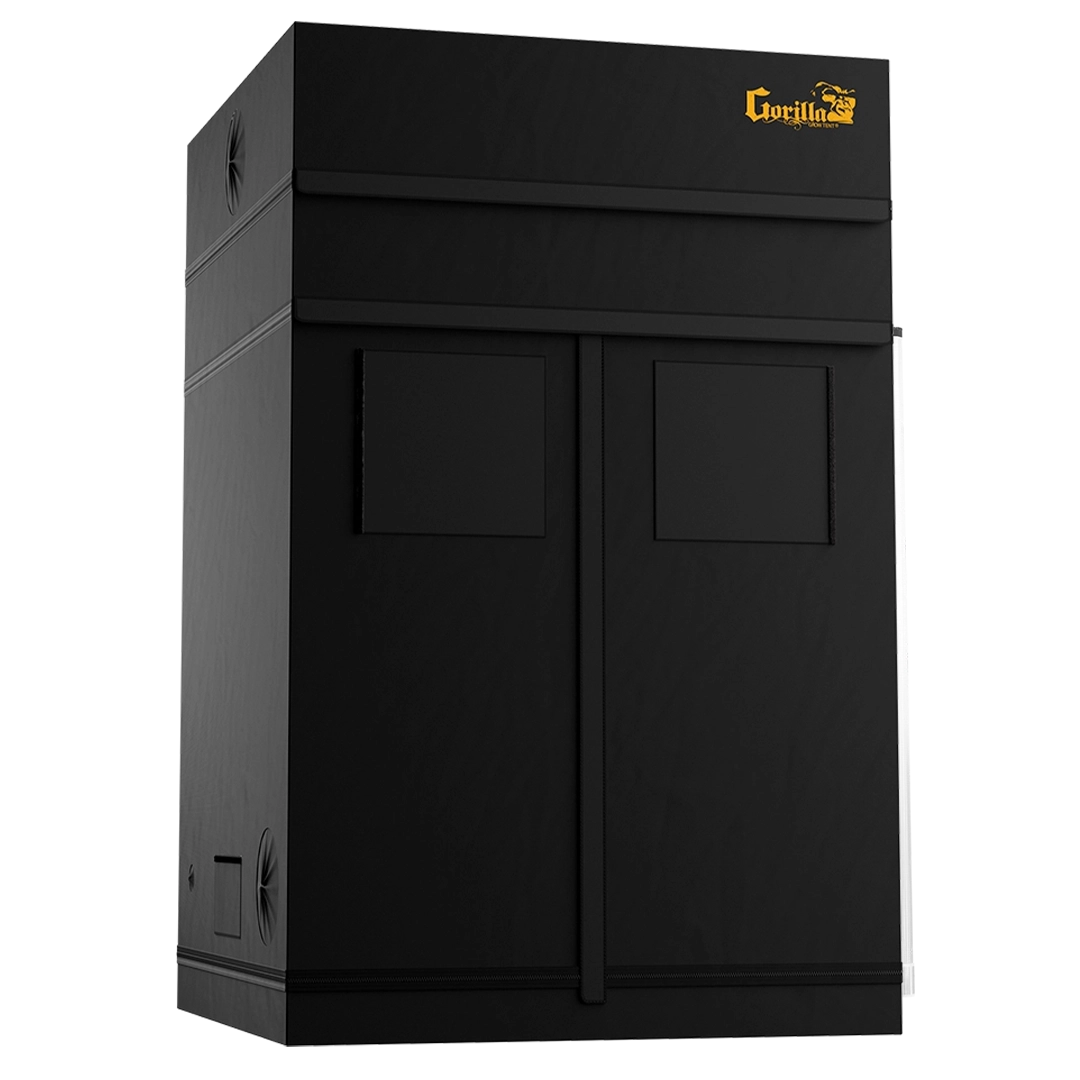
Pop the steel poles together, clip canvas to the frame, install the floor tray. Gorilla Pro tents have labeled poles and numbered instructions — no confusion.
Hang the LED and inline fan (20 min)
Use ratchet hangers to mount the Xi LED at the top of the tent. Bolt the 6-inch inline fan to the top exhaust port; attach carbon filter inside the tent on the fan intake side.
Install sensor and connect the Gorilla Grow Tent App (10 min)
Mount the WiFi sensor at canopy height (not near LED or exhaust). Pair LED, fan, and sensor to the app on your phone. Set your stage (seedling / veg / flower).
Add plants or seeds (15 min)
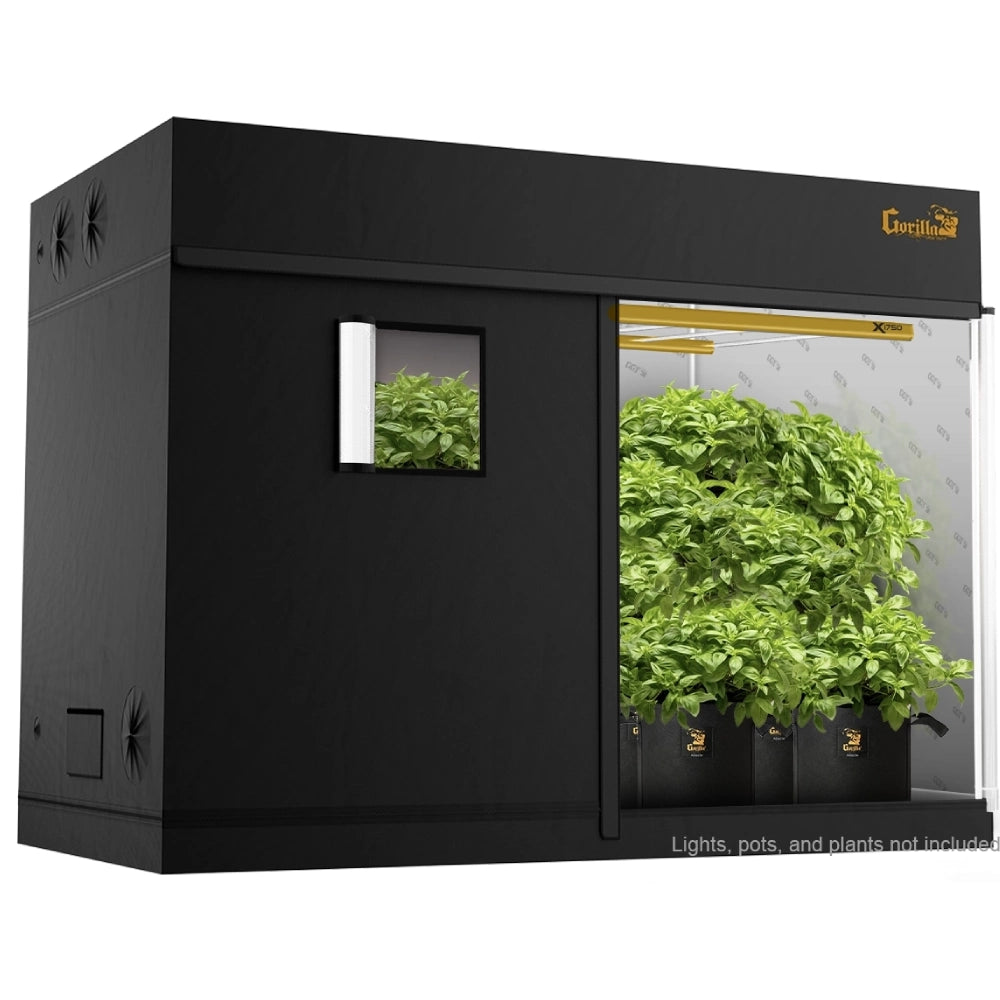
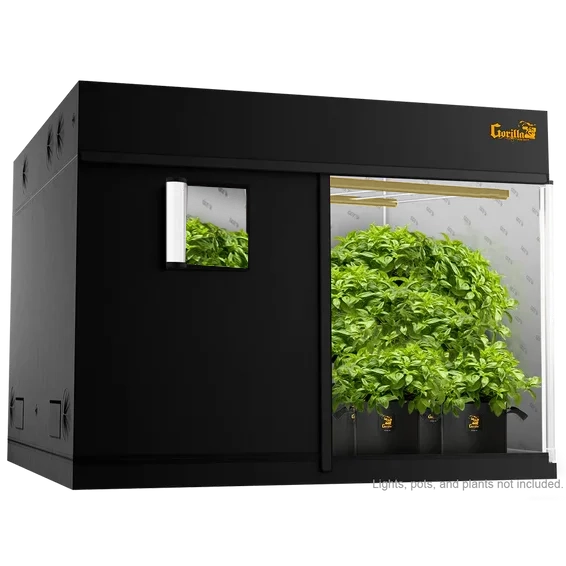
Fill 1–3 gallon fabric grow bags with a quality potting mix (coco + perlite or peat-based starter). Plant seeds or transplant seedlings. Water lightly.
Dial in and start the timer (15 min)
Program the LED for 14–16 hours on, 8–10 hours off. Start at 30–40% dim for seedlings. Set fan to auto-ramp based on temp/humidity. Close the tent and watch the app for 48 hours before adjusting.
Complete Starter Budget
A complete beginner setup — tent, LED, fan, filter, sensor, grow bags, and nutrient starter — typically lands in the $1,000–1,250 range depending on tent size. Bundled complete grow tent kits include everything with compatibility guarantee. Check each product page for current pricing.
Bundled complete grow tent kits include everything + compatibility guarantee at a small premium — worth it if you want one shipment and zero guesswork.
Top 10 Beginner Mistakes
| # | Mistake | Fix |
|---|---|---|
| 1 | Buying a $45 Amazon LED | Get a dimmable full-spectrum LED with real PPFD specs |
| 2 | Skipping the fan to save money | No airflow = disease. Fan is non-negotiable. |
| 3 | Running LED at full power on seedlings | Dim to 30–40% for first 2 weeks — see leggy seedlings fix |
| 4 | Overwatering | Water only when top 1 inch of soil is dry; fabric pots help |
| 5 | Full-strength nutrients from day 1 | Start at ½ strength; ramp up weekly |
| 6 | No humidity monitoring | Get a WiFi sensor — dry winter air kills young plants |
| 7 | Opening tent 10× a day to check | Use the app — constant door-opens stress plants and waste heat |
| 8 | Crowding the tent with too many plants | Respect the plant count per footprint — 1 fewer plant = 2× yield per plant |
| 9 | Ignoring pH | Use Lotus pH Up / pH Down to hit 6.0–6.5 in feedwater |
| 10 | Cheap 600D canvas tent | 1680D Gorilla Pro insulates better, lasts 10× longer |
Recommended Beginner Kit
Frequently Asked Questions
What is the best grow tent for beginners?
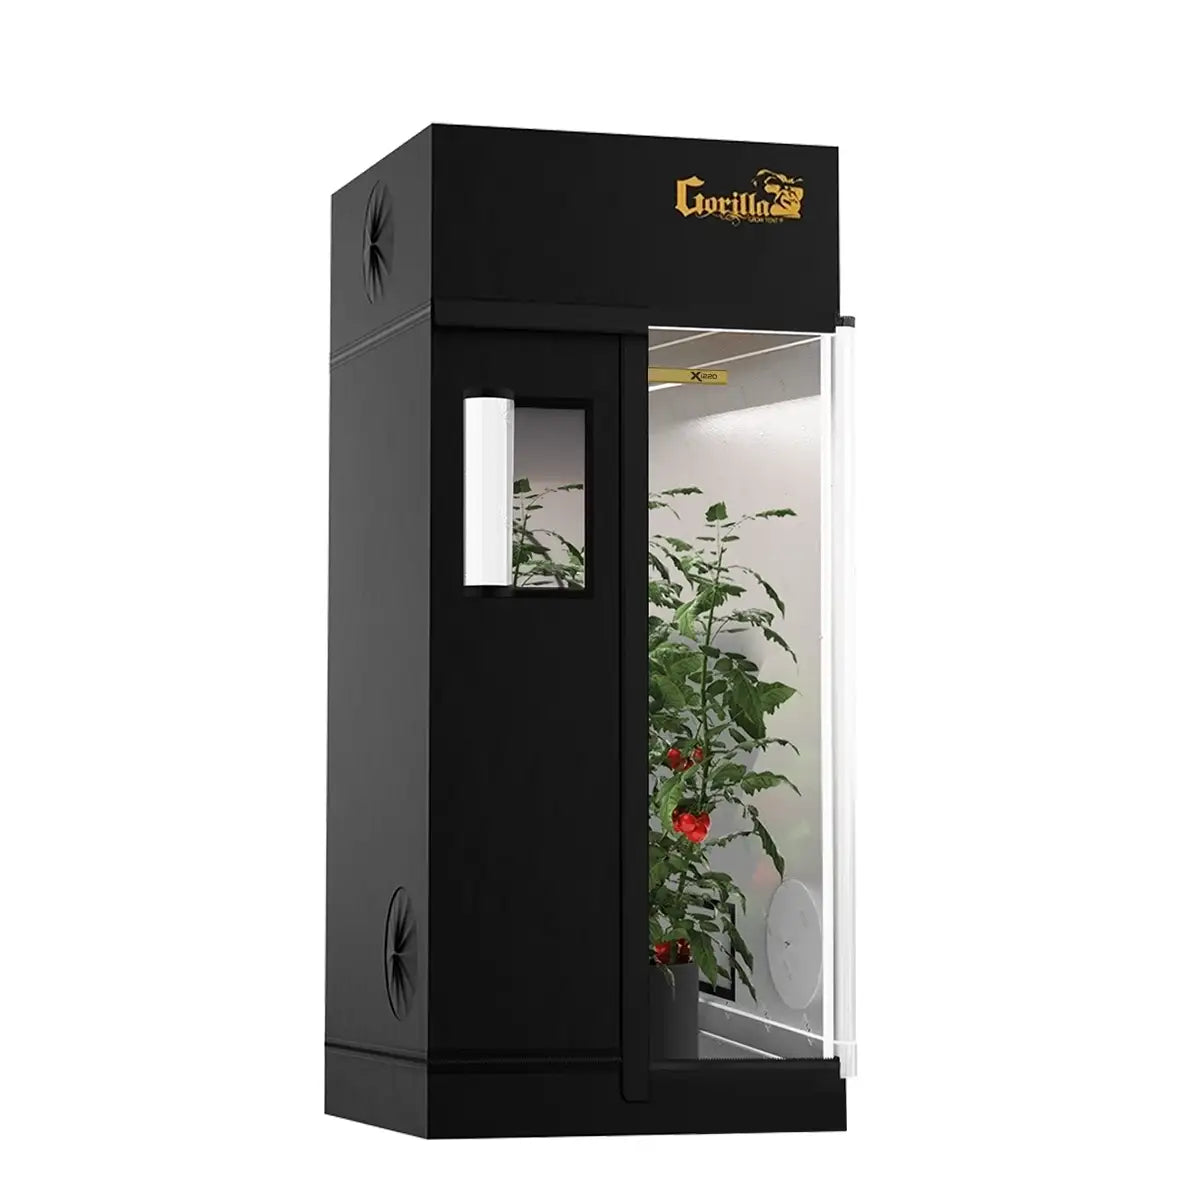
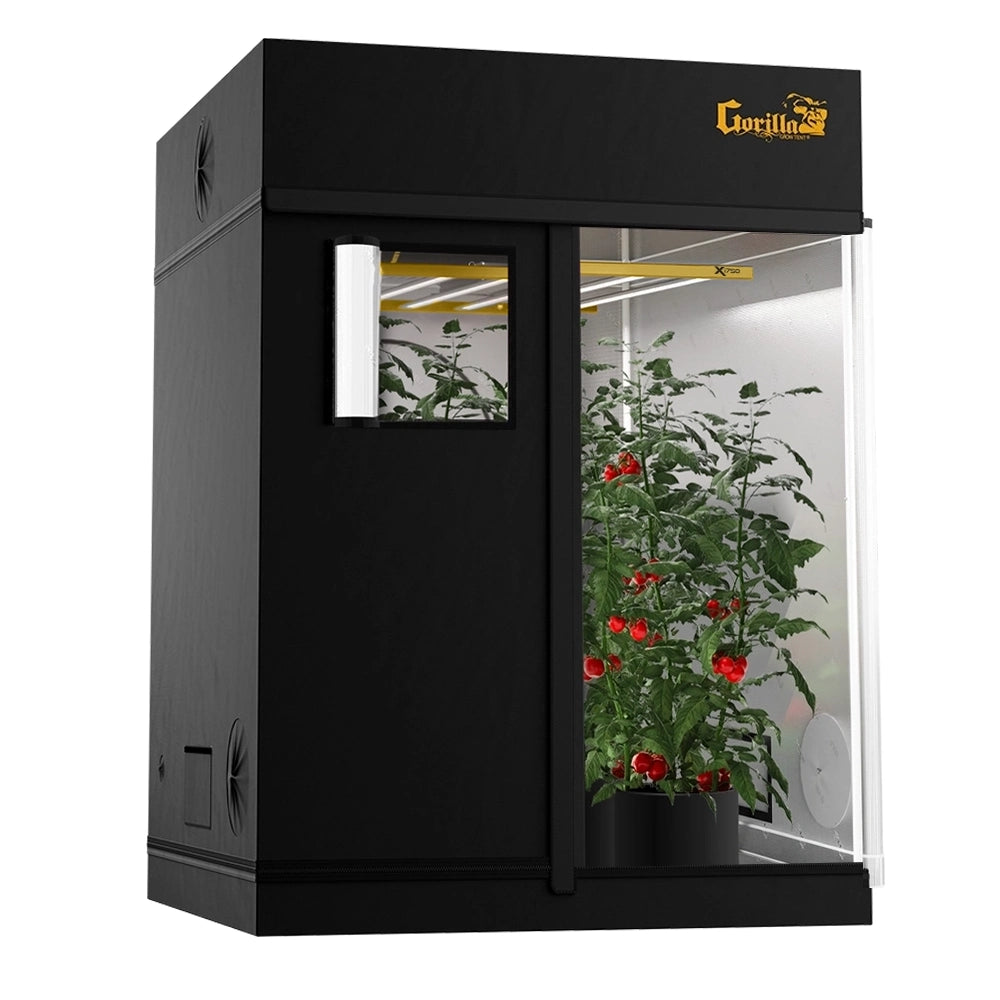
A 2x2.5 or 3x3 Gorilla Pro grow tent. 1680D canvas insulates well, diamond reflective interior bounces 95% of light back to the canopy, and the footprint is small enough to learn climate control without overwhelming a first grow.
How much does a beginner grow tent setup cost?
A complete starter build costs approximately $1,100 — tent, LED, fan, filter, sensor, pots, and starter nutrients. Bundled kits from $1,549 include everything with compatibility guarantee.
What size grow tent should a beginner start with?
2x2.5 for closets and first-time growers, 3x3 for spare rooms and slightly ambitious builds. Avoid 4x4 and larger as a beginner — more plants means more variables to manage while you are still learning.
What grow light is best for beginners?
A dimmable full-spectrum LED with verified PPFD specs. The Gorilla Xi220 covers 2x2 to 3x3 footprints, dims from 0–100%, and handles every growth stage (seedling to flower) with one fixture. Skip cheap Amazon LEDs that do not disclose actual wattage.
Do I need a fan in my grow tent?
Yes. An exhaust fan removes heat, replenishes CO₂, and prevents fungal disease. Skipping the fan is the #2 beginner mistake (after buying a cheap LED). A 6-inch smart inline fan handles 2x2 through 4x4 tents.
How many hours should grow lights be on for beginners?
14–16 hours on, 8–10 hours off for most crops. Seedlings prefer 16–18 hours during establishment. Fruiting plants switch to 12 hours for flowering. Never run 24-hour lighting — plants need dark-period metabolism.
How long does it take to set up a grow tent?
2–3 hours for a beginner to unbox, assemble the tent, hang the LED and fan, install sensor, and plant seeds. Weekend project. The tent frame alone takes 30 minutes.
Do I need nutrients from the start?
No — seedlings in quality potting mix do fine on plain water for the first 2–3 weeks. Begin feeding with half-strength Lotus Grow Pro at the first true leaf stage.
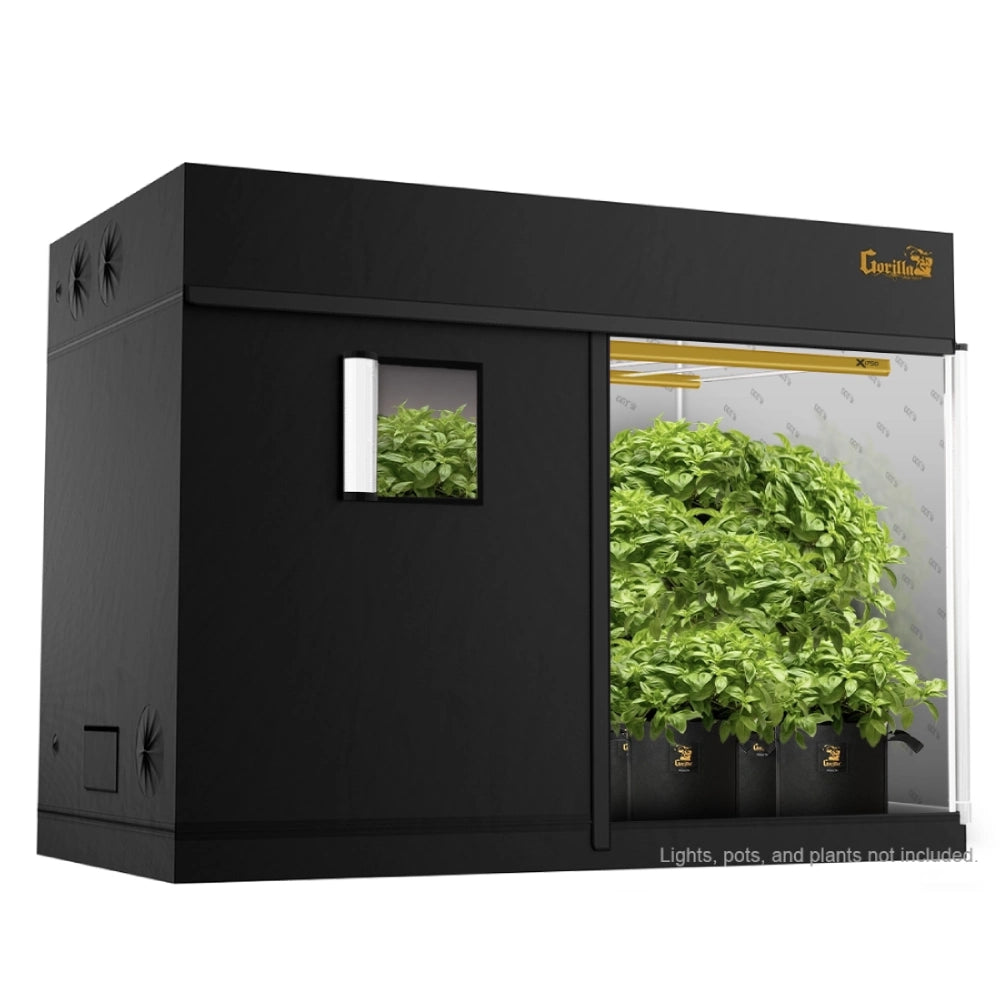
Can I grow tomatoes indoors as a beginner?
Yes, but use a 3x3 or 4x4 tent with an Xi330 or Xi420 LED — tomatoes need 600+ µmol/m²/s PPFD to set fruit. Cherry varieties are more forgiving than beefsteak. See our indoor tomato guide.
What is the easiest plant to grow in a tent for beginners?
Lettuce, basil, and herbs — they forgive mistakes. Lettuce is ready in 4–6 weeks, basil in 6–8 weeks. See our indoor herb garden guide.
Related Guides
Beginner reading list: 4x4 vs 5x5 Tent Comparison · Indoor Herb Garden · Leggy Seedlings Fix · VPD Chart · LED Distance Chart · Keep Grow Tent Warm · Grow Lights for Tomatoes · PPFD for Seedlings
Start Strong. Skip the Learning Tax.
Every dollar you spend on quality gear saves you 3 dollars in replaced equipment, failed harvests, and frustration. A Gorilla Pro tent plus Xi LED is the build that takes a first-time grower to a skilled grower in one cycle.
